Contact Hannah


123 Street Avenue, City Town, 99999

(123) 555-6789

email@address.com


You can set your address, phone number, email and site description in the settings tab.
Link to read me page with more information.

Blog

Ben Lomond - Ogden, UT

Hannah Fleming

Standing 9,716 feet tall, Ben Lomond looks down over Ogden, UT. With all travel coming to a halt this year, it was finally time to summit mighty Ben. As soon as I made it up once, I was addicted. Below are three different routes.

North Ogden Divide - Skyline Trail
Start: North Ogden Divide Trailhead
Duration: ~15.5 miles
Elevation gain: 3500 feet
Difficulty: moderate - difficult, due to duration and steep sections
What to expect? The first 1.5 miles of switchbacks are rocky and moderate/difficult. The trail becomes smooth dirt until reaching the saddle of Ben Lomond. This is the point where the Skyline trail meets up with Cutler Sprint trail and Ben Lomond trail. From here there is a 1.5-mile final push up to the peak, gaining the last 1,000 feet.
GPS *this is my favorite route

North Fork Park
There are two routes from North Fork Park. For extra fun, make a loop out of these two!

Start 1: Loop B - Corals Parking
Duration: ~14.5 miles
Elevation gain: 3900 feet
Difficulty: moderate - difficult, due to duration and steep sections
What to expect? The trail is mainly smooth, with some rockier sections close to the bottom. The trail is very straight forward until you reach the saddle of Ben Lomond. This is the point where Ben Lomond trail meets up with Cutler Spring trail and Skyline trail. From here there is a 1.5-mile final push up to the peak, gaining the last 1,000 feet.
GPS *note this was early season, we did not make it to the tippy top due to snow

Start 2: Mule Shoe Trailhead parking or Cutler Flats Parking
Duration: ~11.6 miles
Elevation gain: 3900 feet
Difficulty: difficult, due to duration and steep sections
What to expect? The trail is the steepest of the options, and the least trafficked. I’d recommend trekking poles. From the parking lot, you can follow the road towards Cutler Flat, or hop on the trails and head to Cutler Springs trail. At 2.9 miles in, you have the option to continue straight on Cutler Spring trail, or you can take a sharp left to connect up to Ben Lomond Trail. Cutler Springs trail is slightly shorter but much steeper. At the saddle, Ben Lomond trail, Cutler Spring trail, and Skyline trail all meet. From here there is a 1.5-mile final push up to the peak, gaining the last 1,000 feet.
GPS *bonus - this is also a great ski touring route in the winter

Ben Lomond + Willard Peak
If you’re feeling up to it, continue another two miles past Ben Lomond to Willard Peak! The trail is flowy and beautiful.

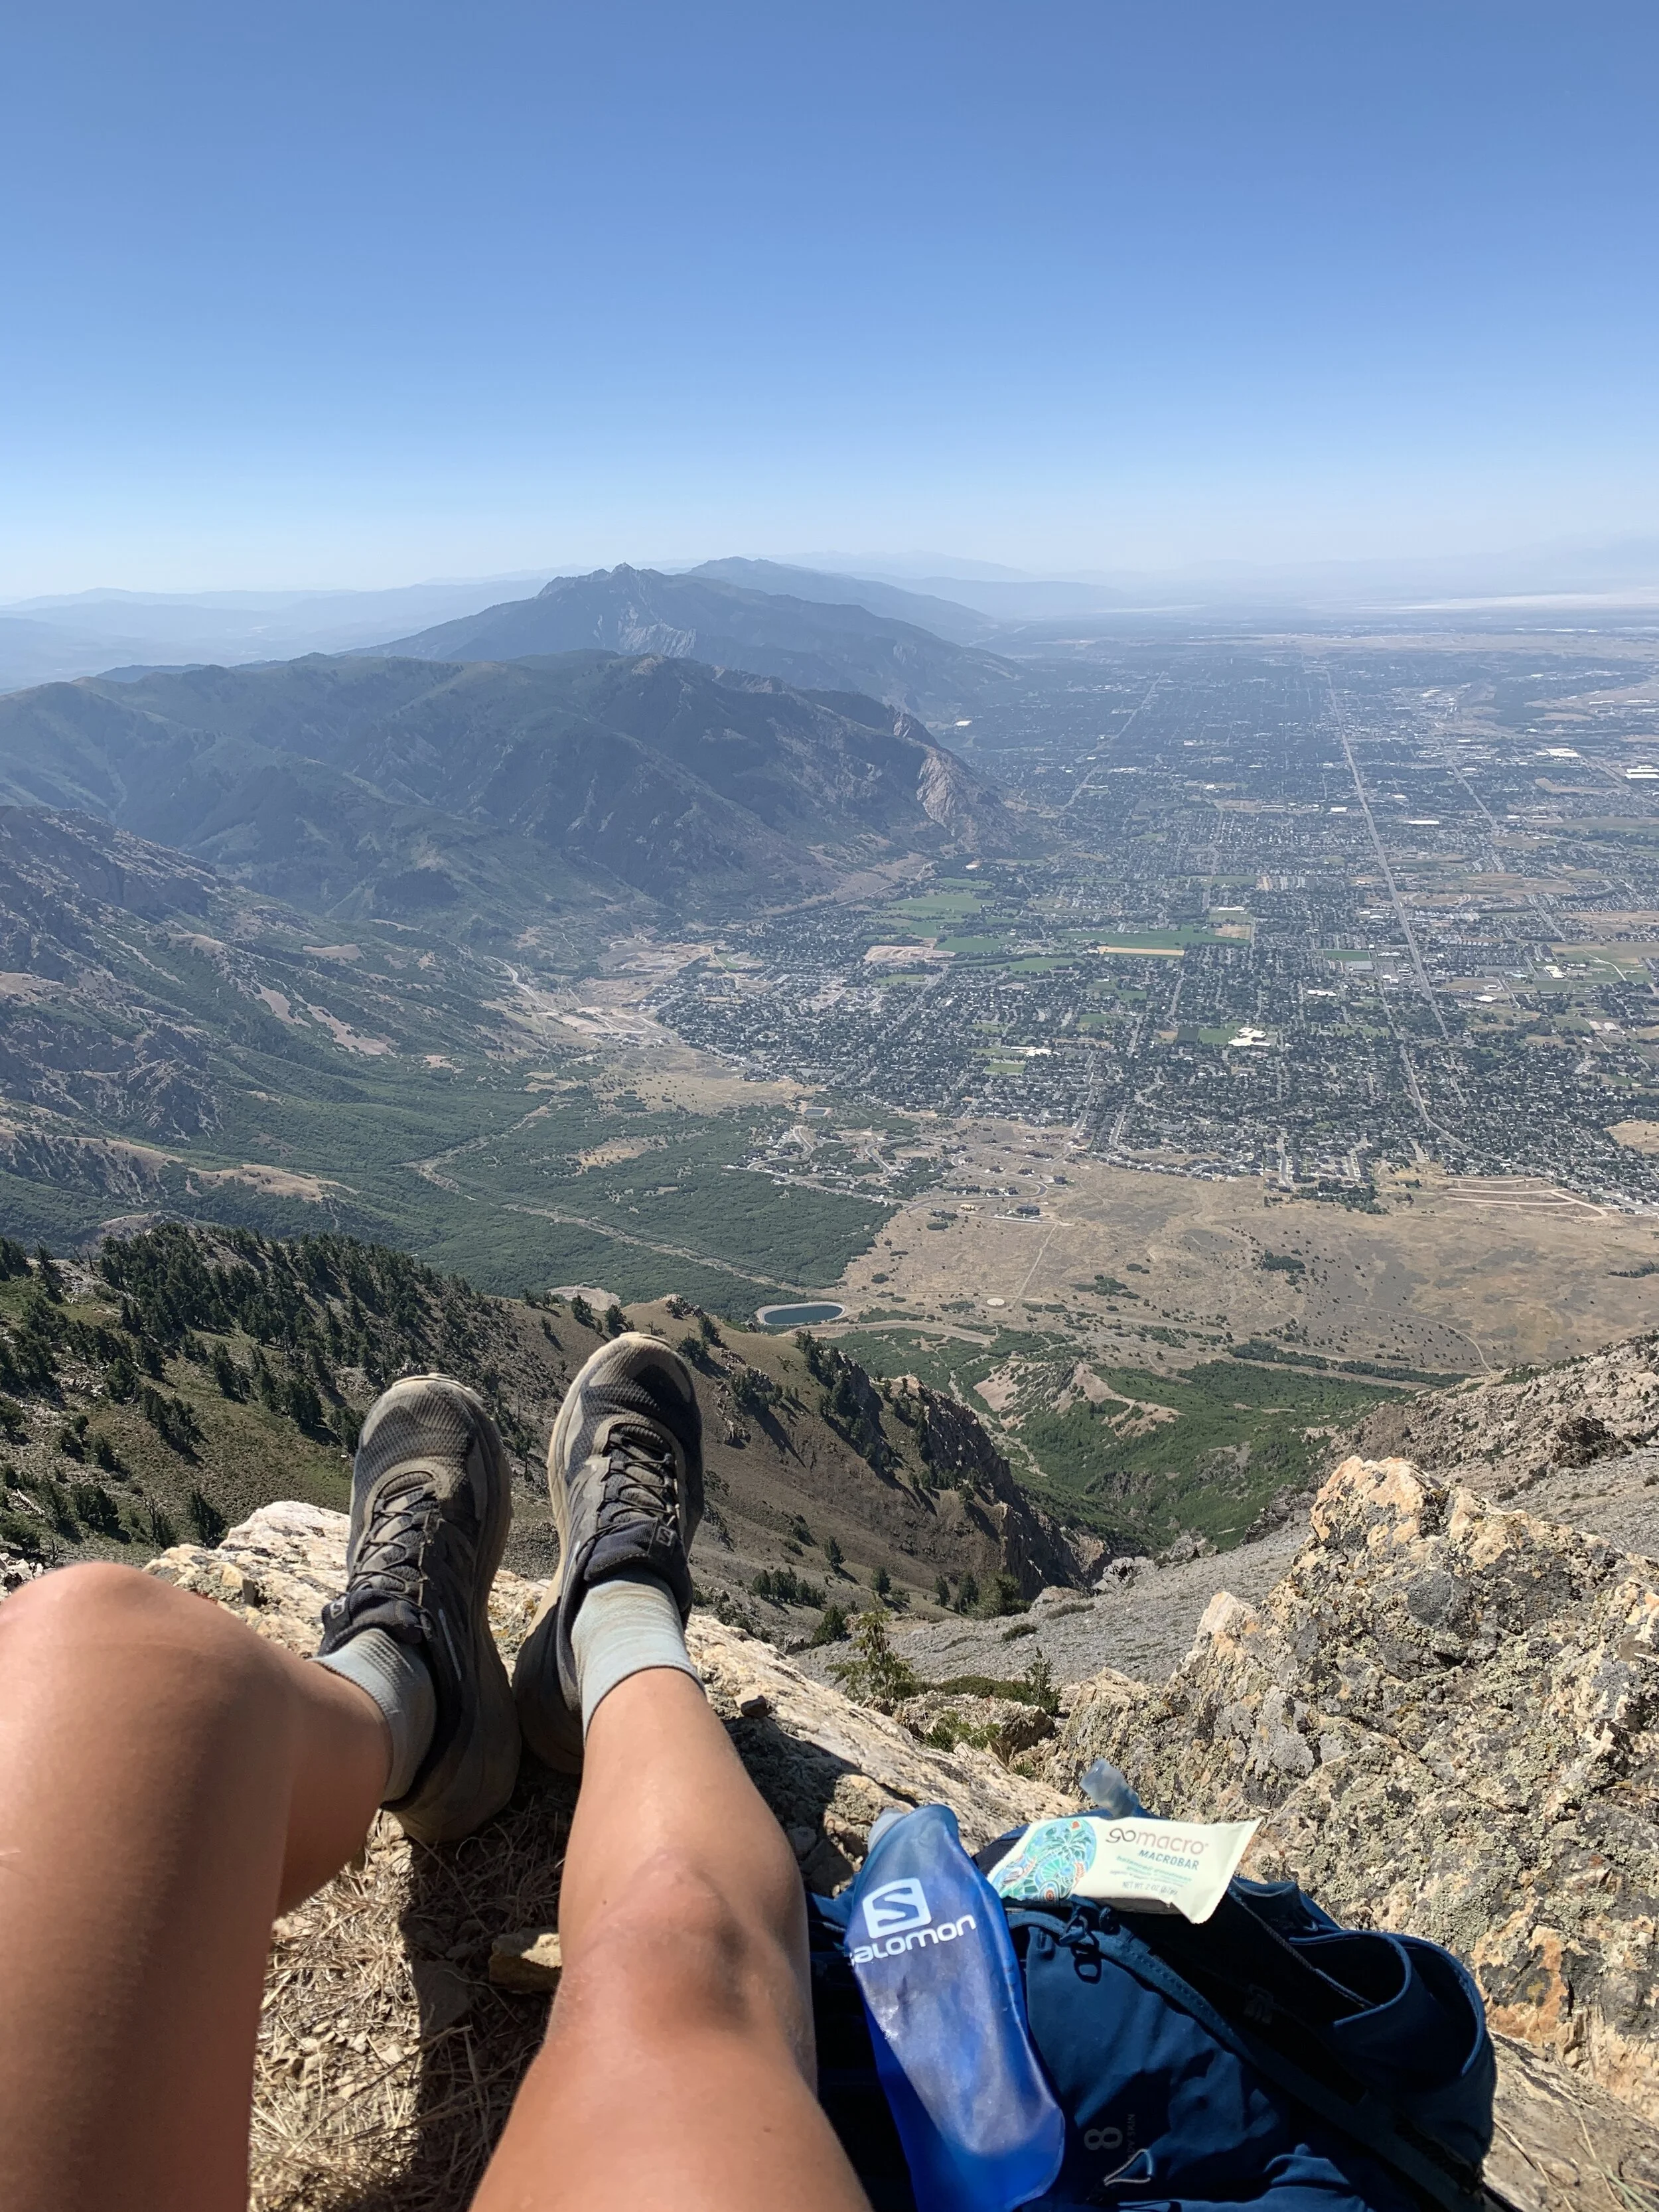
Ben Lomond looking down to Ogden, UT

Ben Lomond looking down to Ogden, UT

Ben Lomond to Willard Peak

Ben Lomond to Willard Peak

My first time to Montana! Glacier National Park, Whitefish and Missoula

Hannah Fleming


IMG_3022.JPG

Following Ironman 70.3 Coeur d’Alene, we spent a few days in Montana. We anticipated sore legs, so planned on this being a “get familiar” with Glacier National Park trip, with the expectation of making it back to do some of the bigger hikes. Mother Nature was looking out for our well-being, and even gave us a few “forced rest days” in the form of non-stop rain. Despite the gloomy weather, we made the best of our time in Montana!

Glacier National Park

Camping: We reserved a spot at the KOA in Whitefish just outside of the park, with the intention of getting up early the next morning to get a first-come first-serve spot inside. We had a feeling with the rainy weather, we might get lucky and be able to snag one the first day we arrived, and we did! We stayed at Apgar Campground. It had showers, restrooms, a gift shop, and a few restaurants.  For us, it was convenient how close we were to the visitor center and the park entrance, as we knew we would need some rainy day suggestions! (Pro tip: some National Parks have a campground status website now - here is Yellowstone's)

 What to do (when it’s raining almost the entire time)

  • Going to the Sun Road - With rainy skies and fog hanging low in the valley, there was really only one thing we could do - drive Going to the Sun Road and hope the clouds clear. After stopping at a few overlooks and meandering down a few trails, the clouds begin to clear and we saw the sun for the first time!

  • Logan Pass - At the top of Logan Pass we luckily found a parking spot, after circling for 15-20 minutes. Keep in mind this is a destination in the park, so get there early if you can. We hiked along the Hidden Lake trail, which was still covered with quite a bit of snow. Make sure to always carry sunglasses, even on overcast days. The reflection off the snow was harsh on my unprotected eyes!

  • Lake McDonald – Great sunset spot!

  • Get Ice Cream!

  • Board Games - luckily my Mom taught me to always bring something to do when it rains. Come prepared with a deck of cards, Yahtzee, chess, ConnectFour, whatever your game is, bring it!

@benjamintfleming

@benjamintfleming

Hidden Lake @benjamintfleming

Hidden Lake @benjamintfleming

Lake McDonald

Lake McDonald

@benjamintfleming

@benjamintfleming

Whitefish Mountain Resort (just outside of Glacier)

A few hour break in the rain led us to Whitefish Mountain Resort to get in as many downhill laps as we could. $50 for an all-day pass, with access to 25 miles of trails!

Rattlesnake National Forest - Missoula, MT

With clearer weather south of Glacier, we cut the trip short and headed back to Missoula for some awesome single track in Rattlesnake National Forest! The trails were steep, flowy, and dry!

Overall, This trip wasn’t what we had planned, but it was exactly what we needed! Some much needed time outside, relaxing and recovering!

@ Whitefish Mountain Resort

@ Whitefish Mountain Resort

@ Whitefish Moutain Resort

@ Whitefish Moutain Resort


Ironman 70.3 Coeur d'Alene, Idaho

Hannah Fleming

I said I’d be done after racing my first 70.3 in St. George, UT, and that was just a lie. I am hooked.

After factoring the logistics, training, and expenses, I knew 70.3 (or any long distance race) would need to be a special, once a year event for me. With that in mind, I wanted to choose someplace within driving distance, somewhere I could make a vacation out of, and a race I could feel prepared for without giving up ski season. Coeur d’Alene, Idaho was the winner!

 Training

IMG_6798.JPG

I followed Matt Fitzgerald's “Super Simple Ironman 70.3 Triathlon Training Plan”, the same plan as I did for my first 70.3 in 2018. Going into training I felt pretty fit coming off of a solid ski season. I made sure to get in more ski touring days this year, and focused on high cadence Zwift sessions during the winter. Despite putting in lots of days of activity throughout the winter, I quickly started feeling some of the worst pain I’ve ever had while running a month into training. This pain turned out to be a combination of extremely weak glutes (thanks to my lack of a strength training regimen), with a touch of bursitis. After a few trips to the chiro, sports masseuse and orthopedic doctor, I found myself on a glute strengthening Physical Therapy program. Four weeks of band work and stretching, paired with a lot less running, my pain was almost completely gone!

Throughout the recovery period, I was able to focus on putting in stronger days on the bike, and more time in the pool. In the pool I incorporated flippers into my workouts this year, which allowed me to focus on keeping good form once I began to get fatigued.

Nutrition

Full-disclosure, I think I’ve got some room for improvement with nutrition, especially when it comes to recovery. But I follow a plant-based, whole foods mixed with some junk food, diet. Below are some of the additional items I include, specific to training!

Pre-workout: Banana or HoneyStinger Waffle (Organic Vanilla and Gingersnap are my favorites!)

During: If I can, I make homemade power balls or have a mini bagel with PB&J. Otherwise, I’m a big fan of Trader Joe’s Scandinavian Swimmers, Clif Shots, Clif Bloks, and HoneyStinger waffles. For electrolyte replacement, I found that Skratch Labs works well for me, without upsetting my stomach.

Post-workout: Sometimes I’ll make a protein shake using Designer Protein. Most often, I’ll rehydrate with coconut water, and eat my meals as normally as possible.

Gear

The big hitters that I think make a difference!
Watch: Suunto 9 Baro
Bike: Trek Emonda ALR
Running Shoes: Salomon Predict RA
Glasses: Smith Optics Ruckus

Coeur d’Alene, Idaho! Where to stay / What to do

Coeur d’Alene is a big tourist town, especially the week of the Fourth of July. To escape the crowds and pay a bit less, we stayed at an Airbnb on Hayden Lake. Our cottage was a 5-minute bike ride away from the public beach, and a quick 20-minute drive from downtown CDA. In addition to beach time, we enjoyed checking out Tubb Hill’s Nature Trails in town.

IMG_6866.JPG

Race Report

Swim – Out and back, one loop, no complaints. Lake Coeur d’Alene is BEAUTIFUL. We lucked out with smooth waters, sunny skies, and 70-degree water temps. My only learning is to seed myself further up, I’d rather have people pass me than spend the entire swim weaving around people.

Bike – False flat. The first out and back was perfect for getting the legs warmed up after swimming before you begin the bigger climbs out of town. The ride is notoriously windy, and didn’t disappoint this year. While you’re grinding up the hills, make sure to take some time to look around you and enjoy the beauty of Idaho!

Run – The run was my least favorite, but also the best reason to race in Coeur d’Alene. The course is made up of two loops, which inevitably feels a bit demoralizing going into it. However, you’re always surrounded by other racers, and more importantly, the locals know how to cheer!

DSC00043.jpg
DSC00110.jpg
DSC00187.JPG

Spectators - I had a pretty awesome cheer squad who made the trip with me. My brother and Dad enjoyed riding bikes around the course, making sure to capture plenty of photos (I’d highly recommend renting an E-bike from Trek CDA!). The CDA residents also SHOW UP for this race. There were very few sections of the run course where there weren’t spectators and volunteers outside cheering, dancing, and spraying you down with water!

Overall: 11/10 recommend making a trip to Coeur d’Alene, Idaho for Ironman 70.3

DSC00298 2.jpg
DSC00336.JPG

Cutler Ridge to Dead Tree - Ben Lomond , Eden, Utah

Hannah Fleming

IMG_0546.JPG

If you like to ski and live in the Ogden, UT area, you’ve likely heard of people skiing the “back side of Ben Lomond”. Since taking my AIARE 1 class, this has been on the list of areas to check out. However, when doing research on where to go, we were having trouble finding any clear directions, so, here it is!

IMG_3491.jpeg

*This is just the route we took, on a day when avalanche danger was low. Make sure to check the avalanche forecast and weather before heading out*

Where to park:

 North Fork Park, Ben Lomond Trailhead. You can see the location here.

Where to go:

The route will start off on a service road, where you’ll quickly connect up to the nordic trail. When you reach the first Y in the road, turn left, turn right towards Cutler Flats. On the left you’ll see a turn-off, this will take you to the Mule Trail. Continue past this turnoff, following signs towards Ben Lomond. About ¼ mile down the road, you’ll see the turn off on the left. There will be a bathroom on the right. If you reach the bathroom, you’ve missed the turnoff.

Once you reach the skin track, it’s pretty well defined. Follow this along for another 1.5 or so, and you’ll reach the dead tree area. There will be a weather station on the right side of the skin track. We transitioned, and headed back down in the general direction of where we came from. We skied down a few pitches on the south side of the skin track, and one on the north side of the skin track, then pretty much followed the skin track all the way back down to the nordic center. Next time, we will definitely plan on staying out a bit longer. But this was a perfect first introduction to the zone.

Difficulty:

This trail is overall pretty mellow, with 2300 feet of gain over 3 miles (I had to borrow data from a friend after pausing and not resuming my watch!) . I only had to put up my risers one time, for a few hundred feet of climbing.

IMG_0534.jpg
IMG_0538.JPG

My First Moab Mountain Bike Trip!

Hannah Fleming

Living just four hours away, Moab is more than doable for a weekend trip. It’s my second-year mountain biking and I’ve been wanting to make it down to the infamous tacky rocks all season. With ample vacation time to use before the end of the year, I planned a three-day weekend and made it happen!

Heading south in late November means it still warms up to 45-50 during the day, perfect riding weather. I was comfortable with shorts, t-shirt and a long sleeve on Friday and Saturday. For the morning ride on Sunday, I added tights and a base layer.

As far as choosing trails, I mainly ride intermediate, with some blacks mixed in. My true skill level is more like advanced beginner, but it’s good to push yourself : )


Ride 1: Navajo Trail System, Rocky Top

Trail rating: Blue/Black

The first 1/2 mile of this, I was NERVOUS. I had never ridden on rocks before and I did not trust the grip at all. Once I finally felt comfortable and used to the rolling hills, it was SO much fun. I quickly learned how important it is to trust the bike and the tires.

This trail is pretty choppy compared to the flowy downhills you find at resorts (where i’m used to riding.) I was surprised at how exhausting the constant up and downs were. Make sure to bring lots of water!

Ride 2: Klondike Bluffs, Dino Flow -> Little Salty -> Baby Road -> Mega Steps -> Alaska -> Homer

Trail ratings: Blue, Blue/Black, Black/Blue

Dino Flow was a perfect warm up for the rest of the loop. As soon as you hit Little Salty, the trail turns uphill and you begin climbing up a rocky trail. I felt comfortable the majority of the time, until we hit Mega Steps and Alaska. This is when I learned the important lesson of keeping your chain clean. My chain was dirty, and a hard fall bent my derailleur hanger, forcing my chain to skip a few gears and not work correctly. The silver lining here being we took an awesome shortcut (Homer) back to the car, that ended up being a super fun downhill where I didn’t even have to worry about shifting. Lesson learned, take care of your bike!

Ride 3: Moab Brand Trails, EZ, Lazy, North 40

Trail ratings: Green/Blue, Blue/Black

After pushing myself the past two days with more technical trails, I wanted to take it easier before heading home. This loop was super fun, mainly dirt trail for the first three miles on EZ/Lazy before heading out to North 40. North 40 was again a bit more challenging, but doable besides a few steep stairs.

I’m already looking forward to my next bike trip to Moab. I’d love to hear your recommendations for your favorite intermediate trails!

IMG_1676.JPG

Grand Teton National Park – Wyoming – Part 2

Hannah Fleming

Traffic

Traffic

For the second year in a row, Labor Day Weekend was spent in Grand Teton National Park. This year, with a different crew! You can check out the details from Labor Day 2017 here.

Quick background, stolen from last year’s post:

Grand Teton National Park stretches 310,000 acres across the Northwest Corner of Wyoming. The Park is located 10 minutes South of Yellowstone National Park and just North of the popular outdoor town destination of Jackson Hole.

Grand Teton National Park is known for the unique formations of the Teton Range. Home to nine 12,000 ft. peaks, 11 glaciers and sprinkled with alpine lakes. The jagged peaks of the Range are a popular destination for skiers, climbers, mountaineers, and hikers.

Getting there: From SLC it is an easy 4.5 hour drive North to the Southern Park entrance. If you’re staying in the Northern part of the park, that will add another hour.

Where to stay:

  • Camp sitesThere are six large campgrounds in the Park, as well as backcountry permits available. We grabbed a spot at the same place as last year, Colter Bay. Colter Bay is in the northern part of the park, right on Jackson Lake. Camping was $30 / night, but well worth it for facilities, bear box, convenience store, marina to rent Kayaks/Canoes, and being RIGHT on Jackson Lake. We were hoping to stay at Jenny Lake, but realized we would need to be in line waiting by 6AM. Leaving from SLC, this would mean a bit too early of a wakeup call.

  • BLM Land: If you don’t mind driving into the park every day, there is plenty of surrounding BLM land to camp

What to do:

·       No matter what type of outdoor rec you’re interested in, you can find it at Grand Teton National Park or somewhere in the surrounding area! There’s access to everything from hiking, trial running, road running, cycling, mountain biking, climbing, skiing, swimming and paddling. Make sure to stop into the Visitors Center, pick up a few maps, and talk to a Ranger for recommendations.

Day 1:

Arriving just around lunch-time at Colter Bay, we set up camp, and with bear spray in hand, went out for a quick run to stretch the legs. Colter Bay is a great location, with easy access to a trail running along Jackson Lake (run GPS here). While waiting for the rest of the crew to arrive, we relaxed along the Lake until a delicious camp dinner of Jackfruit Tacos.

Relaxing at the beach

Relaxing at the beach

Jackfruit tacos: Use pre-packed Tex-Mex Jackfruit mix, and ready to go rice/quinoa mix. Easy tacts topped with lettuce, tomatoes, avocado and pico de gallo!

Jackfruit tacos: Use pre-packed Tex-Mex Jackfruit mix, and ready to go rice/quinoa mix. Easy tacts topped with lettuce, tomatoes, avocado and pico de gallo!

Sunset at the lake

Sunset at the lake

Day 2: (Big Hike Day)

IMG_9706.JPG

Looking for a full-day hike, we chose Cascade Canyon to Lake Solitude. You can opt to take the ferry across Jenny Lake to cut out 4 miles, and 1500 extra feet of vert, we chose this option. Arriving to the East Boat Dock around 9 AM, we just barely beat the rush. A round trip ticket is $15, and reservations are not necessary (all the details here at Jenny Lake Boating).

Don’t be discouraged, this hike starts off steep for the first few miles, then becomes gradual. I’d recommend trekking poles if you have any knee issues, as they will be helpful on the way down!

Cascade Canyon Trail follows a rushing river deep into the Tetons. Along this trail you’ll be surrounded by the towering Teton peaks, see wildflowers, cross a few wooden bridges, and spot multiple waterfalls in Cascade Canyon. Just pass Cascade Canyon, the trail will take you Lake Solitude. This alpine is lake is the perfect lunch spot, but be prepared with an extra layer as it gets a bit windy!

After returning to camp for a quick pasta dinner, we loaded up into the car, and drove around the park at dusk in hopes of seeing some wild life!

IMG_9034.JPG
IMG_0953.JPG
PC: @benjamintfleming

PC: @benjamintfleming

Day 3: (Unexpected Big Hike Day)

After a long hike the day before, we were looking for a shorter, incredibly scenic hike, with enough time to head into Jackson for dinner. We chose the 8.5 mile hike (you can see our route here) around Jenny Lake, with a little over 1,100 feet of elevation gain. While it was a bit more strenuous than we were expecting, we saw a Moose, almost saw a bear, and enjoyed a view of the lake the entire time!

For dinner we headed into Jackson to Snake River Brewing and dessert at Häagen-Dazs® Ice Cream Shop (they have #plantbased flavors!)


Jenny Lake

Jenny Lake

PC: @benjamintfleming

PC: @benjamintfleming

 Have you been to Grand Teton National Park? Let me know if you have any suggestions of things to do next Labor Day!

Summer in Alaska: Seward - Hatcher Pass - Anchorage

Hannah Fleming

10 years ago, my Dad and Step-Mom took my brothers and I on a trip to Alaska over the summer solstice. We rented a house in Seward for a week, explored Kenai Fjords, hiked up Mt. Marathon, and soaked in the Alaskan beauty. Fast forward 10 years, and my Dad and Step-Mom now live in Anchorage.

Day 1: SLC -> Anchorage -> Ptarmigan
Straight from the plane, we jumped onto my Dad’s rig, Ned, and headed South to Ptarmigan Campground. Arriving late, we went straight to bed, knowing it was going to be an early morning.

IMG_1063.JPG

 Day 2: Ptarmigan -> Seward

5:30 AM wake-up call - we were headed to Seward to Kayak in Kenai Fjords!

We used the tour company Liquid Adventures. They’re focused on the small group experience and is the only company that has a private boat to take you into the Fjords. Unlike many other companies in the area, you will truly be guided by professionals, who have over 3 years of experience, minimum. They also work with a private water taxi, to make sure your trip through the rough waters between Resurrection Bay and the Northwestern Channel is as smooth and safe as possible.

We chose the Aialik/Northwestern Explorer trip. After a two-hour boat trip, we unloaded the kayaks and began paddling towards Northwestern Glacier. After paddling four miles amongst glacial ice chunks, we stopped roughly ½ mile away from the Northwestern Glacier and enjoyed our picnic lunch. Hearing ice chunks break off sounded like thunder every time a new chunk would crack off.

Here is the map of our whole paddle. 

Captain Jess driving through the rain. PC @benjamintfleming

Captain Jess driving through the rain. PC @benjamintfleming

Prepping the kayaks

Prepping the kayaks

Geared up!

Geared up!

The Captain and our guide taking down the kayaks.

The Captain and our guide taking down the kayaks.

Dad enjoying the paddle PC @benjamntfleming

Dad enjoying the paddle PC @benjamntfleming

Paddling towards Northwestern Glacier PC @benjamintfleming

Paddling towards Northwestern Glacier PC @benjamintfleming

Day 3: Mt. Marathon -> Hatcher Pass

Muddy, steep, slippery slope

Muddy, steep, slippery slope

Mt. Marathon race is an iconic Seward trail race, and well-known in the niche trail running world. This gnarly race, takes you up the face of Mount Marathon, averaging a slope of 34 degrees. After a small warm up to the base of the mountain, racers gain roughly 2700 feet in .9 miles. This often slippery, steep slope requires shoes with good grip, gloves, and a tough runner.

My brother and I decided we wanted to see what it was all about, and made a go at it. The day we ran was a bit muddier than we were hoping for, and took us about an hour longer than we were planning. Note that there are no course markings, so checking your map every .1 miles is inevitable to make sure you’re on track. Our whole run can be seen here.

After Mt. Marathon, we decided to head north towards Palmer and Hatcher Pass. On our way north we stopped at Alyeska Ski resort, as well as our favorite, Moose’s Tooth pizza. We found an awesome spot to camp right at the Gold Mint Trailhead parking lot, that would be the perfect starting point for my birthday run the following morning.

Descending Mt. Marathon

Descending Mt. Marathon

Descending Mt. Marathon

Descending Mt. Marathon

Salomon Family

Salomon Family

Drying off wet shoes

Drying off wet shoes


Day 4: Hatcher Pass – Birthday!

It’s becoming a tradition to do a long run on my birthday, and that’s just how we started the day along the beautiful Gold Mint trail.

Following our running and hiking, we continued north along Hatcher Pass Road, to check out the Independence Mine State Historical Park and Hatcher Pass Lodge. My Dad whipped up a delicious birthday brunch of Veggie and Tofu Chilequiles from Thug Kitchen.

Birthday Run PC @benjamintfleming

Birthday Run PC @benjamintfleming

Huts at Hatcher Pass

Huts at Hatcher Pass

Dad along the Gold Mint trail

Dad along the Gold Mint trail

Beautiful Alaska PC @benjamintfleming

Beautiful Alaska PC @benjamintfleming

Day 5: Anchorage -> SLC 

After some plant-based ice cream birthday celebrations the night before, it was time to pack up and head back to SLC. If you’re in Anchorage and want to spend a few last minutes soaking up the beauty before heading to the airport, I’d recommend going for a walk along the Coastal Trail.

Final stretch of the legs

Final stretch of the legs


Stanley, Idaho - Sawtooth National Forest

Hannah Fleming

Growing up in the midwest I had a very distorted, romanticized view of the West. I thought all of the skiing was in Colorado and Utah, and the rest was just farmland or vast nothingness. I was definitely wrong.

Once I moved to Utah, Idaho quickly moved onto my radar and to the top of the list of places to go for winter and summer mountain adventures.

With the 4th of July Holiday falling on Wednesday this year, I took the opportunity to take the rest of the week off and head up to Sawtooth National Forest!

Camping

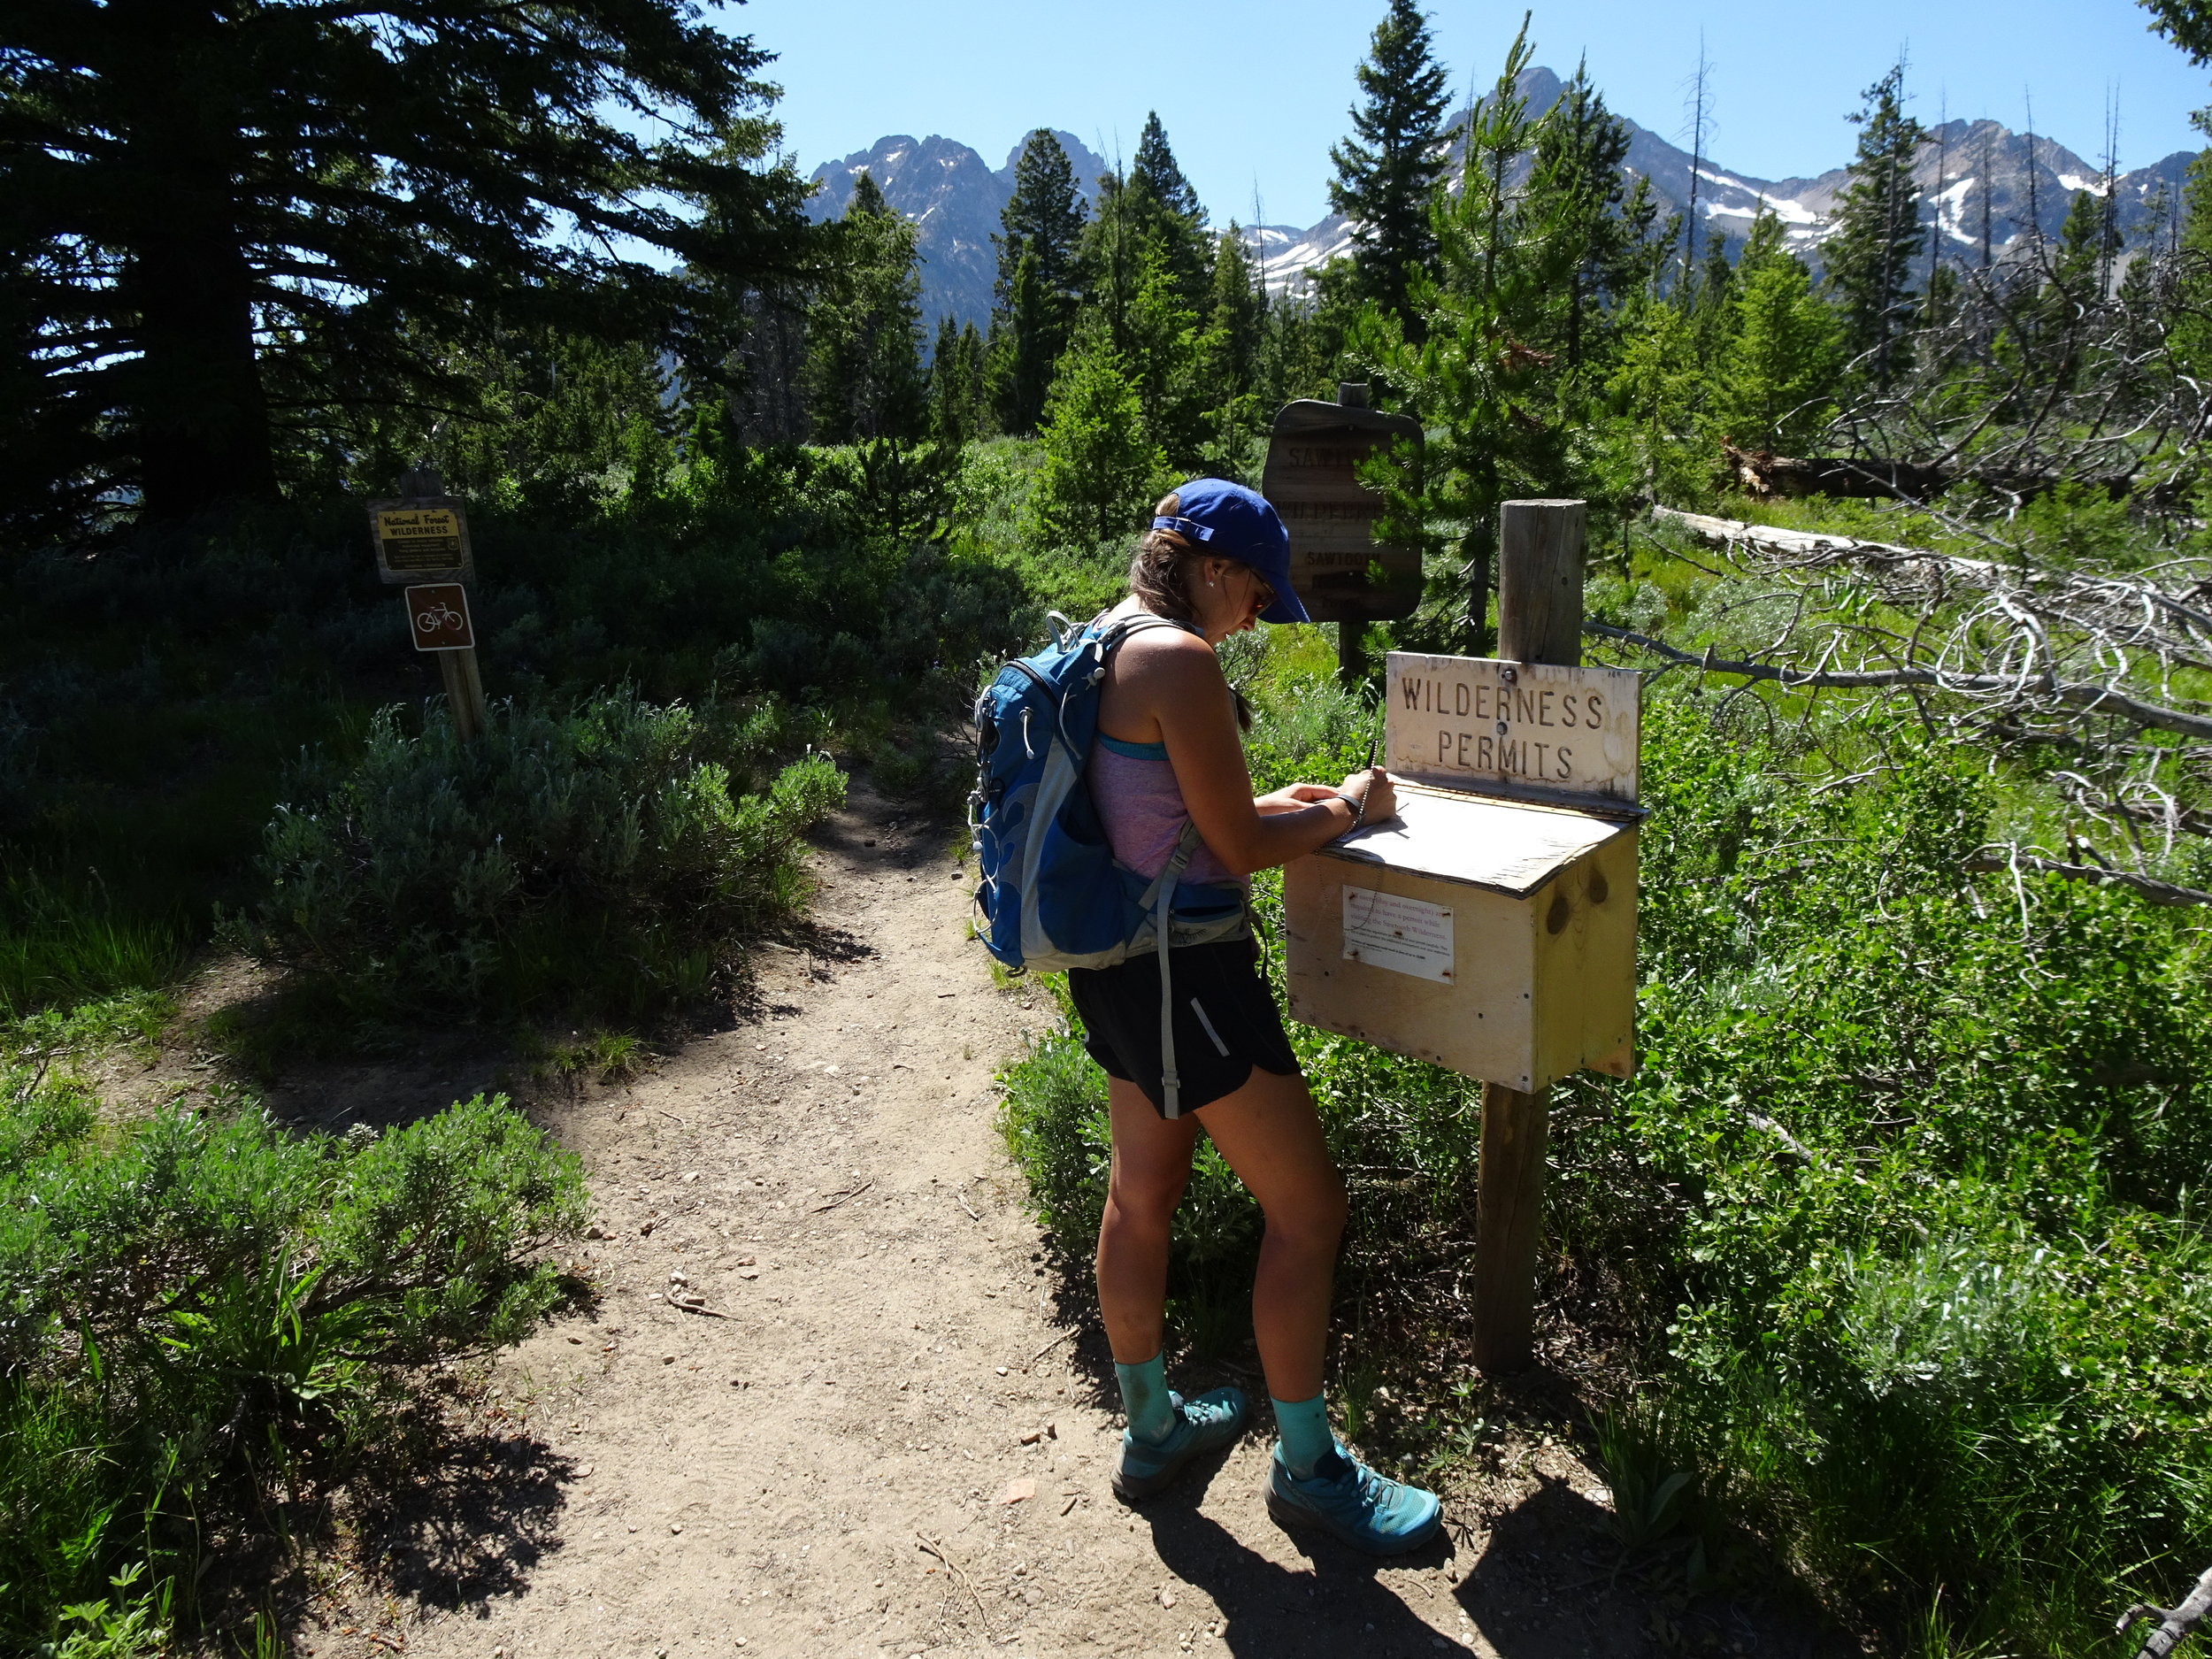
By the time we decided to go, all sites in the region were booked up. I spent a few hours finding first-come first-serve sites in the Stanley / Galena region, made a list, and hoped we’d get lucky! I used recreation.gov and freecampsites.net. 

We left Ogden by 7 AM on Thursday, and headed straight for the first site on my list – Sunny Gulch. Located North of Galena, and just south of Stanley, we would have access to hiking, biking, lakes and rivers.

Rolling into the campground around 1 PM, we had plenty of sites to choose from. We discovered this is the perfect time to look for a site, as the campers from the previous night were heading home, and lots of people wouldn’t arrive until closer to dinner. We chose a shady spot, complete with a nice fire ring, picnic and prep table. The campground runs along the Salmon River, providing a perfect natural ice bath for sore feet after a long day of hiking.

Next time I camp in the region, I’ll try and book a bit sooner and get a spot on the West side of State Road 654B with a better view of the mountain range. But for last minute, this Sunny Gulch was perfect.

DSC00110.JPG
Salmon River


Salmon River

DSC00122.JPG

After setting up camp, we made our way to Redfish Lake to go for a hike. Without planning a specific hike (something I don’t normally do), we found the trailhead, packed two water bottles, and started up the trail towards Marshall Lake. The hike would be roughly 10 miles round trip, with over 2200 ft. of elevation gain. Winding away from Redfish Lake, and deeper into the Sawtooths, the trail was beautiful. About one mile out from the Lake, there was a fork in the trail, without any signs pointing to which trail would take us to Marshall Lake (you can see photos of this. This is the first time I can remember hiking without a map, and our we quickly learned our lesson.

We chose the fork to the left – 1. It looked like a more scenic route and 2. It looked steeper, so we were thinking it would be a shortcut. ¾ of a mile later, the trail ended in a valley between two mountains, with Marshal Lake just on the other side of the ridge. We chose to scramble up boulders ½ mile up the ridgeline, hoping we could just scramble down the other side, ending up at the lake. We made it to the top, peered over the other side, saw beautiful Lake Marshall…and knew we would have to return the way we came. It was nearly 90 degrees, both of us were out of water, and all I wanted to do was get back to the trailhead.

Using the breadcrumb feature on our Suunto GPS watches (Suunto 9), we made our way back to the trail, and returned safely to the trailhead.

This was a beautiful hike, but left me with a humbling reminder to respect nature, and to always be prepared. Just like I learned in Girl Scouts :)

The end of the trail, beginning of scrambling

The end of the trail, beginning of scrambling

Scrambling

Scrambling

Scrambling

Scrambling

DSC00146.JPG

(Ride & SUP) Day 2: Lake Stanley

 Determined to make up for yesterday’s mishap, we were determined to go for a great ride, and be fully prepared.

Ride – Stanley Lake to Overlook Point

IMG_9492.JPG

Starting at the Stanley Lake trailhead, the smooth dirt trail takes you through beautiful fields as it makes it’s way into the woods. The “moderate” trail could be classified as “easy” until you reach the first river crossing. Advanced riders can pedal across, I had a good foot-numbing wade across. From here the trail gets a bit more technical, with lots of down trees from recent flooding. A few sections of trail was washed out completely. Despite our best efforts, there was one last river crossing that I was not game for before reaching the top, and for the second day in a row, we did not make it to the destination.

However, with 1500 feet of climbing up, we knew we were in for a fun downhill (outside of a few sections where I had to pick up my bike over trees every 50 feet)!

IMG_9485.JPG
IMG_9430.JPG

SUP- Stanley Lake

We ended the day with an awesome paddle board session / took time to rinse off the dirt from the past two days. NOTE: to paddle board in Idaho, you need to pick up an Idaho Invasive Species sticker. You can pick these up at the super market in town. The sheriff in town told us these will soon be available at more of the boating/fishing stores as well.

GOPR8323 2.JPG
Cleaning up in the lake using bio-degradable soap

Cleaning up in the lake using bio-degradable soap

(Ride) Day 3: Galena Lodge

After two peaceful nights of camping, we packed up our things and headed back south towards Utah, stopping along the way at Galena Lodge.

Ride – Galena Lodge

After driving along State HWY 75 in what seems like the middle of nowhere, you turn a corner, and run into Galena Lodge. The Lodge offers great, healthy food options, along with maintaining 40+ miles of awesome trails. 

We chose to connect Psycho Ride -> Outhouse Loop -> Gladiator -> RIp & Tear for a 6.5 mile fun loop, complete with lots of climbing, and my first time riding what felt like a roller-coaster of bermy-downhills.

DSC00227.JPG

Takeaways for next time:

  • Plan a campsite earlier
  • Do more research on hikes and rides
  • Stay longer! 


Race Recap My First 70.3 - Ironman St. George 70.3

Hannah Fleming

A year ago, I signed up for my first Sprint Tri, the XTERRA PAN AM Offroad Championship race at Snowbasin Resort in Eden, UT. I’ve been a runner the majority of my life, and had recently picked up cycling. But swimming…I had no formal experience outside of growing up swimming near the Great Lakes. However, working for Suunto, the title sponsor, was enough temptation for me to take the plunge and sign up!

Fast forward to crossing the finish line last September at Snowbasin Resort, I was hooked! 

Disclaimer: This post is for all the other newbie Triathletes out there. When researching if St. George was a bad idea for my first 70.3 I had a tough time finding anyone’s perspective. I hope you gain something from this :)

Choosing a race?

Because this was my first 70.3, I wasn’t willing to invest in a coach just yet. Instead, I reached out to the Betty Squad (Betty Design's team of ambassadors) and took to researching on Google to find a beginner plan. After many recommendations, I ended up going with Matt Fitzgerald’s Super Simple Tri Plan.

Training

My training consisted of:

·      3 x swim & run days / week (one longer distance day)

·      3 x cycle / week (one longer distance day)

·      1 rest day

Swim
With the race being in May, I spent all of my swim training in a pool. I even took some beginner swim lessons to brush up on some of the basics.

Bike
80% of my training was done on my trainer, using the Zwift app. This was convenient, and with shorter winter days, I didn’t have the chance to get outside after work before dark. As soon as it started to stay lighter longer, and warmed up enough that I was okay with arm and leg warmers, I tried to ride outside at least for all of my longer efforts.

Run
Much of my running in January and February was spent on the treadmill, with some of the longer efforts done outside on the weekend. I found it easiest to go straight from the pool to the treadmill in the mornings, and have my workouts completed by the time I went to work. We had a fairly mild winter in Utah this year, and by March, I was able to switch to running outside.

Other factors
Training through the winter often meant hopping on the trainer or going for a quick run through the neighborhood after a long day of skiing, or often times…missing ski days all together. To help find a balance between making sure I was prepared for St. George, and not missing out on too many ski days, I did both, as much as I could without feeling burnt out. If a long, hard, powder day left my legs feeling trashed, I’d listen to my body and cut my cycle in half, or maybe skip it all together.

I also made a trip down to St. George 6 weeks before the race to ride the course and swim in the reservoir. I’m so glad I did this and would recommend training the course as much as possible. (Before XTERRA – my ‘normal’ MTB route was the course, this helped a ton!)

Filling salt tubes with Base Salt - Salt + Electrolytes

Filling salt tubes with Base Salt - Salt + Electrolytes


Nutrition
Nutrition is one area where I seem to struggle with a bit. I don’t stick to a plan, or make sure that I’m always drinking a protein shake following a workout. I’ve eaten plant - based for over four years, and have never had issues with recovery or energy throughout workouts. I tried to eat pretty clean, with big oat bowls for breakfast, lots of veggies, grains, potatoes, peanut butter, bread, and maybe a few too many bars. To fuel through longer workouts, I used dates, homemade “power balls” (recipe to follow), Waffles, salts, and some gels.


Gear

- Tri Kit - Betty Designs Squad Tri Top and Bottoms, similar to this top and this bottom.
- Watch - Suunto Spartan Ultra 
- Zoot - Chill Out Arm Coolers

Swim
TYR Women’s Hurricane C1 Wetsuit
TYR Special Ops 2.0 Polarized Goggles  
- Ear Wax
- Nose clip (don't feel alone if you use one!)
Bike
- Trek Emonda ALR
- Bontrager Hilo Speed Box
- Bontrager Velocis MIPS Helmet
Bontrager Sonic Women's Road Shoe 
- Chamois Butter
- Topical Edge
- Sunglasses - Rudy Project Tralyx
Run
- Salomon Sonic RA
- Salomon Air Logo Cap
- Glide


Race Day

I woke up well before my 4:15 AM alarm, after a surprisingly good night’s sleep. We made coffee in the hotel room using some of my favorite coffee, a French press, and jet boil (probably not the safest) and ate my standard breakfast of a mini bagel, almond butter, and banana.
I opted to take the bus instead of riding with my brother and friend who had come down to support. This gave me time to focus on the race, and have some time to myself. They ultimately ended up meeting me an hour later after I completed body marketing and setting up my transition zone, and stayed by my side until 15 minutes before I entered the water.

Swim – The swim was going to be my weakest leg, I knew this going in. After seemingly choking on water for the first 100 yards, my mouth got used to the colder water, and I got my breathing under control. The thing I love about open water swimming, is you know there’s one set destination, instead of lap after lap in the pool. For me, my mind was focused on just getting to the next buoy, knocking off one buoy at a time until I reached the end.

Beautiful views at T1

Beautiful views at T1

Bike Course

Bike Course

Bike – My goal for the bike was pretty simple, capitalize on my strengths (climbing hills), try not to touch the brakes too much on the downhill, eat, and hydrate. I stuck to the plan and finished the bike ready to run.

Run – By the time I left T2, it had reached 90 degrees and the sun was shining strong. I took my time the first 6 miles, making sure to walk when I felt I NEEDED to, knowing I wanted to pick up the pace on the downhill on the back half of the race descending back into town. I walked every aid station, drank a cup of water, put ice down my pants, shirt, and under my hat, and made sure to take in a gel around mile 8. I finished the run with a long sprint through the finish line.

On the way back from the second out and back

On the way back from the second out and back

Selfies w/ Dave

Selfies w/ Dave

I went into this race knowing I would do my best, and ultimately go a pace I felt comfortable with, where I knew I could finish strong - and I’m so happy I was able to stick to those intentions.

My final time - 7:12

My final time - 7:12

I’m so grateful to have an awesome support crew and mentors in my life who cheered me on the past few months, and a few who even followed me along the course to provide lots of extra encouragement. Finger’s crossed they come out next race, because I’m pretty sure this won’t be the last 70.3!

Recommendations & things for next time:
- DO Have support crew bring bikes again, it worked well for them to be able to ride around the course. They were the only supporters on the run section! (All of these photos are from them!)
- DON'T plan on getting a sport's massage if you come in after 7 hours, they already closed the booth
- DON'T buy Tri stickers unless you really want them crisp for photos, the sharpie came off just fine!
- DO come down 1.5-2 days in advance to sit through athlete briefings and set up transition zones early in the day
- DO train more with salt tablets
- DO train more on fast downhills
- DO push a little harder, you'll have enough gas in the tank
- DO go back to the reservoir again after the race - this felt SO good!
- DO share the Ironman tracking app with your family the day before the race.
- DO practice swimming in a straight line - reference Strava segment above to see how not straight I swim :)
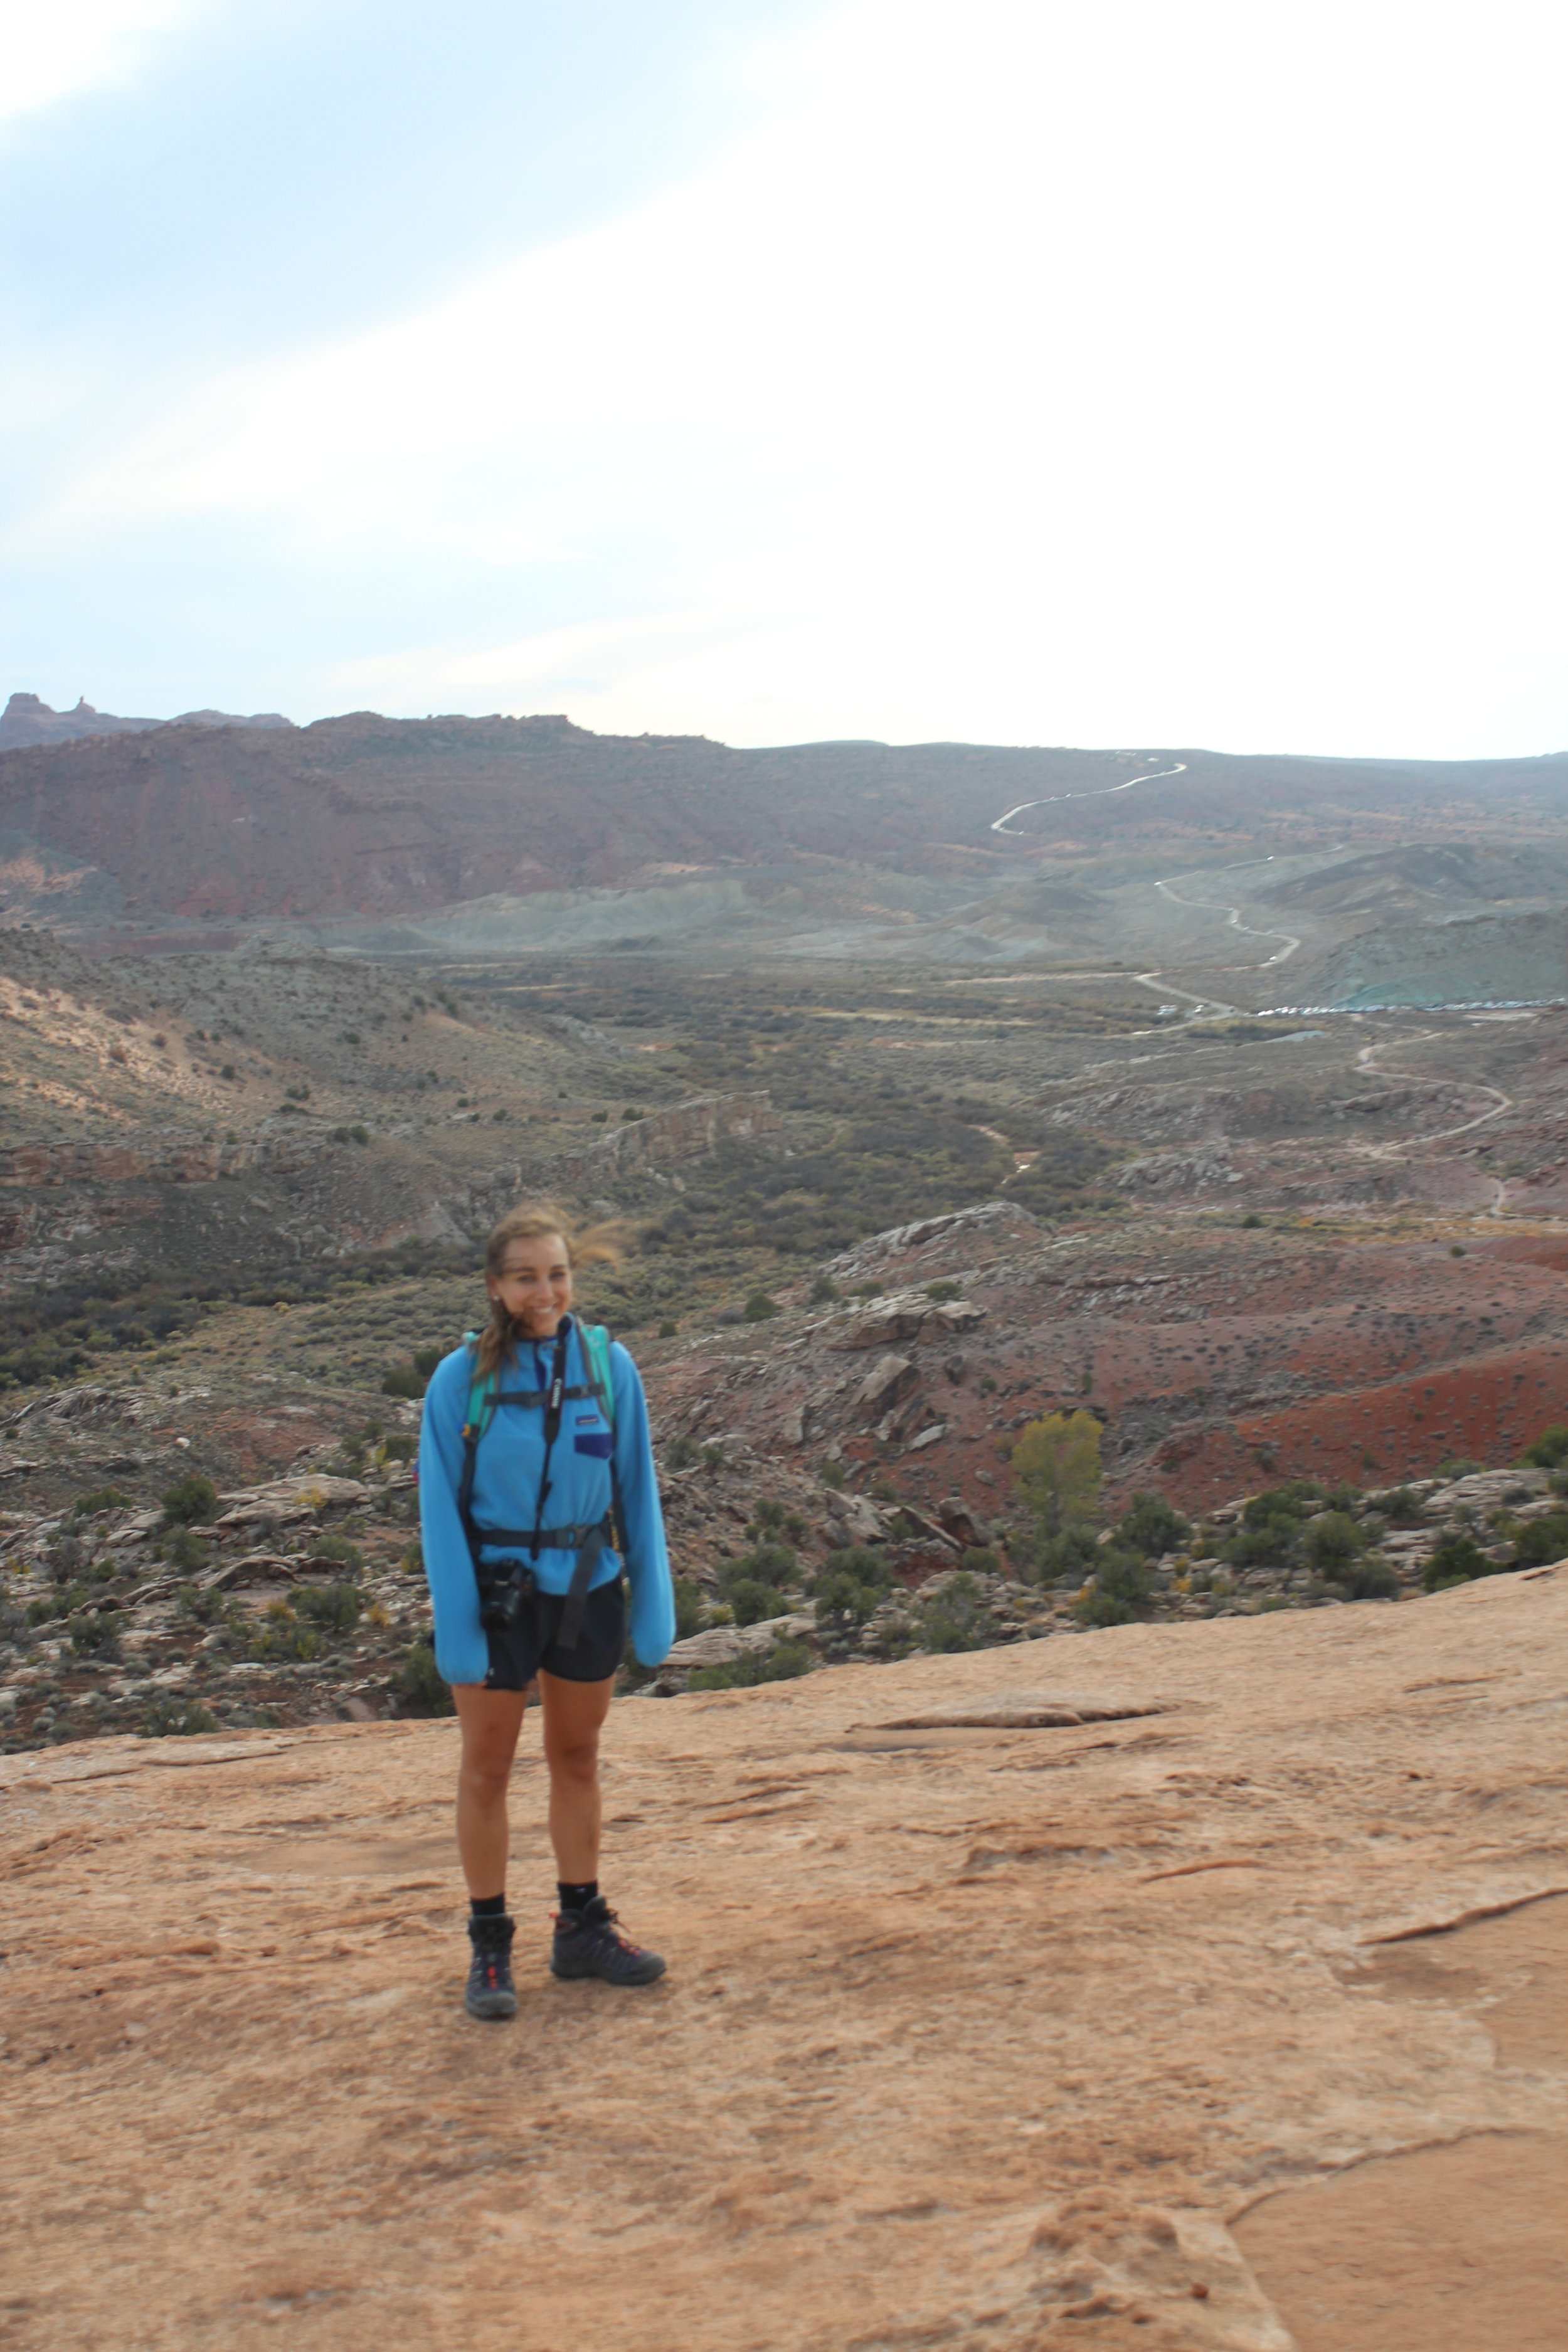
- DO have lots of fun
- DO this course again!!
 

Feel free to reach out if you have any questions!

Bike Trainer Upgrade - Zwift Compliant

Hannah Fleming

So, you want to Zwift, but don’t want to buy a smart trainer to reap the benefits? Me neither. Below is everything you need to know about a few upgrades you can make to your "dumb" trainer that will allow you to Zwift.

Why do I need to upgrade my trainer?

First of all, why can’t you Zwift with your trainer just the way it is? In order to get the most of the app, the training, and the rides, the bike computer (in this case, Zwift) needs to be able to tell how much power you’re pushing out (Watts) and how quickly you’re pedaling (cadence). Combining these two metrics with your height and weight, it can accurately access the intensity of your ride.

What do I need?

 1.     Heart rate belt – A Heart rate belt/strap will the computer how hard your heart is working. This allows you to train in specific zones, track you progressions, etc. This is also helpful for those of you who use Strava. Zwift will push your workouts directly to Strava, and those of you with Strava premium, you’re able to analyze your Heart Rate after each workout within the app via their Suffer Score. ( $85 - Suunto HR Belt)

2.     Bike Speed & Cadence Sensor – This kit has what you need to measure your speed and cadence. Zwift (acting as a bike computer) will calculate your power based on your speed, height, and weight. ($55 - Garmin Bike Speed and Cadence Sensor)

3.     ANT+ Stick – Think of this as Bluetooth from your sensors to your computer. This is a USB stick that plugs into your computer.  ($50 - Garmin ANT+ Stick )

If you’re using an iPad to run the Zwift app, you will need a slightly different setup. Here is an article explaining that set up. I only have experience with using a laptop. Above are the items I used to connect my Cycleops Magneto trainer.
*If you have Strava premium, make sure you use your discount at Competitive Cyclist*

How to get set up?

1.  Create an account, and download Zwift onto your computer.

2.  Connect your Bike Speed & Cadence Sensors to your bike as described in the directions.

Speed sensor

Speed sensor

Cadence sensor

Cadence sensor

3.  Launch Zwift, and follow the set-up instructions (know your trainer model and tire size). You will then be prompted to pair your devices. In this case a speed sensor, cadence sensor, and heart rate.

4.  Log-in, and start Zwifting!

Helpful Zwift tips

1.  Customize your avatar! Do this by clicking "menu" on the screen, then "customize".

2. Do an FTP test. Finding out your Functional Threshold Power is imperative for doing workouts in the app. Everything from your warm-ups, sprints, intervals, and "sweet spot" training is determined by your FTP.

3. Make sure your trainer is set up with the proper resistance on the tire. This can skew the perceived power you're pushing out. Also, make sure to regularly pump up your tires as you would on road rides. (Instructions to set up a Cycleops Magneto)

4. Have fun! While you're at it, connect with me on Zwift @hannahfleming!

Southern Utah National Parks - Arches, Canyonlands and Capitol Reef

Hannah Fleming

Logistics

IMG_6421-1.JPG

As most trips do, our trip started at the airport. With my car packed to the brim with camping gear, food, Rinse Kit portable shower, and enough extra layers to make sure no one was cold, I headed to the Salt Lake City airport to pick up my mom and brother for four days of exploring Southern Utah’s National Parks.

From the airport, we began south, stopping at a hotel in Spanish Fork to get a few hours of sleep before continuing on to Arches National Park in the morning.  


Day 1 (Friday): Arches National Park

Despite waking up early to make our way to the Park and to find a camp spot (we assumed we’d end up on BLM land – hence the Rinse Kit), we ended up at Archview RV Park & Campground. This campground felt luxurious. In addition to having Wi-Fi near the main camp store, the newly constructed bathrooms had marble counter tops and a stone-tiled shower floor. Camp heaven.

It was noon by the time we set up camp and were finally on our way into Arches National Park! 

IMG_5807.JPG

Following our mandatory stop at the visitor center to get our National Park Passports stamped, we made our way to the iconic Delicate Arch (the arch found on Utah’s license plate) at the far end of the park. You can expect a beautiful, windy, and likely crowded hike as you follow the 2.5 mile trail out to Delicate Arch. Even with the crowds, you can get an awesome shot under the Arch with a little patience.

Without much daylight left, we made our way back towards to park entrance, stopping at Panorama Point, Balanced Rock, Double Arch, and North and South Windows. With trails under .5 mile each, this was a great way to end the day and make the most of our time in the park.

With a major Mountain Bike race in town, restaurants were crowded, and we ended up at good ol’ McDonalds (while not the best, salad + fries satisfies the plant based diet).

IMG_5817.JPG
IMG_5839.JPG

Day 2 (Saturday): Arches National Park and Needles Overlook

IMG_5848.JPG

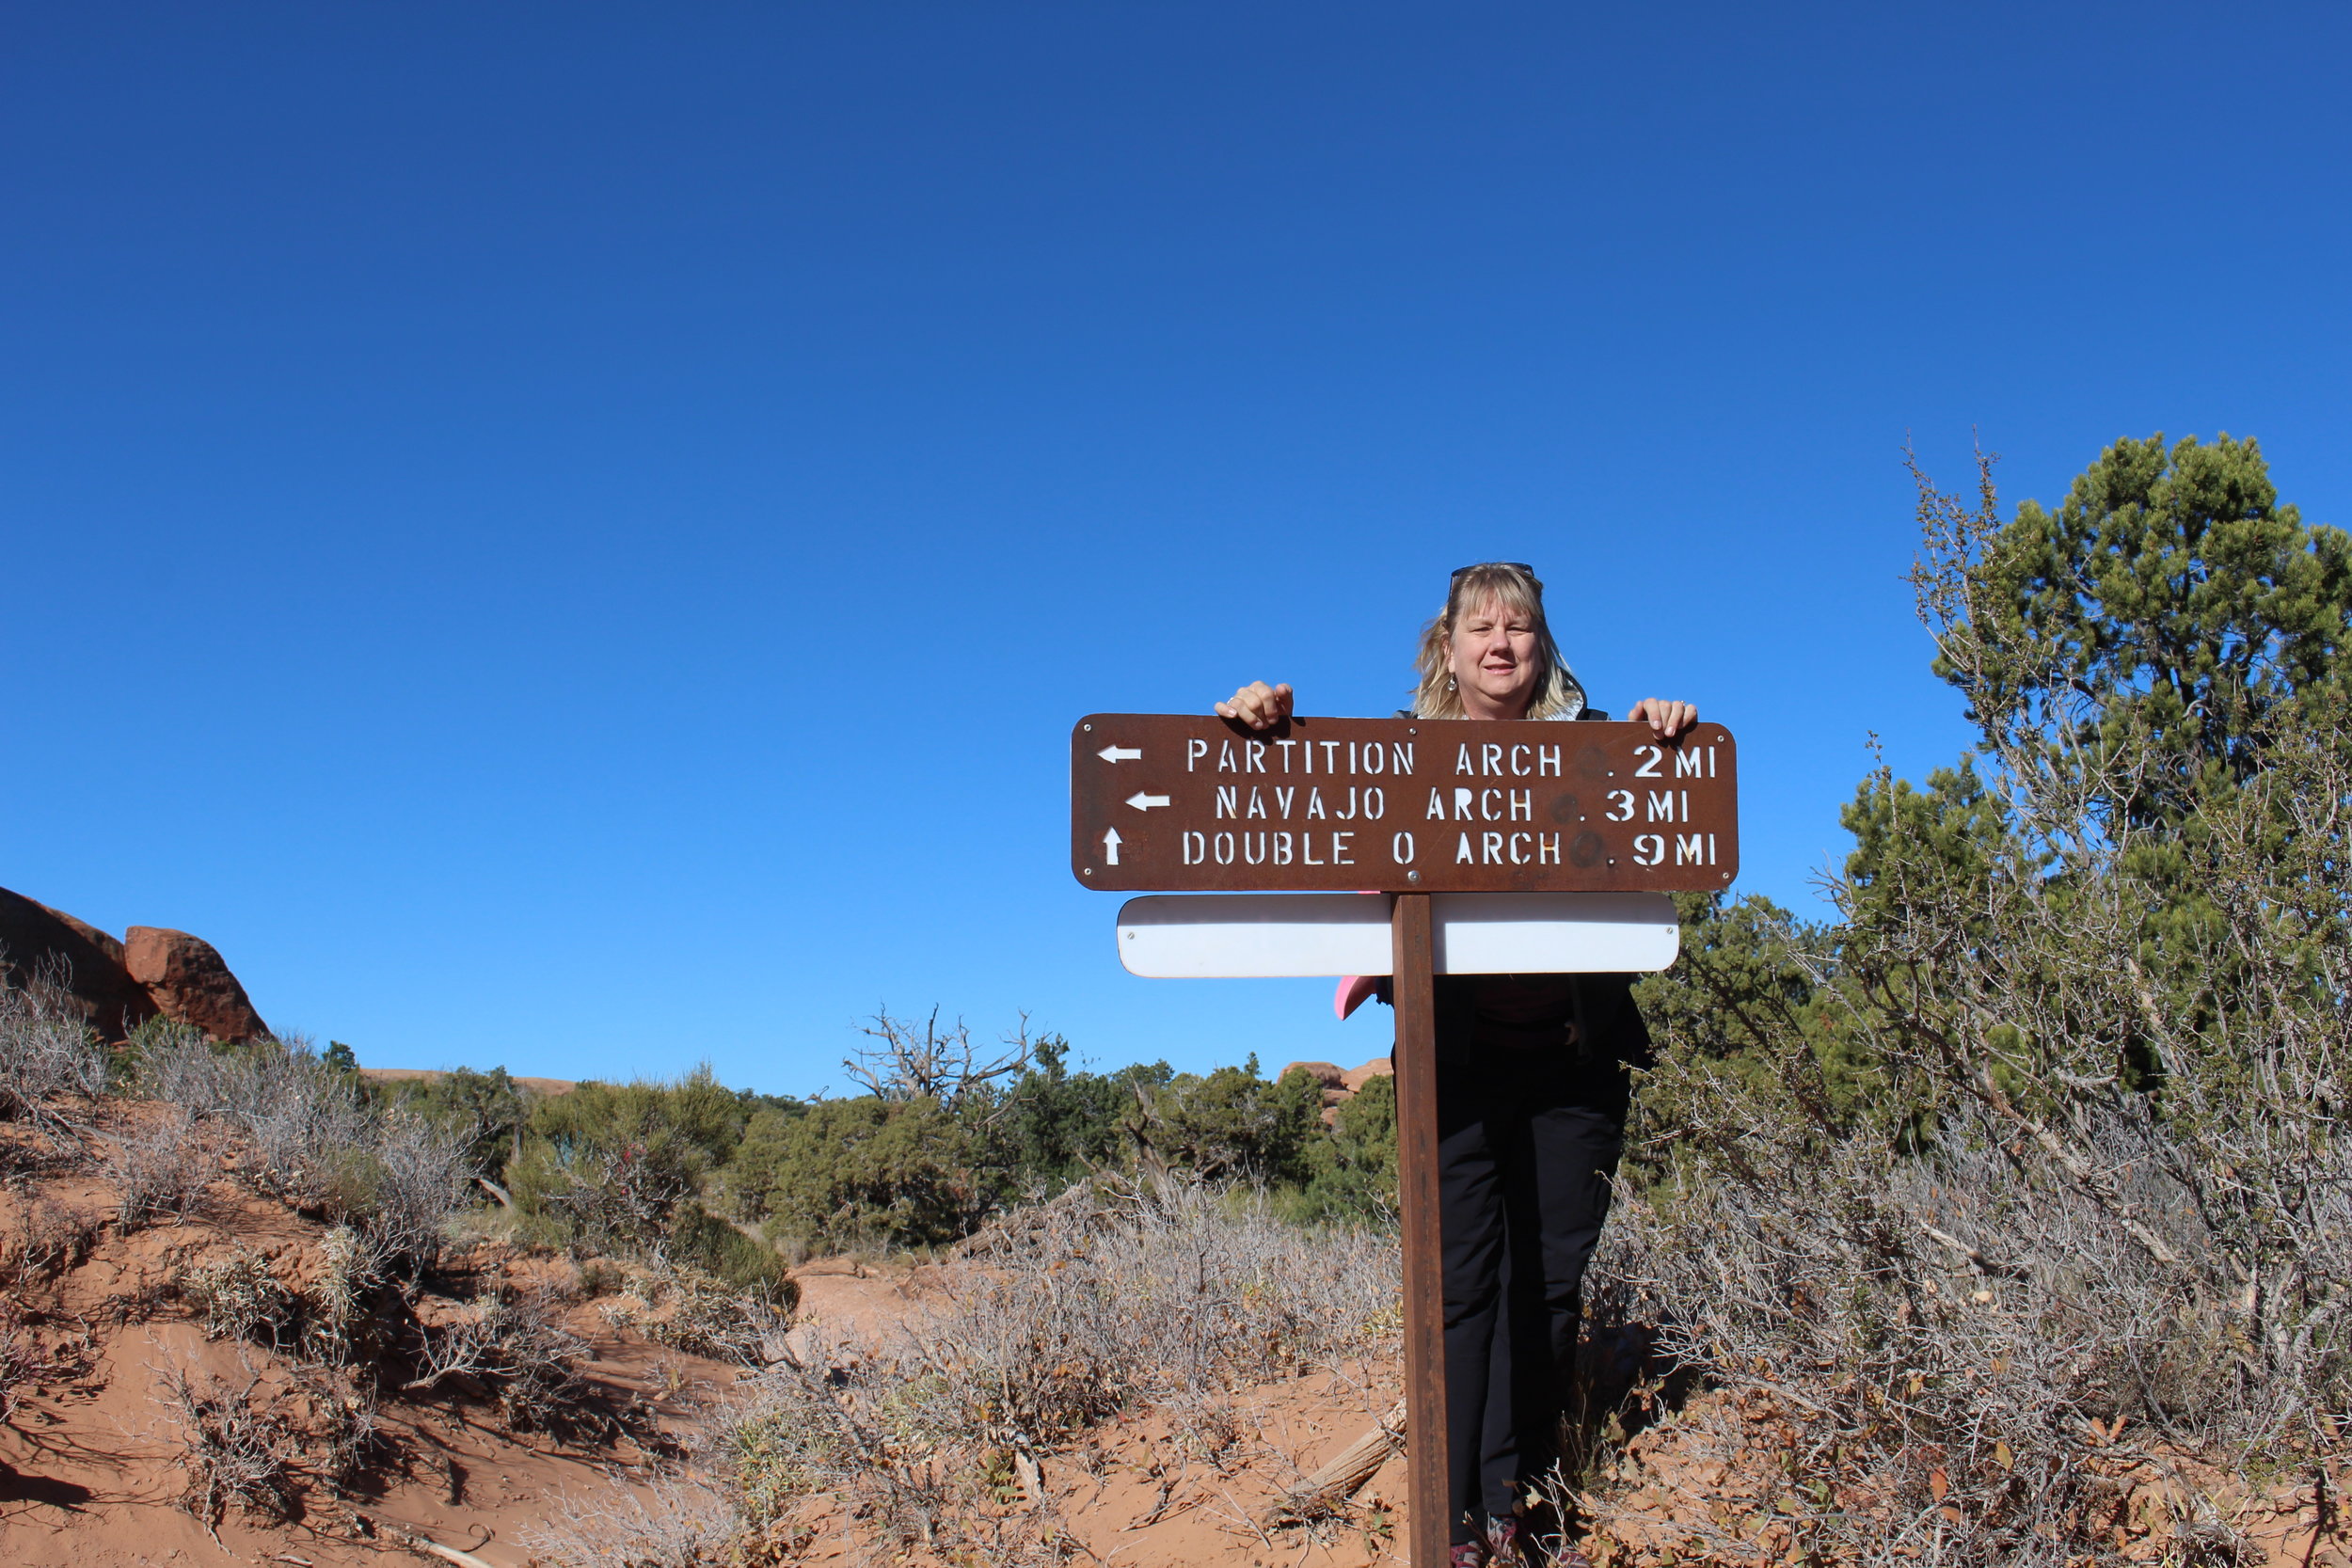
With a quick oatmeal breakfast, we left camp early to beat the crowd into the park and made our way to Devil’s Garden. The full 7.2-mile loop takes you past 7 arches, ending at Dark Angel tower. We opted for a 4-mile loop to Double O arch, stopping at Landscape Arch, Navajo Arch and Partition Arch along the way. From the parking lot, Landscape is the first arch you make it to. From here the trail becomes significantly more difficult, taking you over steep, sloping rocks, close to drop offs. Make sure to wear shoes with good grip, and leave the trekking poles in the car. You will want to have your hands free for this one! Also keep an eye out for cairns (pronounced Karens) along the way marking the trail.

Landscape Arch

Landscape Arch

On the way to Double O Arch

On the way to Double O Arch

P.C. B. Fleming

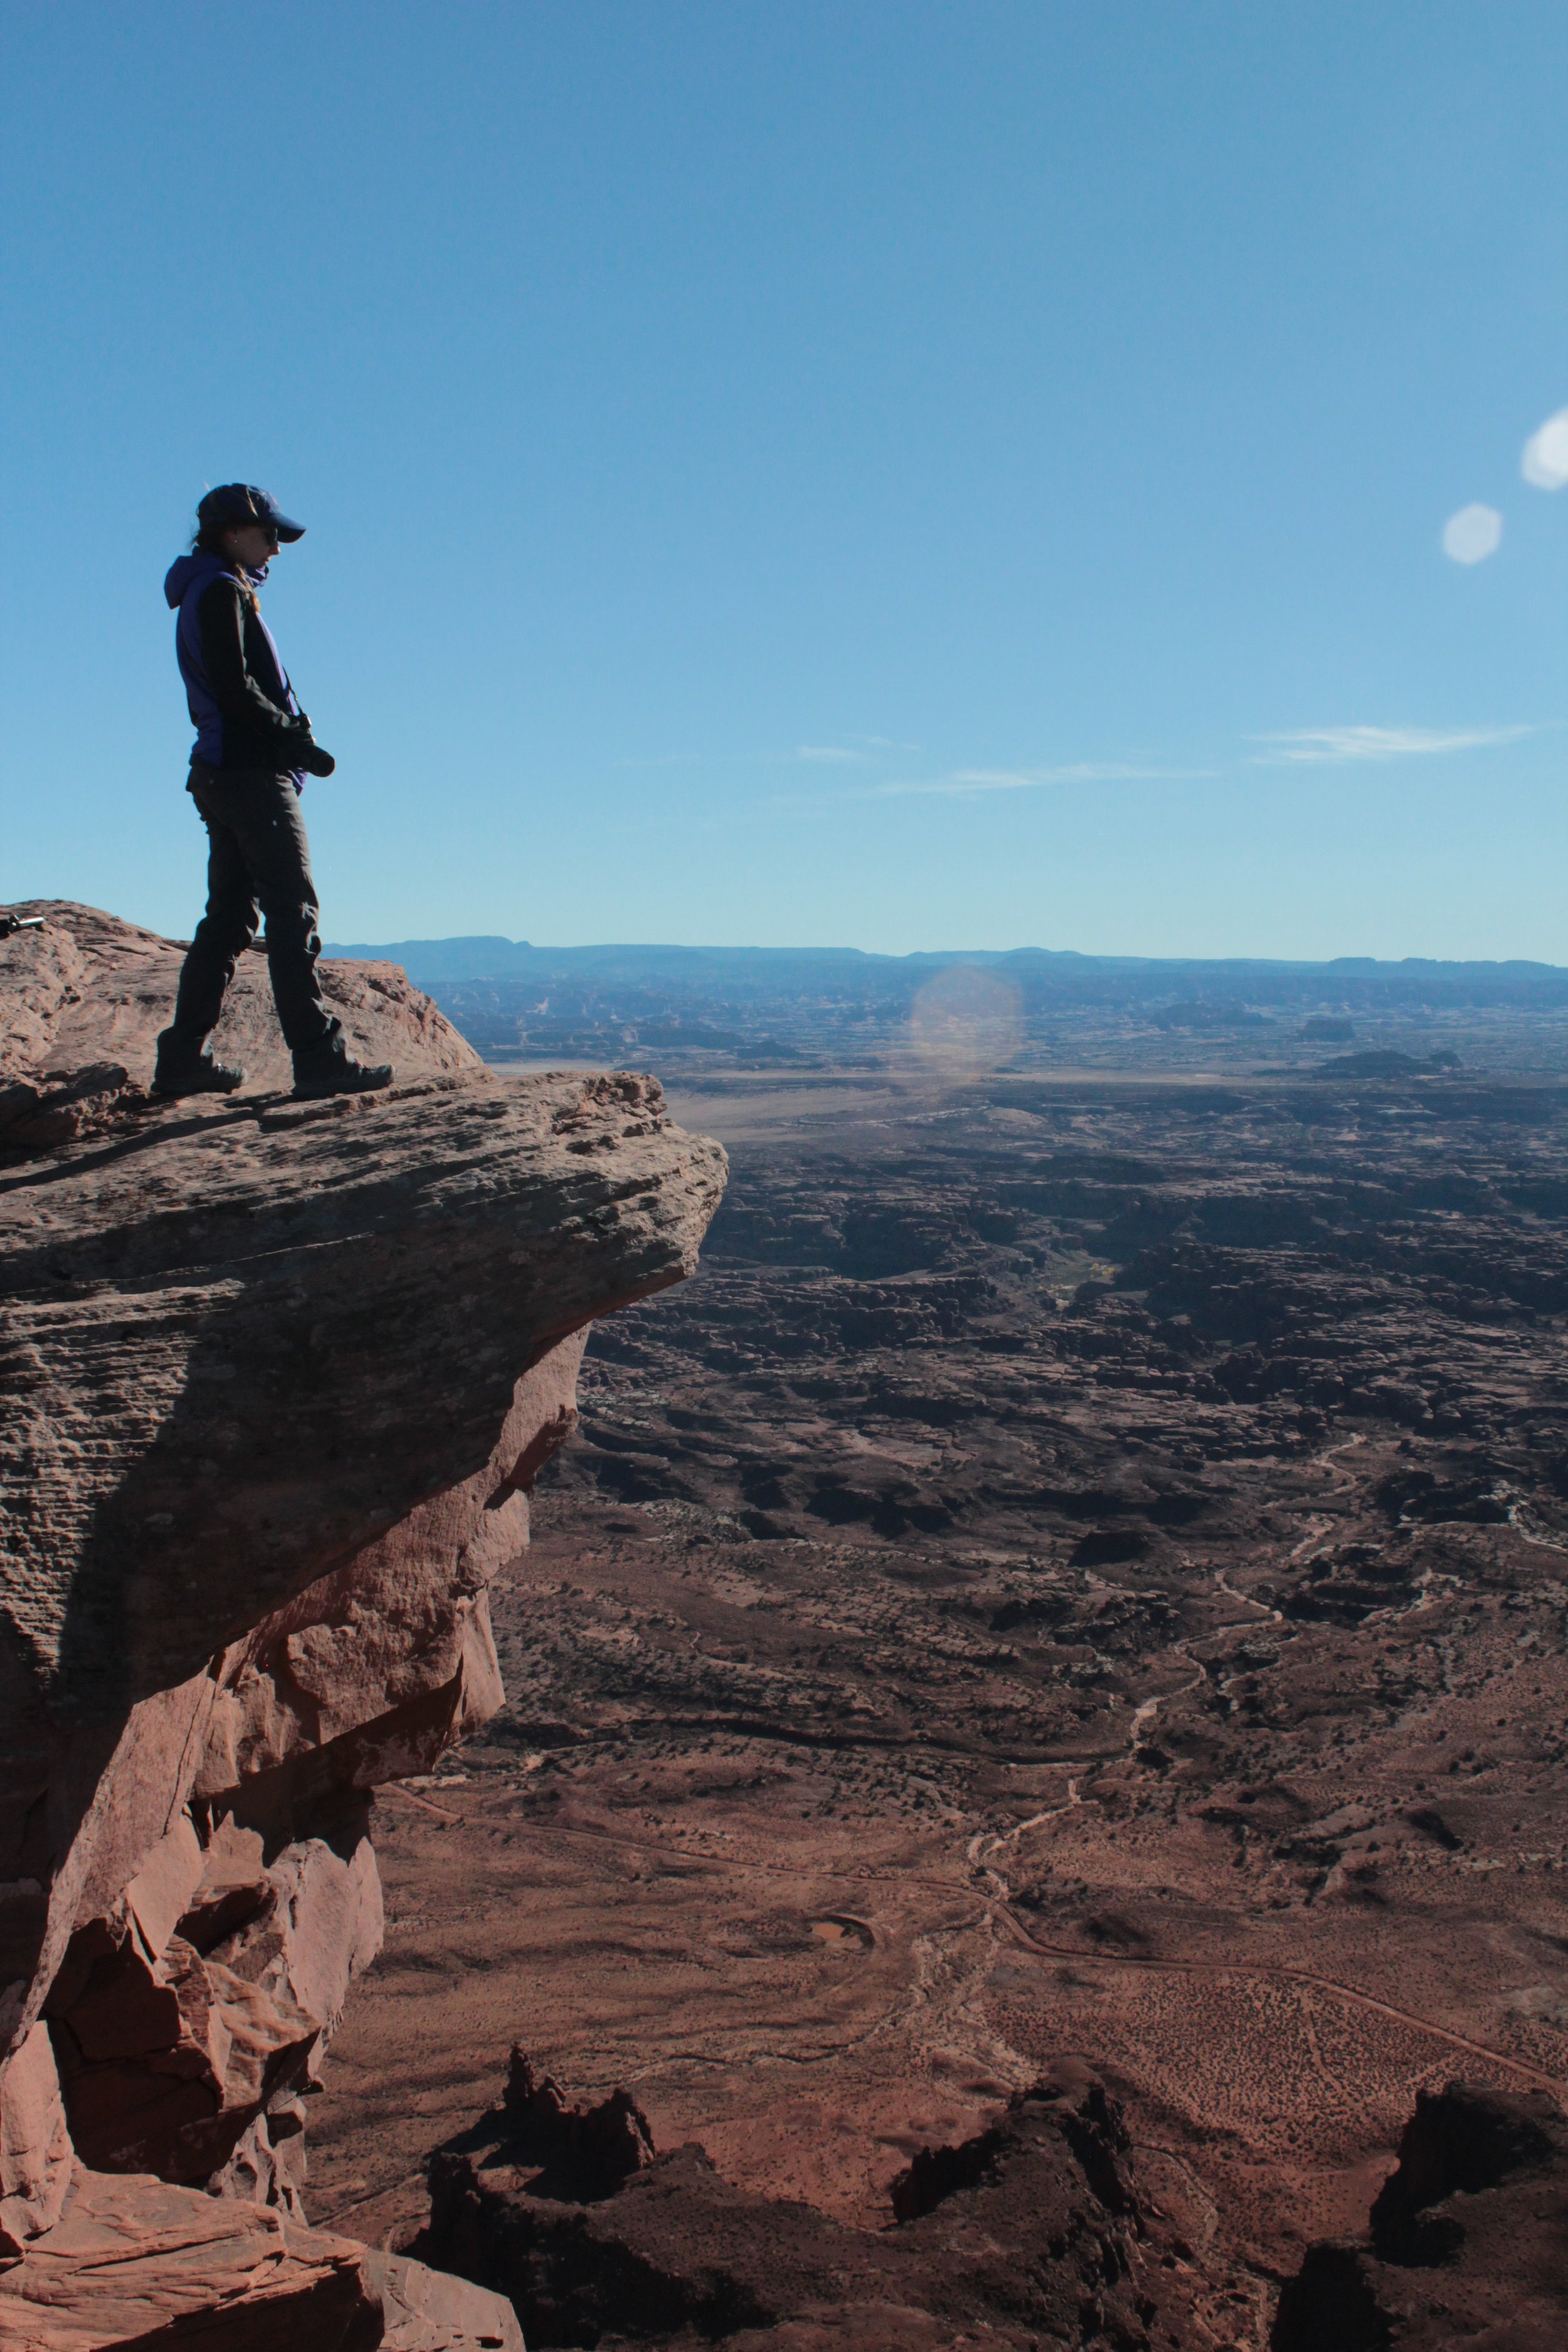
From Devil’s Garden, we made our way back to the Visitor’s Center for a picnic lunch before starting the 1.5 hour drive to Needles Overlook. This may have been the best decision of the trip. We knew we wouldn’t be able to make it to both the Northern and Southern areas of Canyonlands National Park the next day, but still wanted to experience the Needles… and were blown away with what we found at this overlook. Due to its isolated location halfway between Moab and the Southern entrance of Canyonlands, you’ll have the overlook to yourself. We spent over an hour following the trail around the rim of the canyon, wondering why more people weren’t here!

Day 2 came to a close at El Charro Loco in Moab, because no camp trip is complete without Mexican.

P.C. B Fleming
IMG_5916.JPG

Day 3 (Sunday): Canyonlands National Park and Capitol Reef National Park

Leaving our campsite behind, we headed out for our last full day of the trip at Canyonlands National Park.

First stop, Grand View Overlook. The overlook is the southernmost part of the Island in the Sky, sitting at 6080 feet. A quick 2-mile round trip hike, this you’ll be rewarded with views the Colorado river carving it’s way through what appears to be bottomless canyons.

Providing a lending hand. (P.C. B. Fleming)

Providing a lending hand. (P.C. B. Fleming)

Next stop, Mesa Arch. As one of the most popular destinations in the park, anticipate a busy trail. Once you arrive at the arch, there is a smaller trail to the right that will lead you to an open area where you can sit and enjoy the views.

Green River Overlook was our final stop before heading out of the park and heading to Capitol Reef National Park!

Our goal was to make it to Capitol Reef for an epic sunset at Goosenecks Overlook. After checking in at the Visitor’s Center, we had time for the 2-round trip hike to Hickman Bridge. Hickman Bridge is a 133-foot natural bridge tucked away in the canyon. Ending the hike during golden hour along the Fremont River, the fall foliage was glowing. We snapped lots of photos, had a quick snack, and set off for our last stop of the day – Goosenecks Overlook.

We quickly grabbed our cameras and headed up the trail…a little too quickly. 50 feet up the trail we realized the car keys were perfectly safe on the driver seat, locked in the car. With some help from some new friends, we managed to use the antenna to unlock the car by sliding it between the door and frame of the car. LESSON LEARNED: BRING MULTIPLE CAR KEYS.

When it was all said and done, we missed the sunset, and made our way to our hotel, Capitol Reef Inn & Café for a great meal after a long day.

IMG_6004.JPG
P.C. B. Fleming

Day 4 (Monday): Capitol Reef National Park

After the previous night’s missed sunset, we set the alarm early, and made it to the same trailhead for sunrise. It turns out Sunset trail is also a beautiful trail for sunrise. We watched as the sun rose above the mountains, and filled the canyon with light before heading to the Gifford Homestead for a cinnamon roll and arguably the best apple butter I’ve ever had.

Following Gifford Homestead we stopped at the Petroglyph panel before leaving.

IMG_6048.JPG
IMG_6040.JPG
IMG_5855.JPG

Gear Recommendations for the Desert:

·      Sunscreen

·      Daypack with hydration bladder – hydration is KEY

·      Mid-rise boots for sandy/dusty trails

·      Sunglasses and hat

·      Allergy medicine – I find my allergies are always worse in the desert

·      Headlamp

IMG_6015.JPG

Takeaways

  • Moab is BUSY - bring food for lunch and dinner
  • Staying in hotels is sometimes easier when out of town guests are coming in
  • Utah is beautiful
  • It's okay to explore national parks without huge hikes
  • Bring an extra key!

Mt. Ogden - Snowbasin Resort - Huntsville, UT

Hannah Fleming

Looking down at Pineview Reservoir

Looking down at Pineview Reservoir

If Snowbasin is your local ski resort, or you’re an Ogden resident, chances are you can point out Mt. Ogden by the tall satellite towers atop the 9,572 ft. peak. As one of the tallest peaks in the Northern Wasatch, Mt. Ogden is a great day hike, providing beautiful views (when you’re not socked in with clouds), and a good amount of elevation gain!

**I hiked this in September after our first snowfall of the year. Typically it is clear and beautiful, and not covered in snow in September!**

Getting There

Mt. Ogden can be reached via trails from Ogden , or via Snowbasin. From Snowbasin you have two options:

  1. Hike up to the service road until you reach the trailhead 
  2. Bypass the service road hike and take Needles Gondola to the top. The Gondola is free for season pass holders or $14 for a day pass.

The Trail

(Hike up) At the top of Needles Gondola, make a left and start down the road in front of the Needles Lodge. Jump on the first trail you come across on the right. Follow the trail until you reach Needles Circque Trail to the Ridge. The trail quickly steepens at this point as you make your way back and forth up a series of switchbacks. You’ll drop down on the backside of the mountain, giving you views of Ogden and the Great Salt Lake. At this point you’ll also start to see trails coming up from Beus, Taylor, and Waterfall Canyons.

Halfway up the steep service road, make a right onto the trail

Halfway up the steep service road, make a right onto the trail

IMG_5421.jpg

Follow the trail for another ¾ mile until you reach the steep service road. Head up the service road until you reach a small trail sign. Make a right, and hike the final portion of the trail to the helicopter landing pad at the top of Mt. Ogden!

(Hike Down) Instead of following the same trail down, we made a left onto the well defined service road, and dropped down in front of Becker Lift.This brought us across the front of the mountain, with beautiful views of the valley. After descending 1,000 from the summit of Mt. Ogden, you'll make your way under Needles Lodge, and head back up the mountain, ending the hike with a 500 ft climb back up to the lodge. Make sure to reward yourself with some hot tea and french fries inside the lodge before taking the Gondola (or hiking) back down!

Total Distance: 4 miles
Elevation Gain: 1,275 Ft.
Hike Time: 1:40 minutes

IMG_4696.JPG

Takeaways

  • Go back on a clear and sunny day
  • Lots of layers - it's windy and cold along the ridge
  • Poles are not necessary, but helpful on the switchbacks
IMG_4738.JPG
IMG_4728.JPG

Grand Teton National Park - Wyoming

Hannah Fleming

IMG_2911.JPG

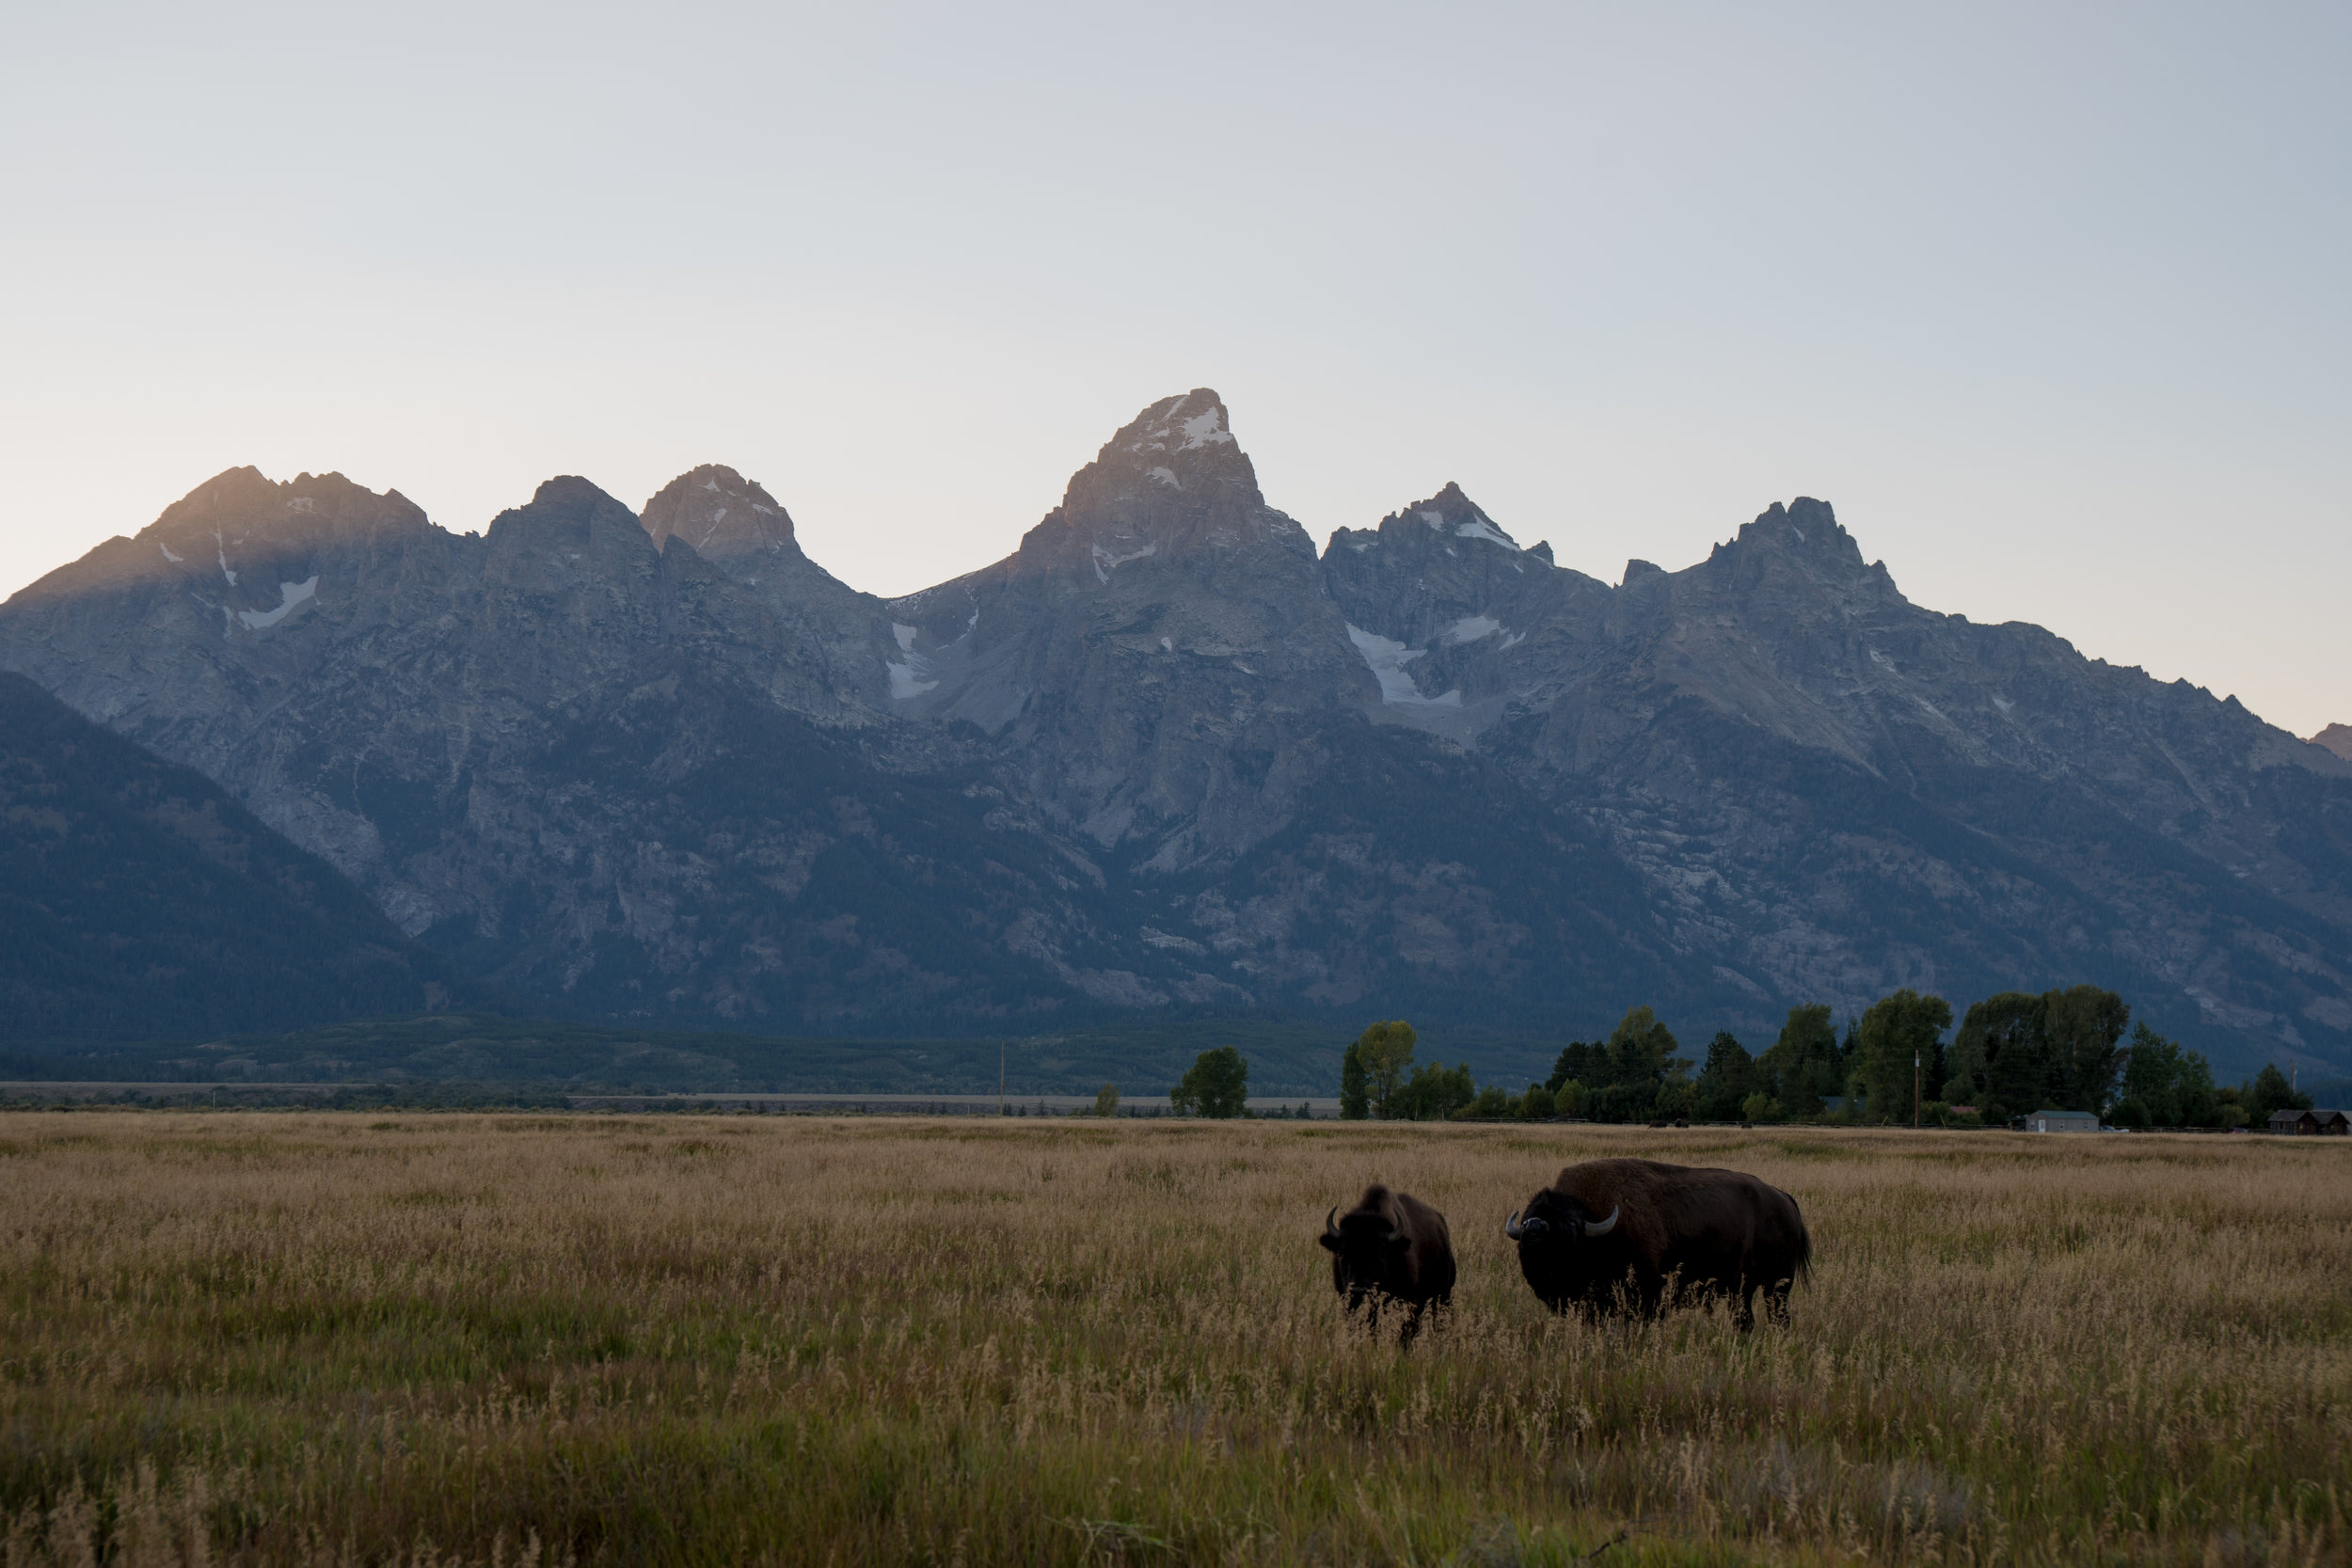
Grand Teton National Park stretches 310,000 acres across the Northwest Corner of Wyoming. The Park is located 10 minutes South of Yellowstone National Park and just North of the popular outdoor town destination of Jackson Hole.

Grand Teton National Park is known for the unique formations of the Teton Range. Home to nine 12,000 ft. peaks, 11 glaciers and sprinkled with alpine lakes. The jagged peaks of the Range are a popular destination for skiers, climbers, mountaineers, and hikers.

Getting there: From SLC it is an easy 4.5 hour drive North to the Southern Park entrance. If you’re staying in the Northern part of the park, that will add another hour.

Where to stay:

  • Camp sitesThere are six large campgrounds in the Park, as well as backcountry permits available. We went on a holiday weekend, and were able to still get a spot at Colter Bay in the northern part of the park, right on Jackson Lake. Camping was $30 / night, but well worth it for facilities, bear box, convenience store, marina to rent Kayaks/Canoes, and being RIGHT on Jackson Lake.
  • BLM Land: If you don’t mind driving into the park every day, there is plenty of surrounding BLM land to camp

What to do:

Grand Teton National Park is an outdoors person dream backyard. There’s plenty to do from hiking, cycling, mountain biking, climbing, skiing, swimming and paddling. Make sure to stop into the Visitors Center, pick up a few maps, and talk to a Ranger for recommendations.

Day 1:  

(Bike) Starting at Willow Bay Junction, we rode a 32 mile loop down to Jenny Lake Visitor Center and back. This was a beautiful ride along the Park road; winding in an out of trees, through fields (unfortunately, no wildlife spottings), and passing Jackson Lake, Leigh Lake, and Jenny Lake.

We made it back to camp in time for dinner and to catch the sunset along the rocky Jackson Lake shore.

IMG_3796.JPG
IMG_4538.JPG

Day 2:

IMG_2404.JPG

(Swim) Wetsuits in hand, we made our way to Jackson Lake for a quick training swimming in the crystal-clear waters. This was my favorite training swim of the season, with the sun rising over the trees just as we were halfway to our destination - a small island in the middle of the lake.

(Hike) We took our time warming up and eating breakfast before packing up and heading to Taggart Lake Trailhead, for a long hike up to Taggart, Amphitheater, and Surprise Lakes. We chose this hike based off a recommendation from a Ranger for a “longer, challenging hike”, it was just that.

I quickly regretted forgetting my trekking poles while gaining 3,400 ft. in a little over 7 miles. However, the view at the top was well worth the burning calfs. Nestled in the heart of the Teton Range, Amphitheater Lake has 360 views of the jagged peaks, with The Grand Teton towering overhead.

Power-hiking our way down the 7 miles to the car (nearly 3 miles of switchbacks), we quickly changed, and headed to Jackson for dinner. Jackson is a picture-perfect mountain town. Good restaurants, cute shops, lots of flannel, pro athletes wandering the streets, and awesome views.

(Eat) We ended up at Snake River Brewing, where they had plenty of plant based options.

IMG_7379.JPG
3CF1217B-3137-4A6A-89A1-836A83E32F50.JPG
IMG_4537.JPG

Day 3:

(Run) On our last day we stopped at String Lake for a quick trail run on our way out of the Park. With bear spray in hand, we made our way around the 3.5 mile loop. This was a beautiful run, and would make for a great hike, or place to pack a picnic and hang out on one of the numerous beaches around the lake.

IMG_9122.JPG
IMG_4036.JPG

Lewis Peak - The Wasatch - Eden, Utah

Hannah Fleming

Lewis Peak sits along the Wasatch Mountain Range between Mt. Ogden and the more iconic, Ben Lomond Peak. With a 10.4 mile out and back trail, Lewis Peak is the perfect hike/run combination of elevation gain and distance.

IMG_8968.JPG

Getting There

The trail starts at the North Ogden Trailhead, the same trailhead as Ben Lomond, located along the North Ogden Divide (E 3100 N).The trailhead has ample parking and facilities.

The Trail

No time for a warm up on this trail. The trail kicks into high gear out of the gate with steep switchbacks, climbing 1500 ft. in the first two miles. The majority of this part of the trail is covered in trees, so make sure to bring a headlamp and a light layer if you’re hiking. The trail quickly opens up to beautiful views of Ben Lomond, Eden and Pineview Reservoir.

The fun really starts once you make it to the first sign, telling you 2.5 miles to the summit! The trail changes from steep, rocky, uphill, to smooth, golden, rolling hills. As you make your way to the peak, you have the option of climbing each hill and getting in more vert, or continue along the lower trail. These options make Lewis Peak one of my favorite trails I’ve discovered so far in the Wasatch.

IMG_3549.JPG

Made using Suunto Movescount

Screen Shot 2017-08-31 at 8.20.38 PM.png


Distance: 10.4 miles
Elevation gain: 2687 Ft.


Gear

Shoes: Salomon Sense Ride - Before working for Salomon, I trail ran in my road shoes. Now, I trail run in best in class trail shoes, and the difference is significant. I love the quick lace technology, so I can keep my focus on not tripping over rocks, instead of my laces. The Sense Ride's have Vibe technology throughout the entire sole of the shoe, providing extra shock absorption, and extra cushioning. Out of the box I ran 13 miles in these shoes. No pain. If you're looking for your first pair of trail runners, or for an upgrade, consider Salomon. 

Pack: Salomon S/LAB Sense Ultra 5 - This pack holds two 16 oz. flasks in the front pockets, leaving amble room for snacks, gels, phones, cameras, keys, headlamps, etc. You want the fit to be snug. I'm 5' 2'', and wear an XS.
 

G0079162.JPG
Photo shows how you can take the high vs. low trails for different vert. 

Photo shows how you can take the high vs. low trails for different vert. 

Watch: Suunto Spartan Sport Wrist HR - This is my go-to every day / every workout watch. With built in wrist HR, I know when I need to pick up the pace, and when I need to dial it back I bit. More importantly, with the incredible GPS I feel safe when running alone, and know I can find my way back if I get lost (which happened for the first time this weekend, thank you bread crumbs!) 

Water: 2 - 8 oz. flasks and 1 - 6 oz. flask

Nutrition: Dates and a waffle (Organic ones are dairy free / egg free, but made with honey. NOT vegan)

Have a favorite run in the Wasatch? Comment below!

Amethyst Lake, Unita National Forest, Utah

Hannah Fleming


GPTempDownload (2).jpg

The only thing more rewarding than hiking to the summit of a mountain, is hiking to an alpine lake. Lucky for me, there’s plenty of options close by!

Once the snow finally began to melt, it was time to venture East into the Uintas National Forest. Amethyst Lake  is located on the Western Side of the Uintas National Forest, on the back side of Ostler peak.

Hiking in early spring, the trails are muddy from snow melt. Snow covered half the trail, forcing us to turn around 3 miles in.

Hiking in early spring, the trails are muddy from snow melt. Snow covered half the trail, forcing us to turn around 3 miles in.

Getting There:
Depending on where you’re coming from in the greater SLC area, you will come South down the Mirror Lake Highway (150) from Evanston Wyoming, or North from Kamas to the Christmas Meadows Campground. There will be a turn off with a sign directing you to "Christmas Meadows Campground". Make sure to stop and pick up a hiking permit at the ranger station, follow the sign to the self-serve permit station ($5 - cash only), or display your National Parks Pass if you have one (this is accepted in lieu of a permit).

Once you arrive at Christmas Meadows Campground, follow the road past the campgrounds, all the way to the end until you reach a parking lot.


The Trail

GPTempDownload (5).jpg

The trail is gradual for the first 3 miles as you wander along the Stillwater Fork and riverside meadows. Keep your eyes out, you may see wildlife through here. You’ll make a left at a fork with a clearly labeled wooden sign for Amethyst Lake. This is where the trail kicks up, and quickly start to gain elevation.

The remainder of the trail is moderate-strenuous with elevation gain, and more technical terrain. The trail wanders over streams, alongside Waterfalls, and through beautiful meadows.

Before reaching the final destination of Amethyst Lake, you will reach Ostler Lake (Around 6.5 miles in). Ostler Lake is clear, beautiful, and serves as a great place to set up camp.

Ostler Lake

Ostler Lake

If you’re looking to venture past Ostler and make it to Amethyst, cross the river before you make it to Ostler Lake, and head up the trail along the left side of the Lake for another 1.1 miles.

Amethyst Lake

Amethyst Lake

Ice cold summit 'croix.

Ice cold summit 'croix.

Day Trip v. Backpacking Overnight?

Buffs = mosquito protection

Buffs = mosquito protection

After doing this trail on two different day trips (intending for one to actually be an overnight trip*), I would still recommend just making a day trip of this hike.

*After hauling all of our camp gear up the trail, enjoying some time at the Lake, and setting up camp, we realized how awful the mosquitos are. I’m talking hundreds of mosquitos swarming you, forcing you to stay in your tent because bug spray without deet does not work, can’t enjoy yourself, AWFUL. We made the game time decision to pack our stuff up, head back down, and drove back to Ogden.

Next Time?

  • Bring Deet

  • Set up camp at Christmas Meadows Campground

  • Day hike up to the Lake

  • Bring a hammock and book to set up by the Lake

Hike overview:

  • Difficulty: Moderate-Strenuous

  • Distance: ~13 miles

  • Elevation gain: 2,050 ft.

  • Time: 6 hours (with 55L overnight packs carrying camping gear)
     

Additional Resources


Comment below with any hike suggestions for the greater SLC area!

IMG_5572.jpg

Ragnar Trail Relay - Zion

Hannah Fleming

Gooooood Morning Ragnarians!

Living in Utah and working for an industry leading trail running company, it didn’t take long to fall in love with the sport. After a month of running on the local trails, I knew I wanted to sign up for a race and start training. With Salomon being the title sponsor for the Ragnar Trail Series, this was the perfect place to start.  

The details.

What is Ragnar? Ragnar is a relay race, with anywhere from 4-12 team members (trail races: 4-8, road races: 6-12)

Location? There are races ALL over the country. We ran the Ragnar Trail Zion at Zion Ponderosa Ranch race.

 What were the course distances? Green (Easiest)  3.5 miles + Yellow (Harder) 3.9 miles + Red (Hardest) 7.3 miles = 14.7 Miles total

What was the course like? The terrain was mostly packed sand and direct, with some rocks. This course had challenging elevation climbs.

What was Ragnar Village like? The village had lots of activities – massages, food, food demoes, movies, areas to stretch, photo booths, and more!

 What was the camping like? There are a few options for camping.
1. Reserve a spot ahead of time - these are traditional camp sites
2. First-come first-serve - camping in a large field

Favorite part? Running a relay with friends, and the beaUTAHful course.

Not-so-favorite part / hardest parts? 

Running in the dark! – My headlamp was not very strong, which made running through the night difficult.

Volunteering - Now hear me out, I love volunteering, and think it's important. BUT, I don't love walking around in the heat for hours fulfilling a volunteer shift before running. TIPS: sign up for a Thursday night, Friday early morning volunteer shift

Important gear?

Strong headlamp / ex. Black Diamond Storm
Trail shoes / Ex. Salomon Sense Pro 2 
GPS Watch / Ex. Suunto Spartan Sport Wrist HR
Good socks / Ex. Smartwool Running Socks
Anti-chaf / Ex. Body Glide
External Batteries / Ex. Goal Zero Products
KT Tape
Electrolyte Mix / Ex. Nuun
Lanterns & Flashlights / Ex. Goal Zero Lighthouse

Make sure to bring things to help you recover! Ex. KT Tape, Foam rollers, Lacrosse ball, 

Make sure to bring things to help you recover! Ex. KT Tape, Foam rollers, Lacrosse ball, 

Our camp table / lighting / charge station

Our camp table / lighting / charge station

Would you run another Ragnar? 

YES! They're tiring, and make for a long weekend, but are fun and challenging! 

Yosemite National Park, California – Spring 2017

Hannah Fleming

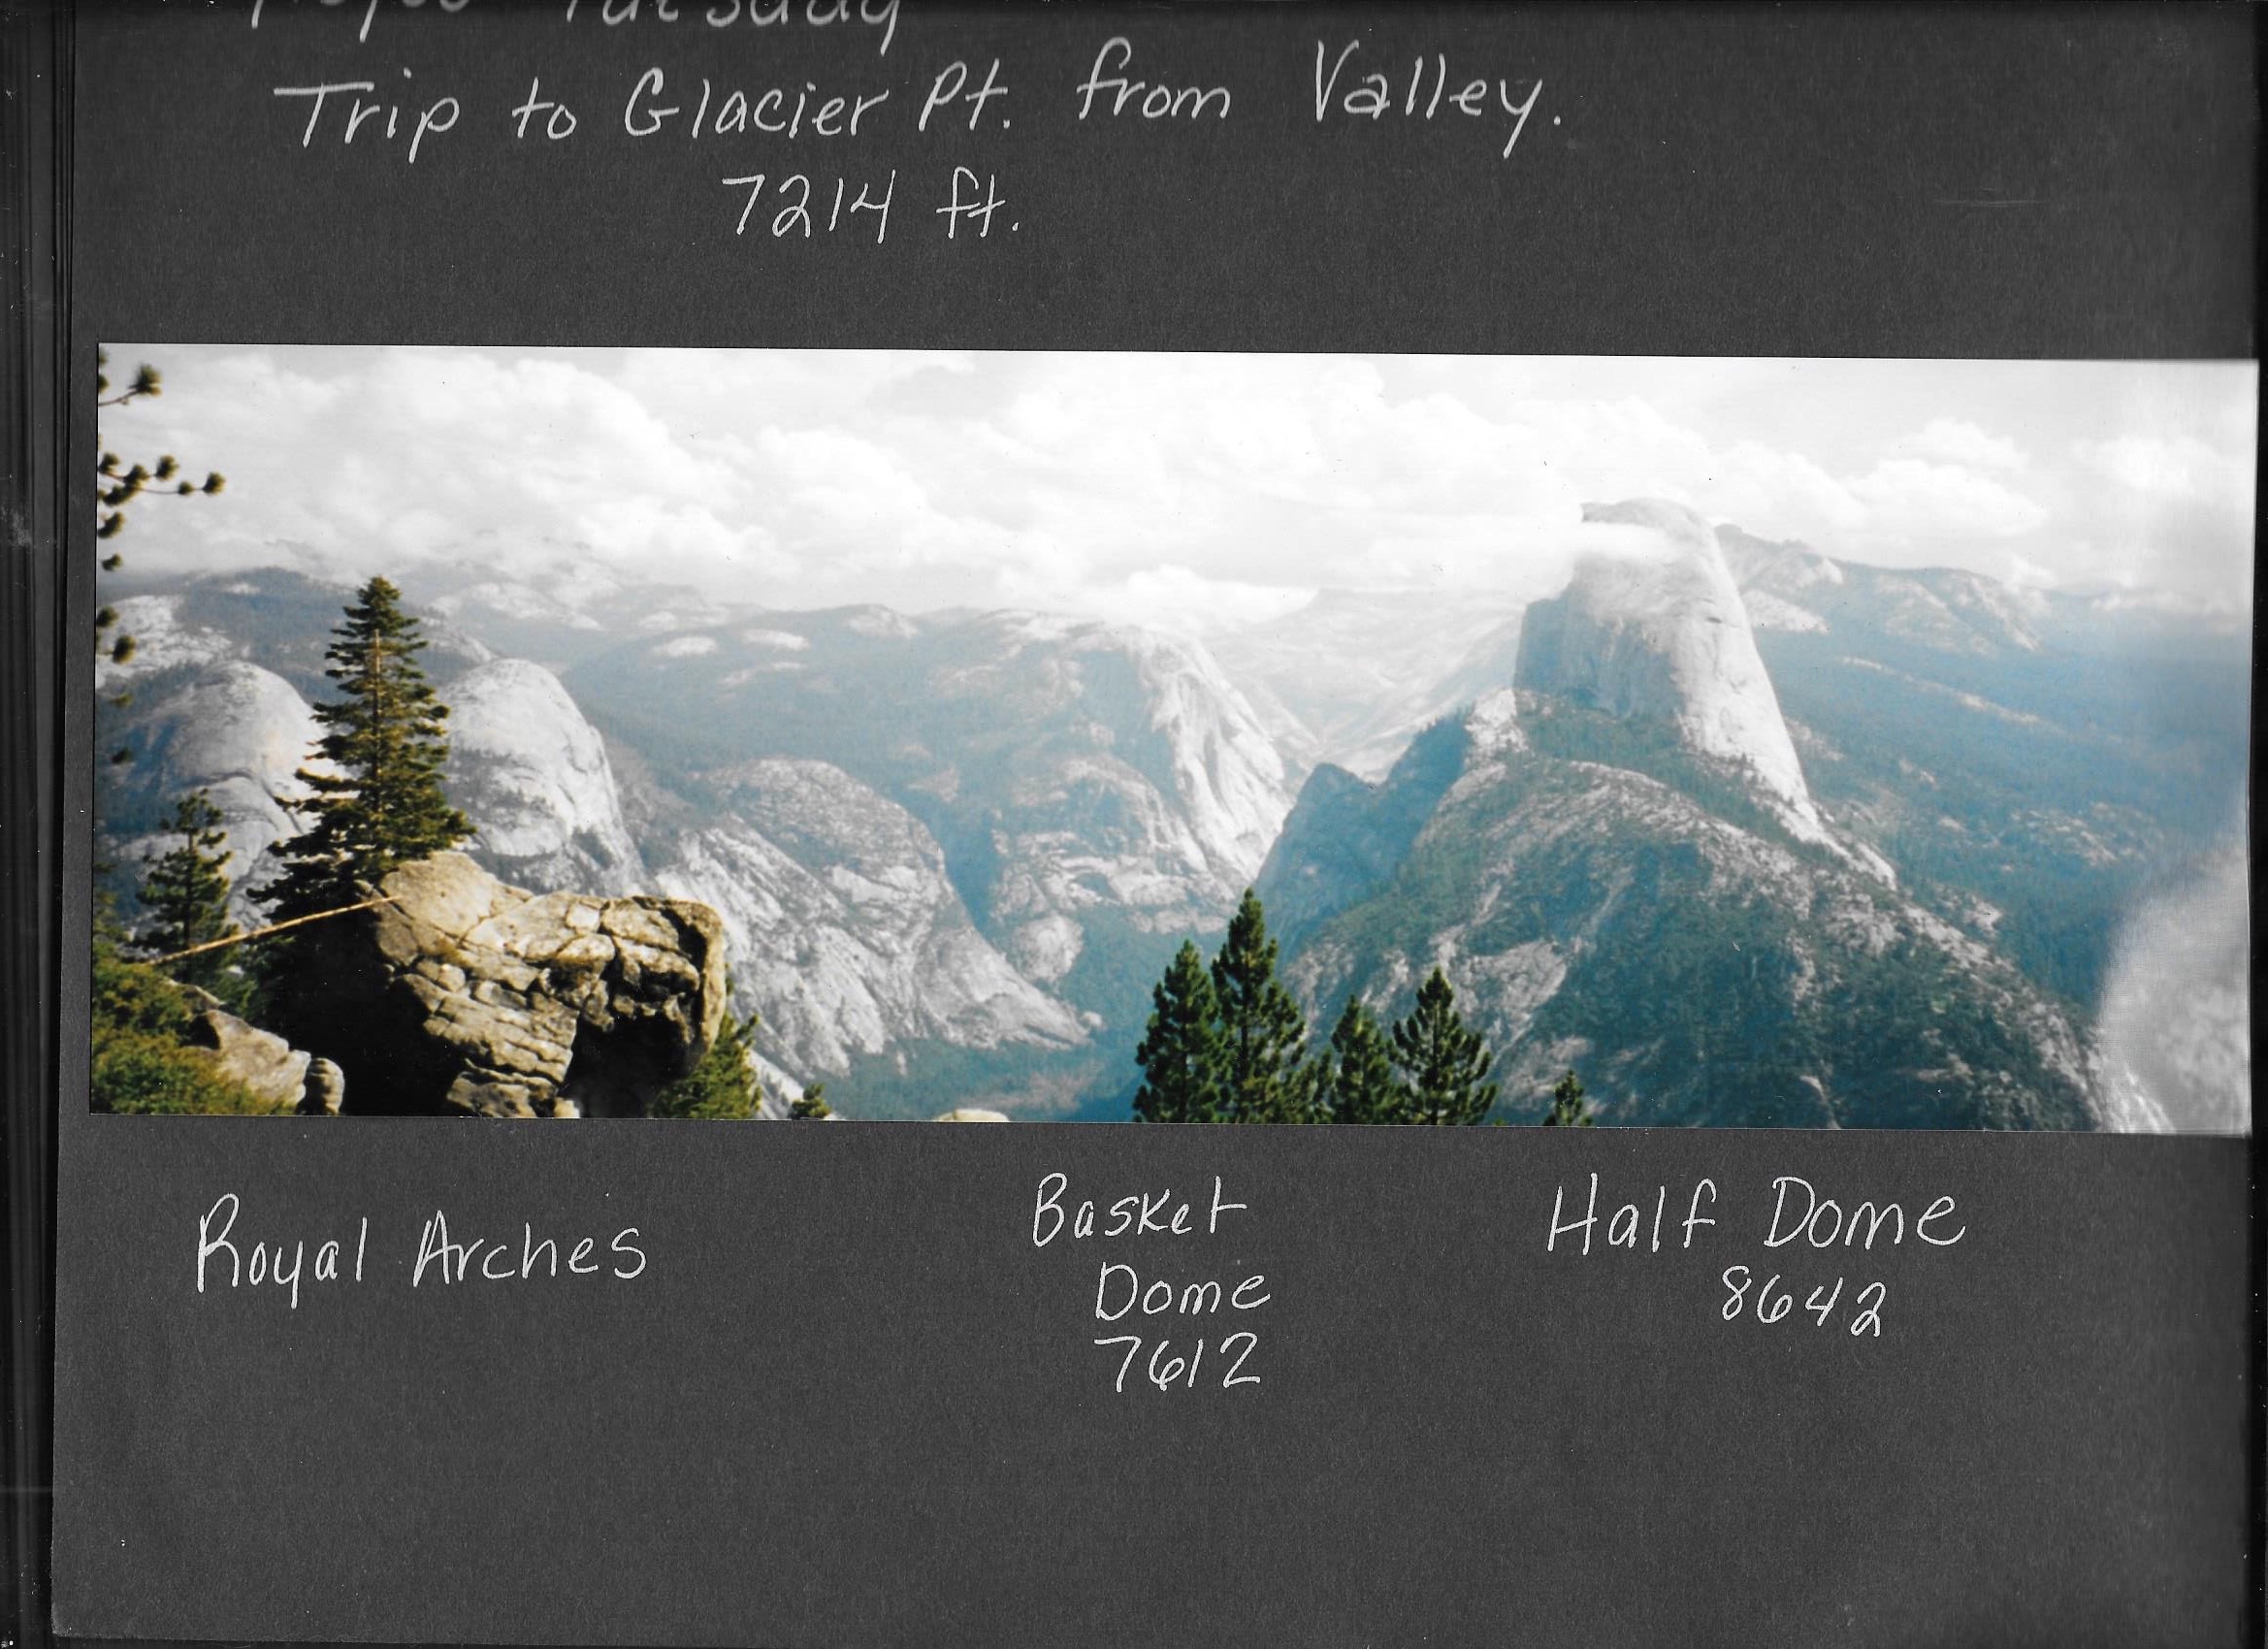
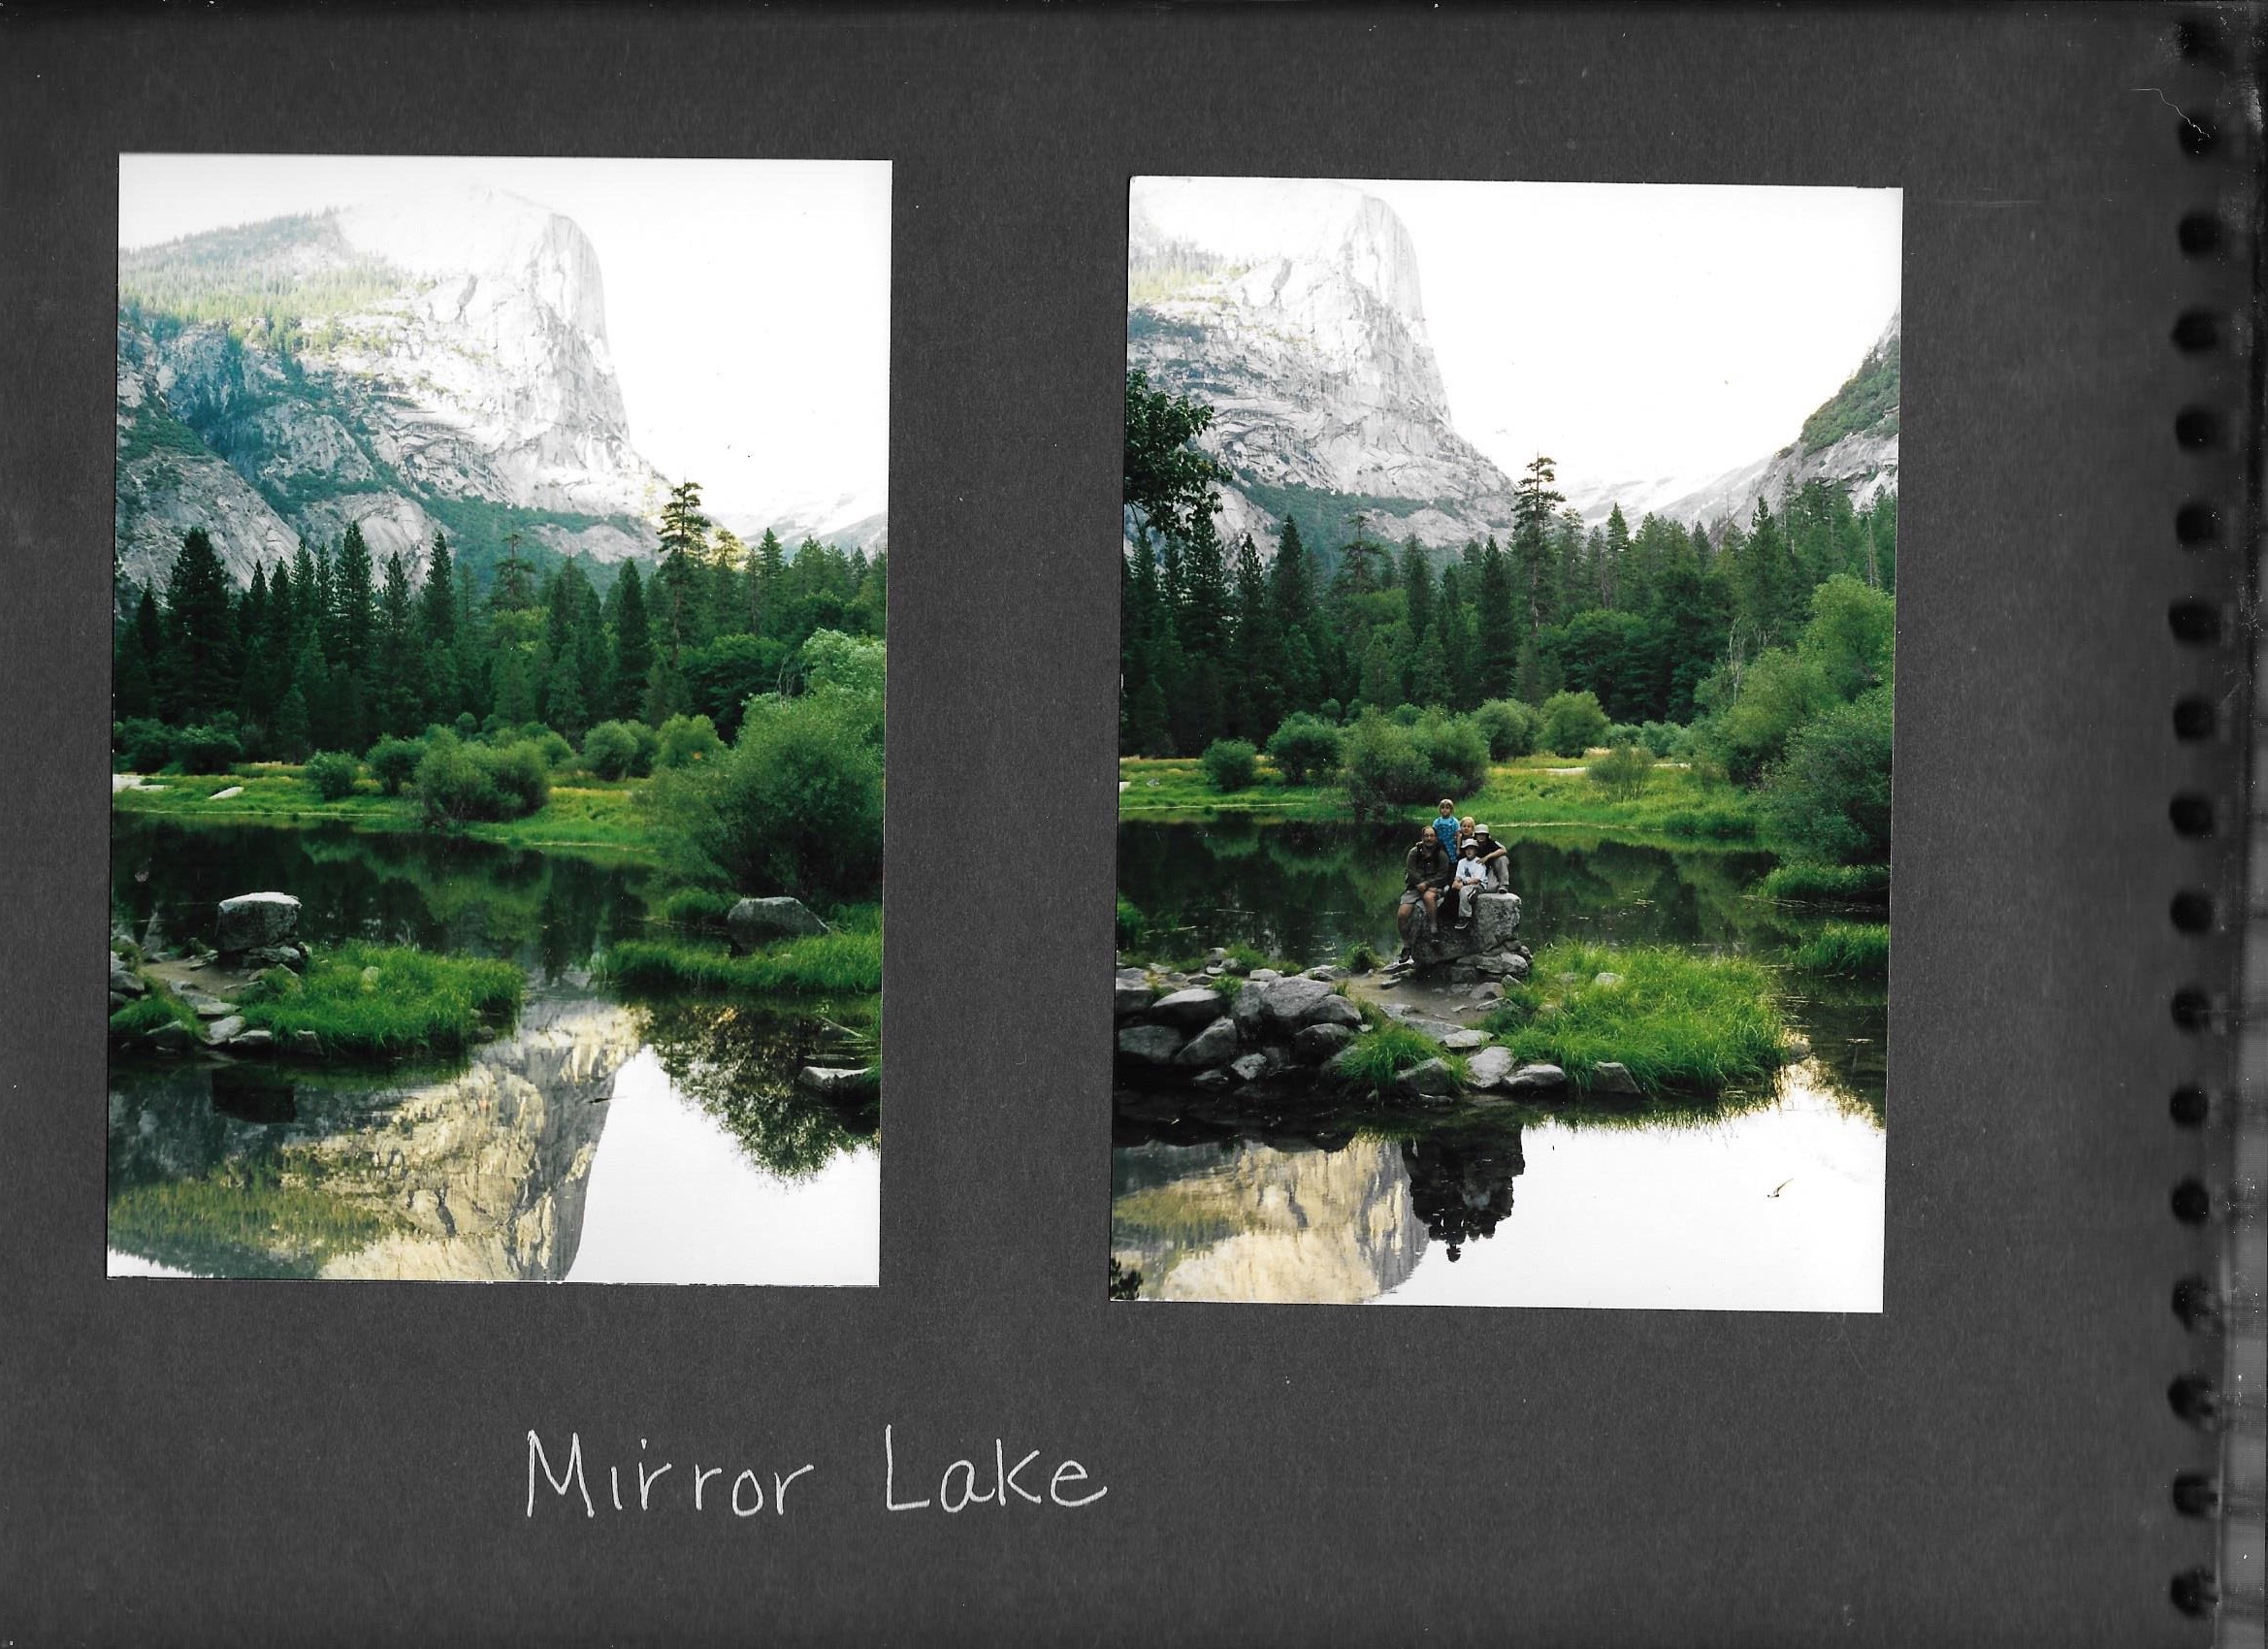
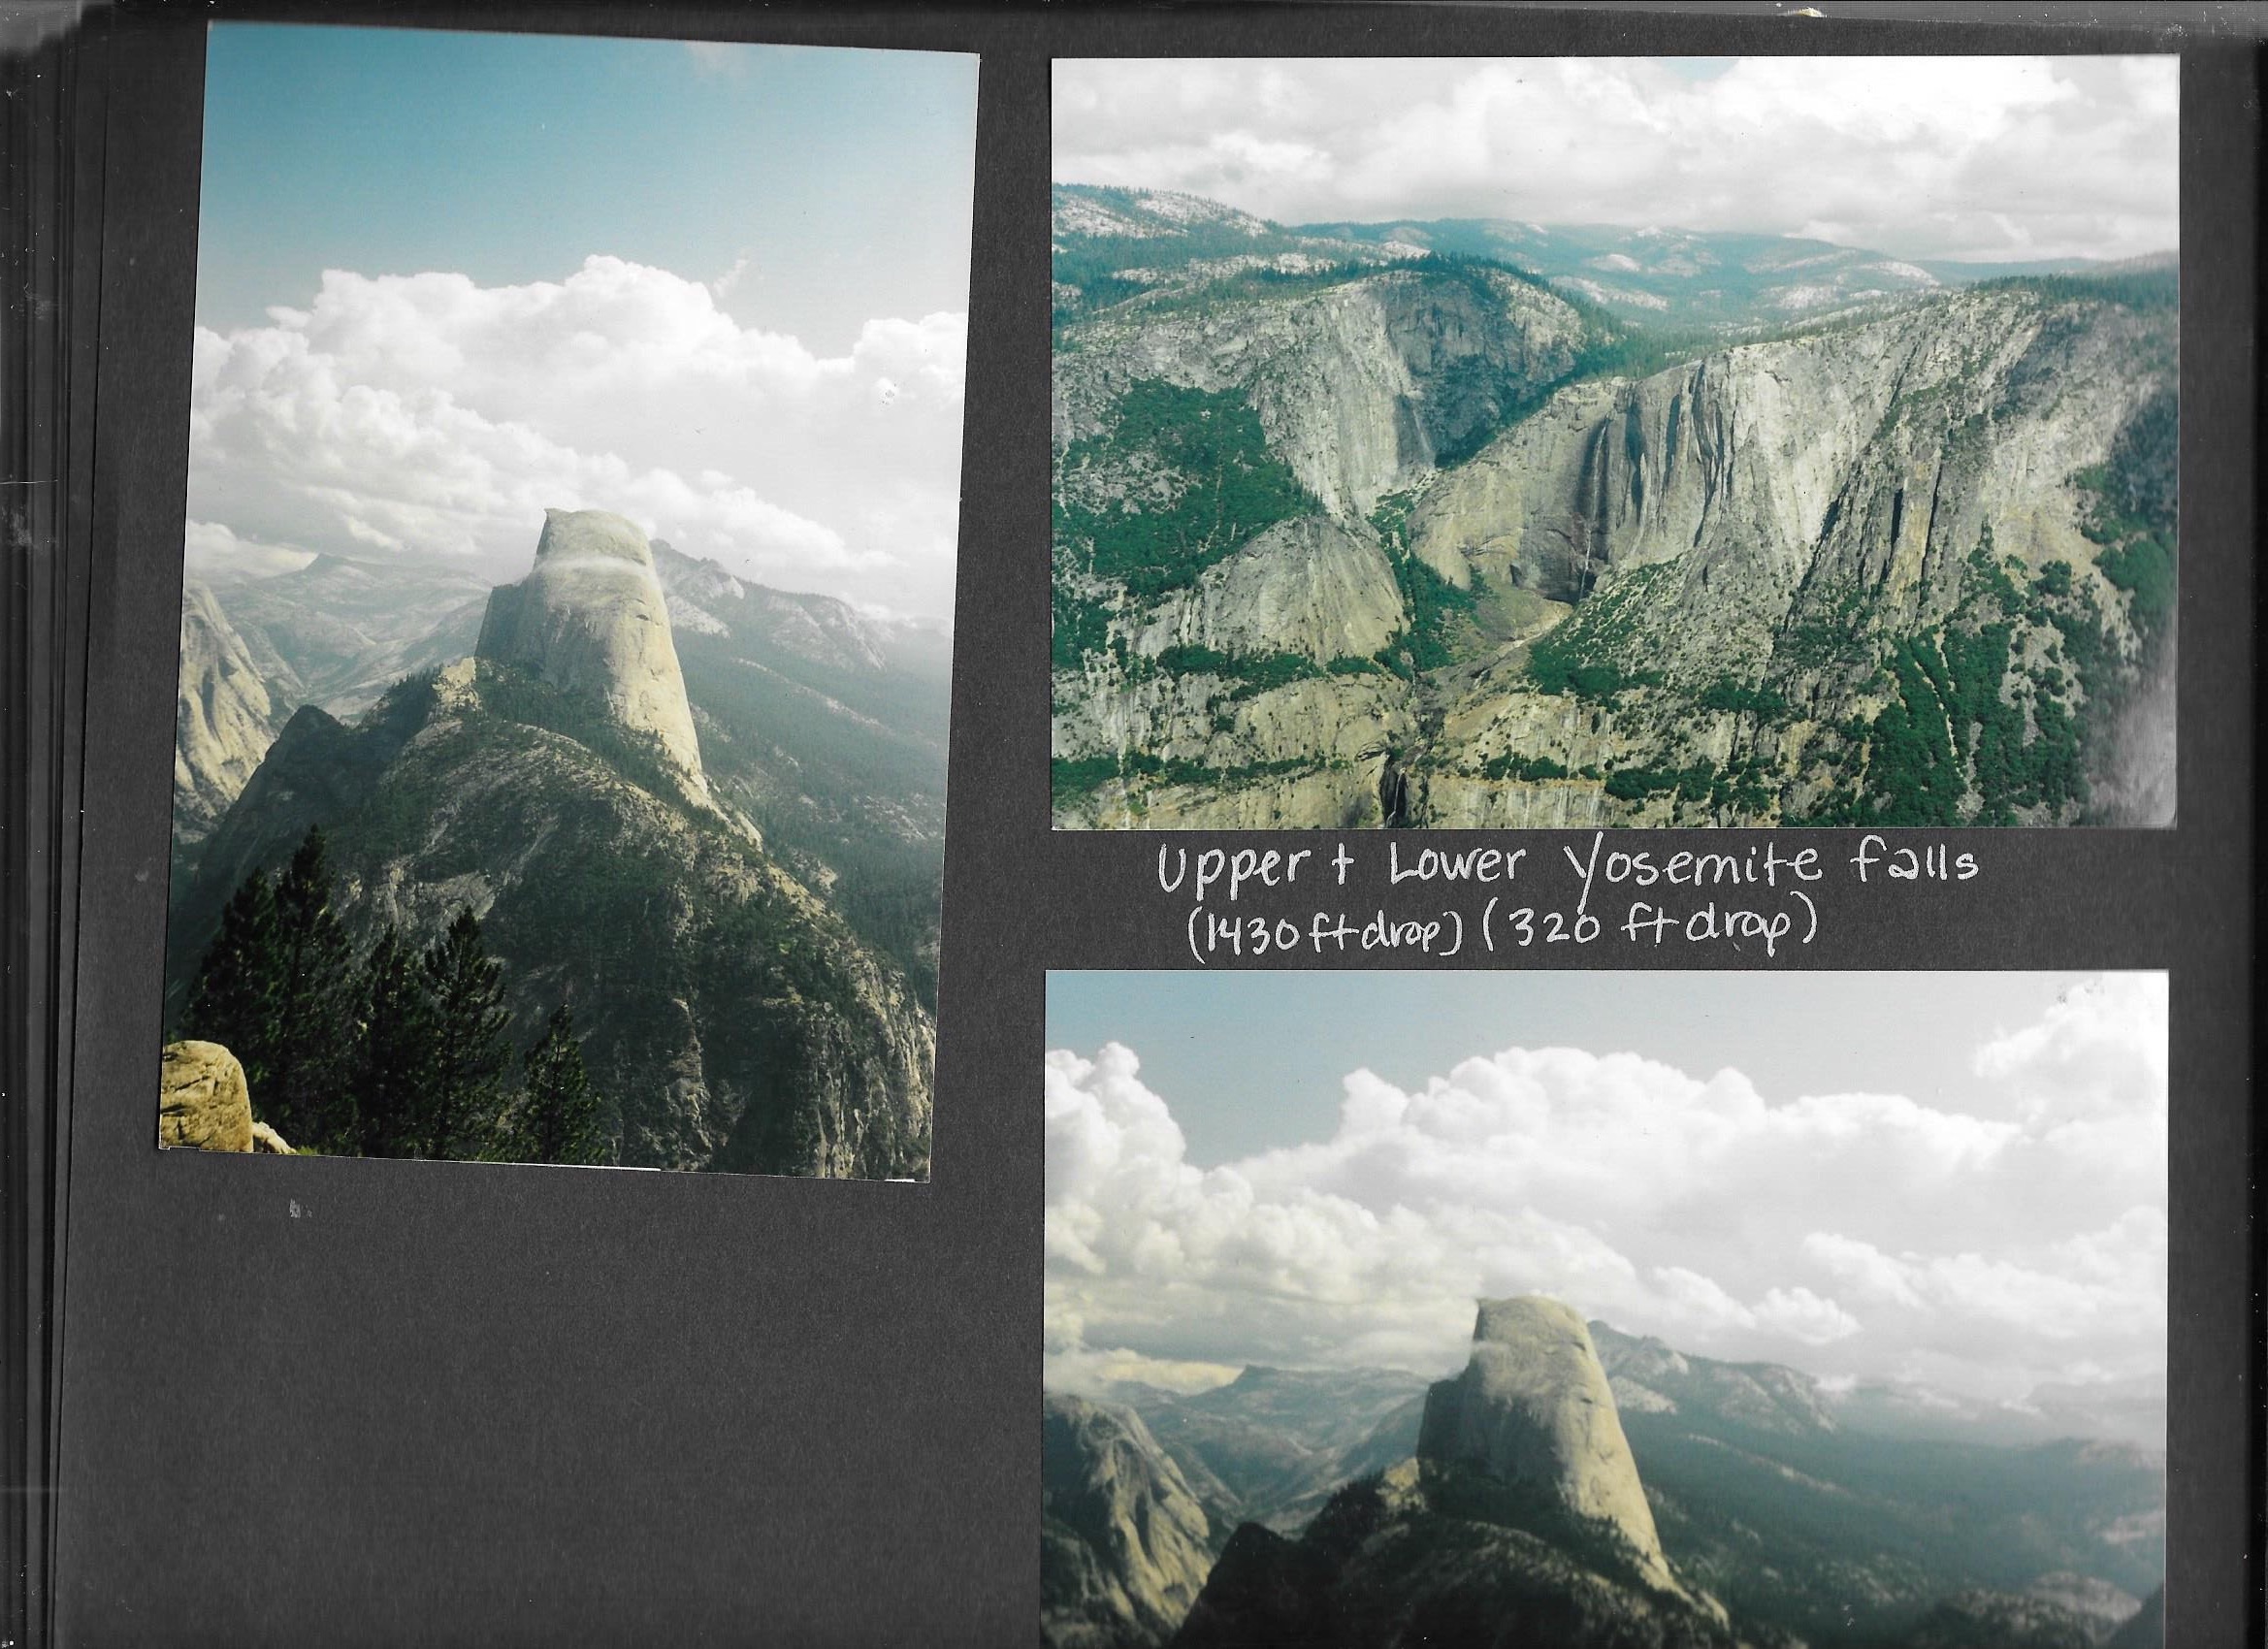
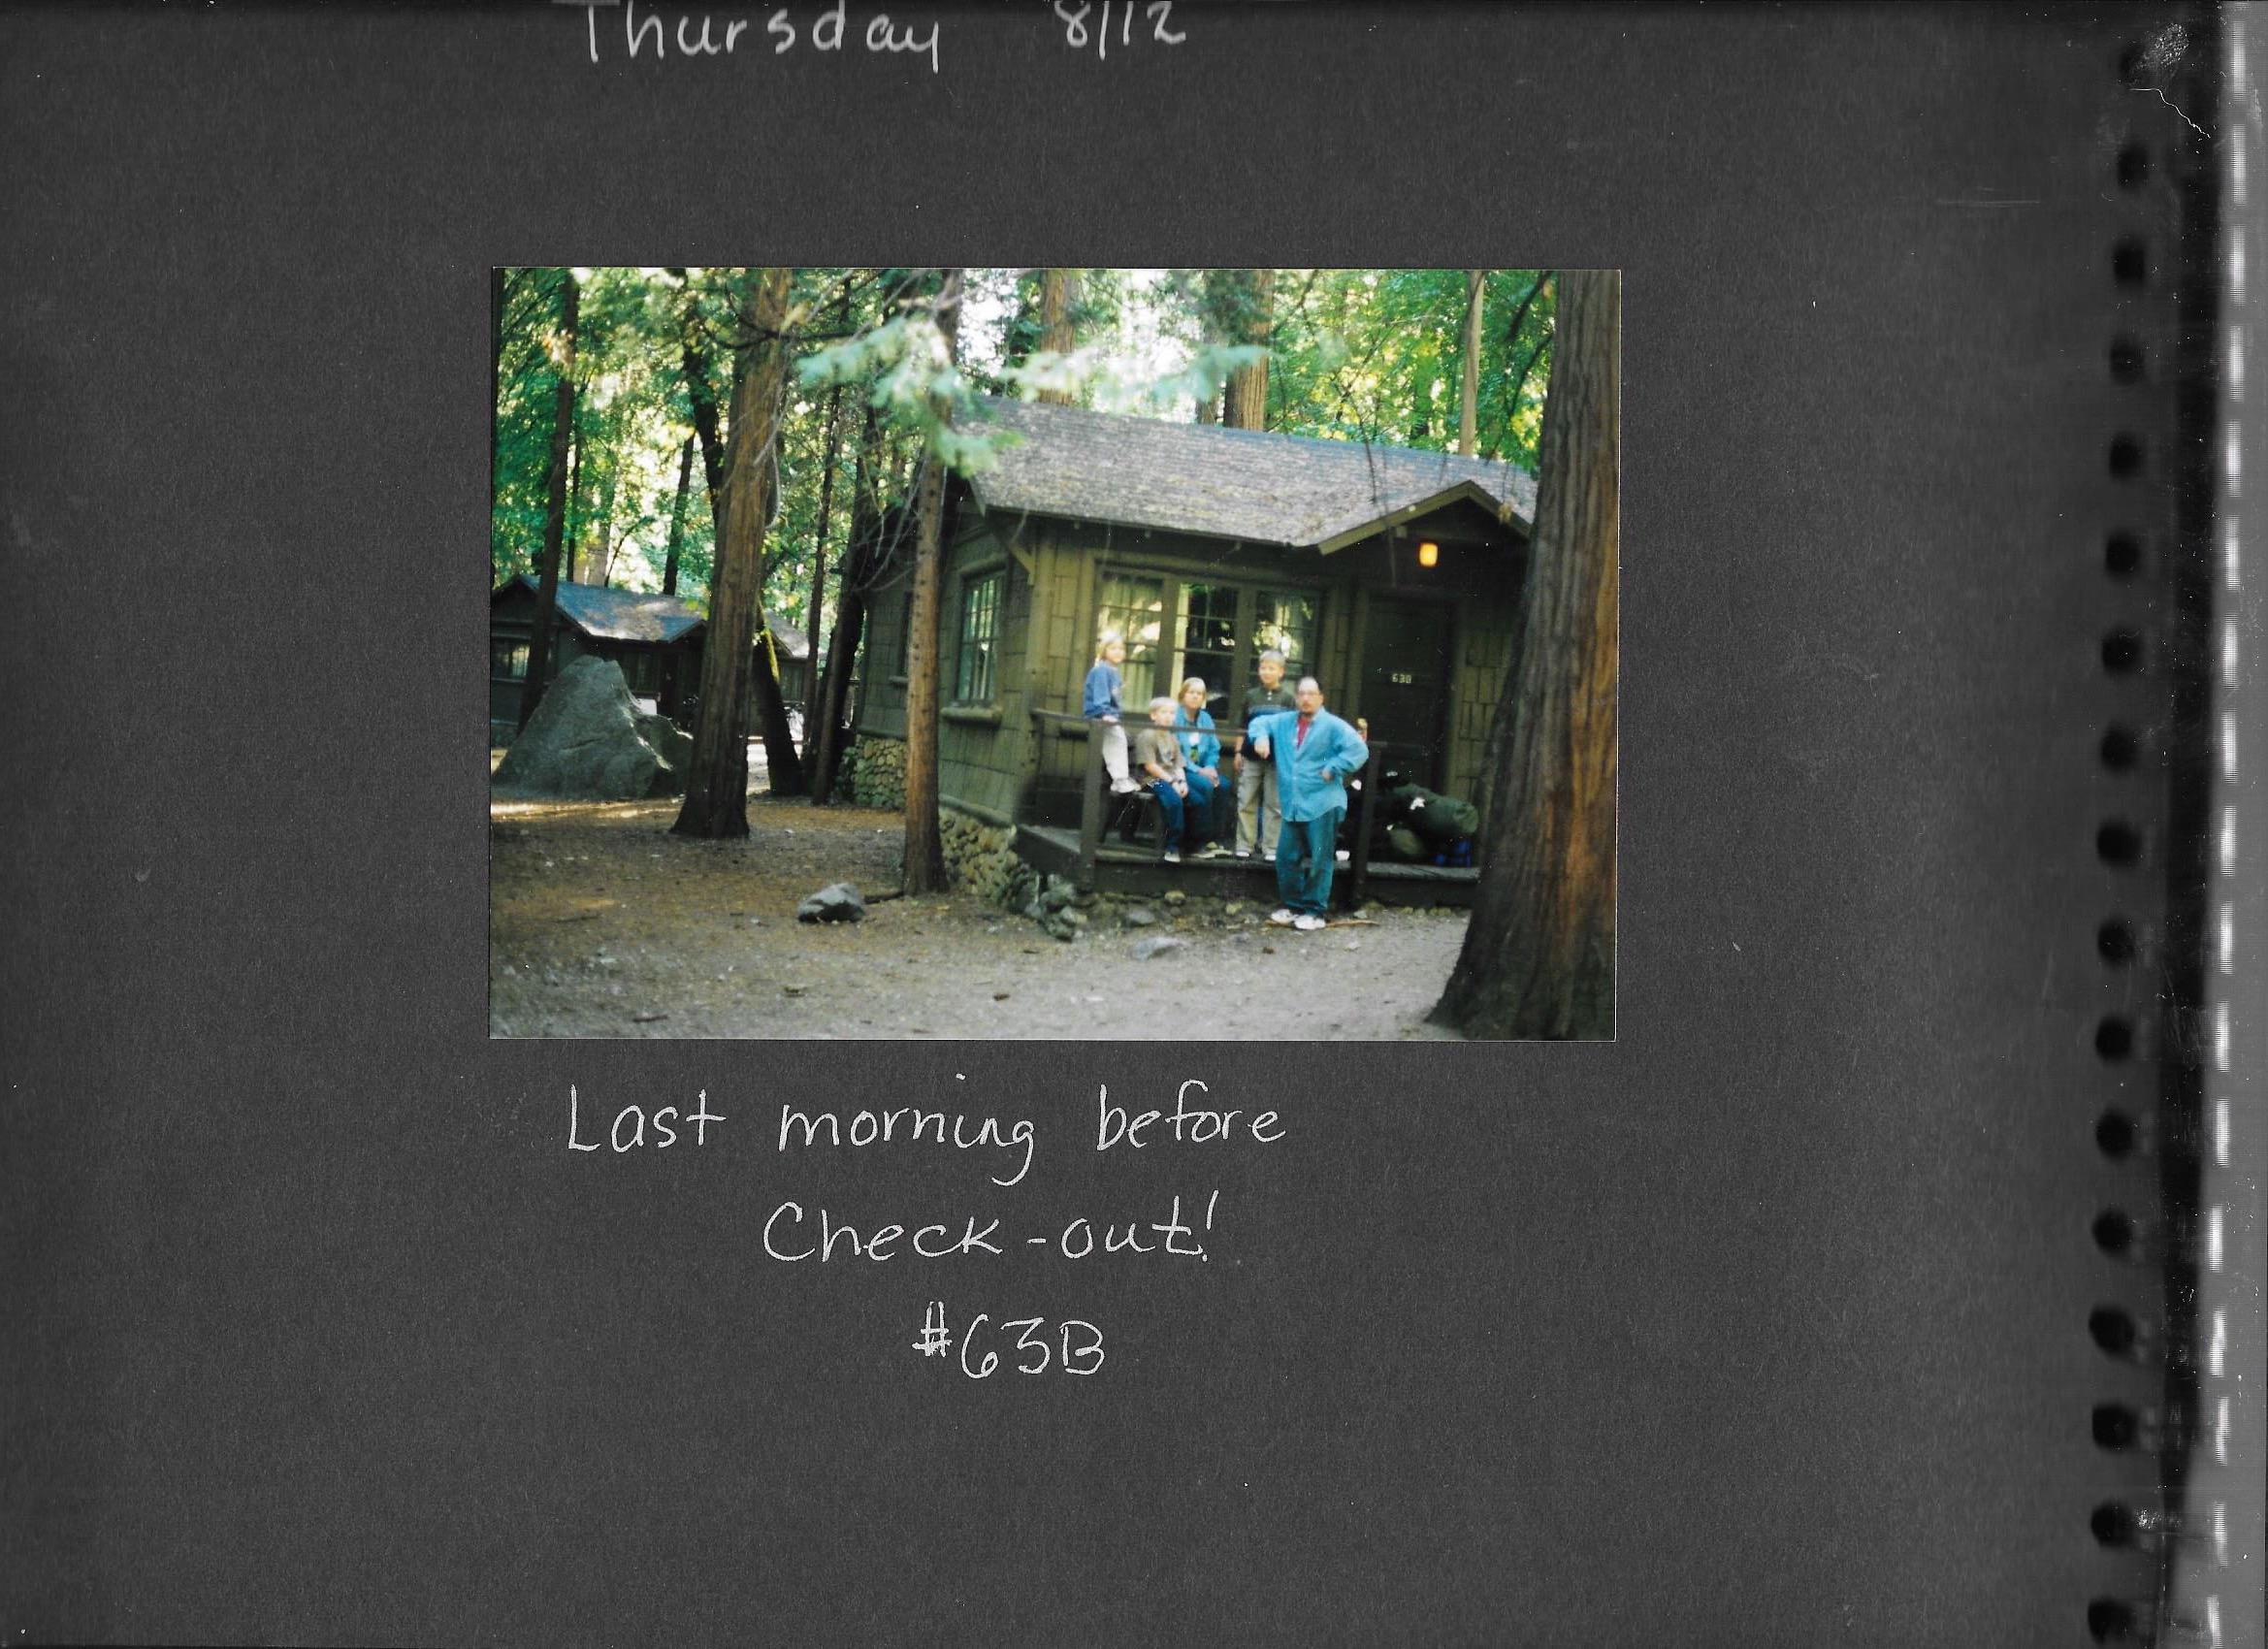
The first time I went to Yosemite it was 1999, and I was 6.

I remember the tall trees, the shuttles bussing us around the park, being scared of bears breaking into the car, drinking out of the soda springs at Tuolomne meadow, and… the waterfalls.


It's amazing looking through these photos, pulled from my Mom's scrapbook, all taken before digital cameras.

Fast forward 17 years to September 2016. Ben, my Mom and I were back in Curry Village celebrating Ben's birthday.

We had a great time hiking and enjoying the beautiful landscape, but, something was missing. Dark black lines ran down the granite walls where the waterfalls I so vividly remembered flow in the Spring and Summer. Almost as soon as we got back from that trip, we began planning our next trip.

I. Getting There
With friends coming in from out of state, logistics were important. Because Ben lives in Orange County, we chose the OC as our meeting point. We flew into various airports in the area, piled all of our gear into the rented minivan, and drove up to Yosemite. (If you can, flying into San Francisco is a better/closer option.) We also had a google document tracking everyone’s flights, expenses, packing lists, etc.

II. The Campsite
If you’re interested in reserving a spot, it’s crucial to plan ahead. Campground reservations open five months in advance, and fill up fast! It’s like trying to get tickets to your favorite band the minute tickets are released!

Our group stayed at the Upper Pines Campground. There were multiple bathrooms, sinks for foods waste, and water fountains. This location worked well as we were close to Curry Village (unfortunately renamed Half Dome Village in 2016), and a few of the trailheads.

If all sites are filled, another great option are the canvas tents we stayed at on our last trip.  

III. Itinerary
We’ve found that the best way to make the most of any trip, is to plan out the big hikes we’re doing every day, and have a few options for the evening.  We could not have planned them better. Doing the hikes in this order worked out perfectly! It's also important to do you some research and plan ahead according to the time of year you're visiting. HWY 120 into the park closes during the Winter, and was still closed when we were there in March. Check all of the conditions here

Fun fact: I used to hate crossing streams on the trails. Now, I love it!

Fun fact: I used to hate crossing streams on the trails. Now, I love it!

Day 1 (half day)

After stopping at Tunnel View and Bridalveil Falls* on our way into the park, we set up camp and set off for Four Mile Trail. When the full trail is open, this hike takes you from the Valley Floor to Glacier Point. After 2.5 miles, the clouds began to shift, a storm rolled in, and it began to snow. As we made it back to trailhead, the clouds rolled out of the valley, and we were left with a gorgeous evening. From the Four Mile Trail trailhead, we headed across the meadows to Yosemite Falls, and wandered around the Valley Floor Loop for a bit before heading back to camp.

Total Mileage: ~ 6
Total Time: ~2 hours


View from 4 Mile Trail

View from 4 Mile Trail

Wandering along the Valley Floor

Wandering along the Valley Floor

Day 2: Yosemite Falls 

We woke to the sound of the gushing waterfalls, cooked up our go-to breakfast of oatmeal and coffee, piled into our minivan, and made our way to the Yosemite Falls trailhead by 9. The hike is strenuous, so plan on spending the majority of the day on the trail.

Total Mileage: ~ 8
Total Time: ~6 hours

Before a Golden Hour hike at Mirror Lake we made a quick stop at the campsite for fuel (aka more Clif Bars, trail mix, dried fruit, and Chex Mix), before making our way to Mirror Lake for Golden Hour.

Hannah 1, Hannah 2 (me), and Alex at the top of Upper Yosemite Falls

Hannah 1, Hannah 2 (me), and Alex at the top of Upper Yosemite Falls

View from Mirror Lake

View from Mirror Lake

Day 3: Vernal and Nevada Falls

On our last full day at the park, we chose another longer, strenuous hike to the top of Nevada Falls. Along the way, the trail passes the Vernal Fall Footbridge, up to to the top of  Vernal Falls.

There are a few different trail options to go all the way to the top of Nevada Falls*:

  • Mist Trail to Vernal Falls then continuing on to the top of Nevada Falls
  • John Muir trail down the Clarke Point Cut Off to the top of Vernal falls then continuing on the Mist Trail
  • John Muir Trail all the way to the top of Nevada Falls

We opted to take the JMT to the point at which it was closed - Clark Point. We then cut down to the Mist Trail, up to the top of Nevada Falls, and back all the way down the Mist Trail. This route was less busy/dryer on the way up. https://www.nps.gov/yose/planyourvisit/conditions.htm

*Depending on what time of year you go, part of the trail(s) are closed. Make sure to check in before your trip with the Park Rangers, or online! 

Total Miles: ~8

Total Time: ~6 hours

We ended the day with a hot shower, and pizza from Curry Village. For those plant powered folks, they will make you an awesome dairy-free, veggie pizza!

Day 4: Sunrise at Tunnel View

05:00 AM- We woke to the sound of our iPhone alarms telling us it was time to get up, pack up the our two tents, and make our way to the park exit. There was just one more stop on our itinerary – Tunnel View.
 

In front of Lower Yosemite Falls. Photo: B. Fleming

In front of Lower Yosemite Falls. Photo: B. Fleming

IV. Gear

In addition to what is listed over on my my new gear page, other important items we brought were:

  • 6 person tent rented from REI
  • 2 Pocket Rockets
  • Rain Gear
  • Warm Gear

V. Meals

Breakfast/lunch/snacks: pretty standard for camping - lots of oatmeal, PB&J, fruit, trail mix, tortillas, Clif Bars and more PB. (I think I FINALLY over-did it on the Clif Bars. I'm back to homemade bars now!)
Dinner #1 - Hannah made an awesome Vegan curry!
Dinner #2 - Curry sweet potatoes (cut up sweet potatoes + curry powder + heat) and tons of warmed up canned veggies. This was our first time using canned veggies, and it worked great!
Dinner #3 - Ate out at Curry Village. There are ton's of choices. I went for a salad, and vegan pizza!

Hanging out in El Cap meadows

Hanging out in El Cap meadows

Waterfall Canyon Trail | Ogden, Utah

Hannah Fleming

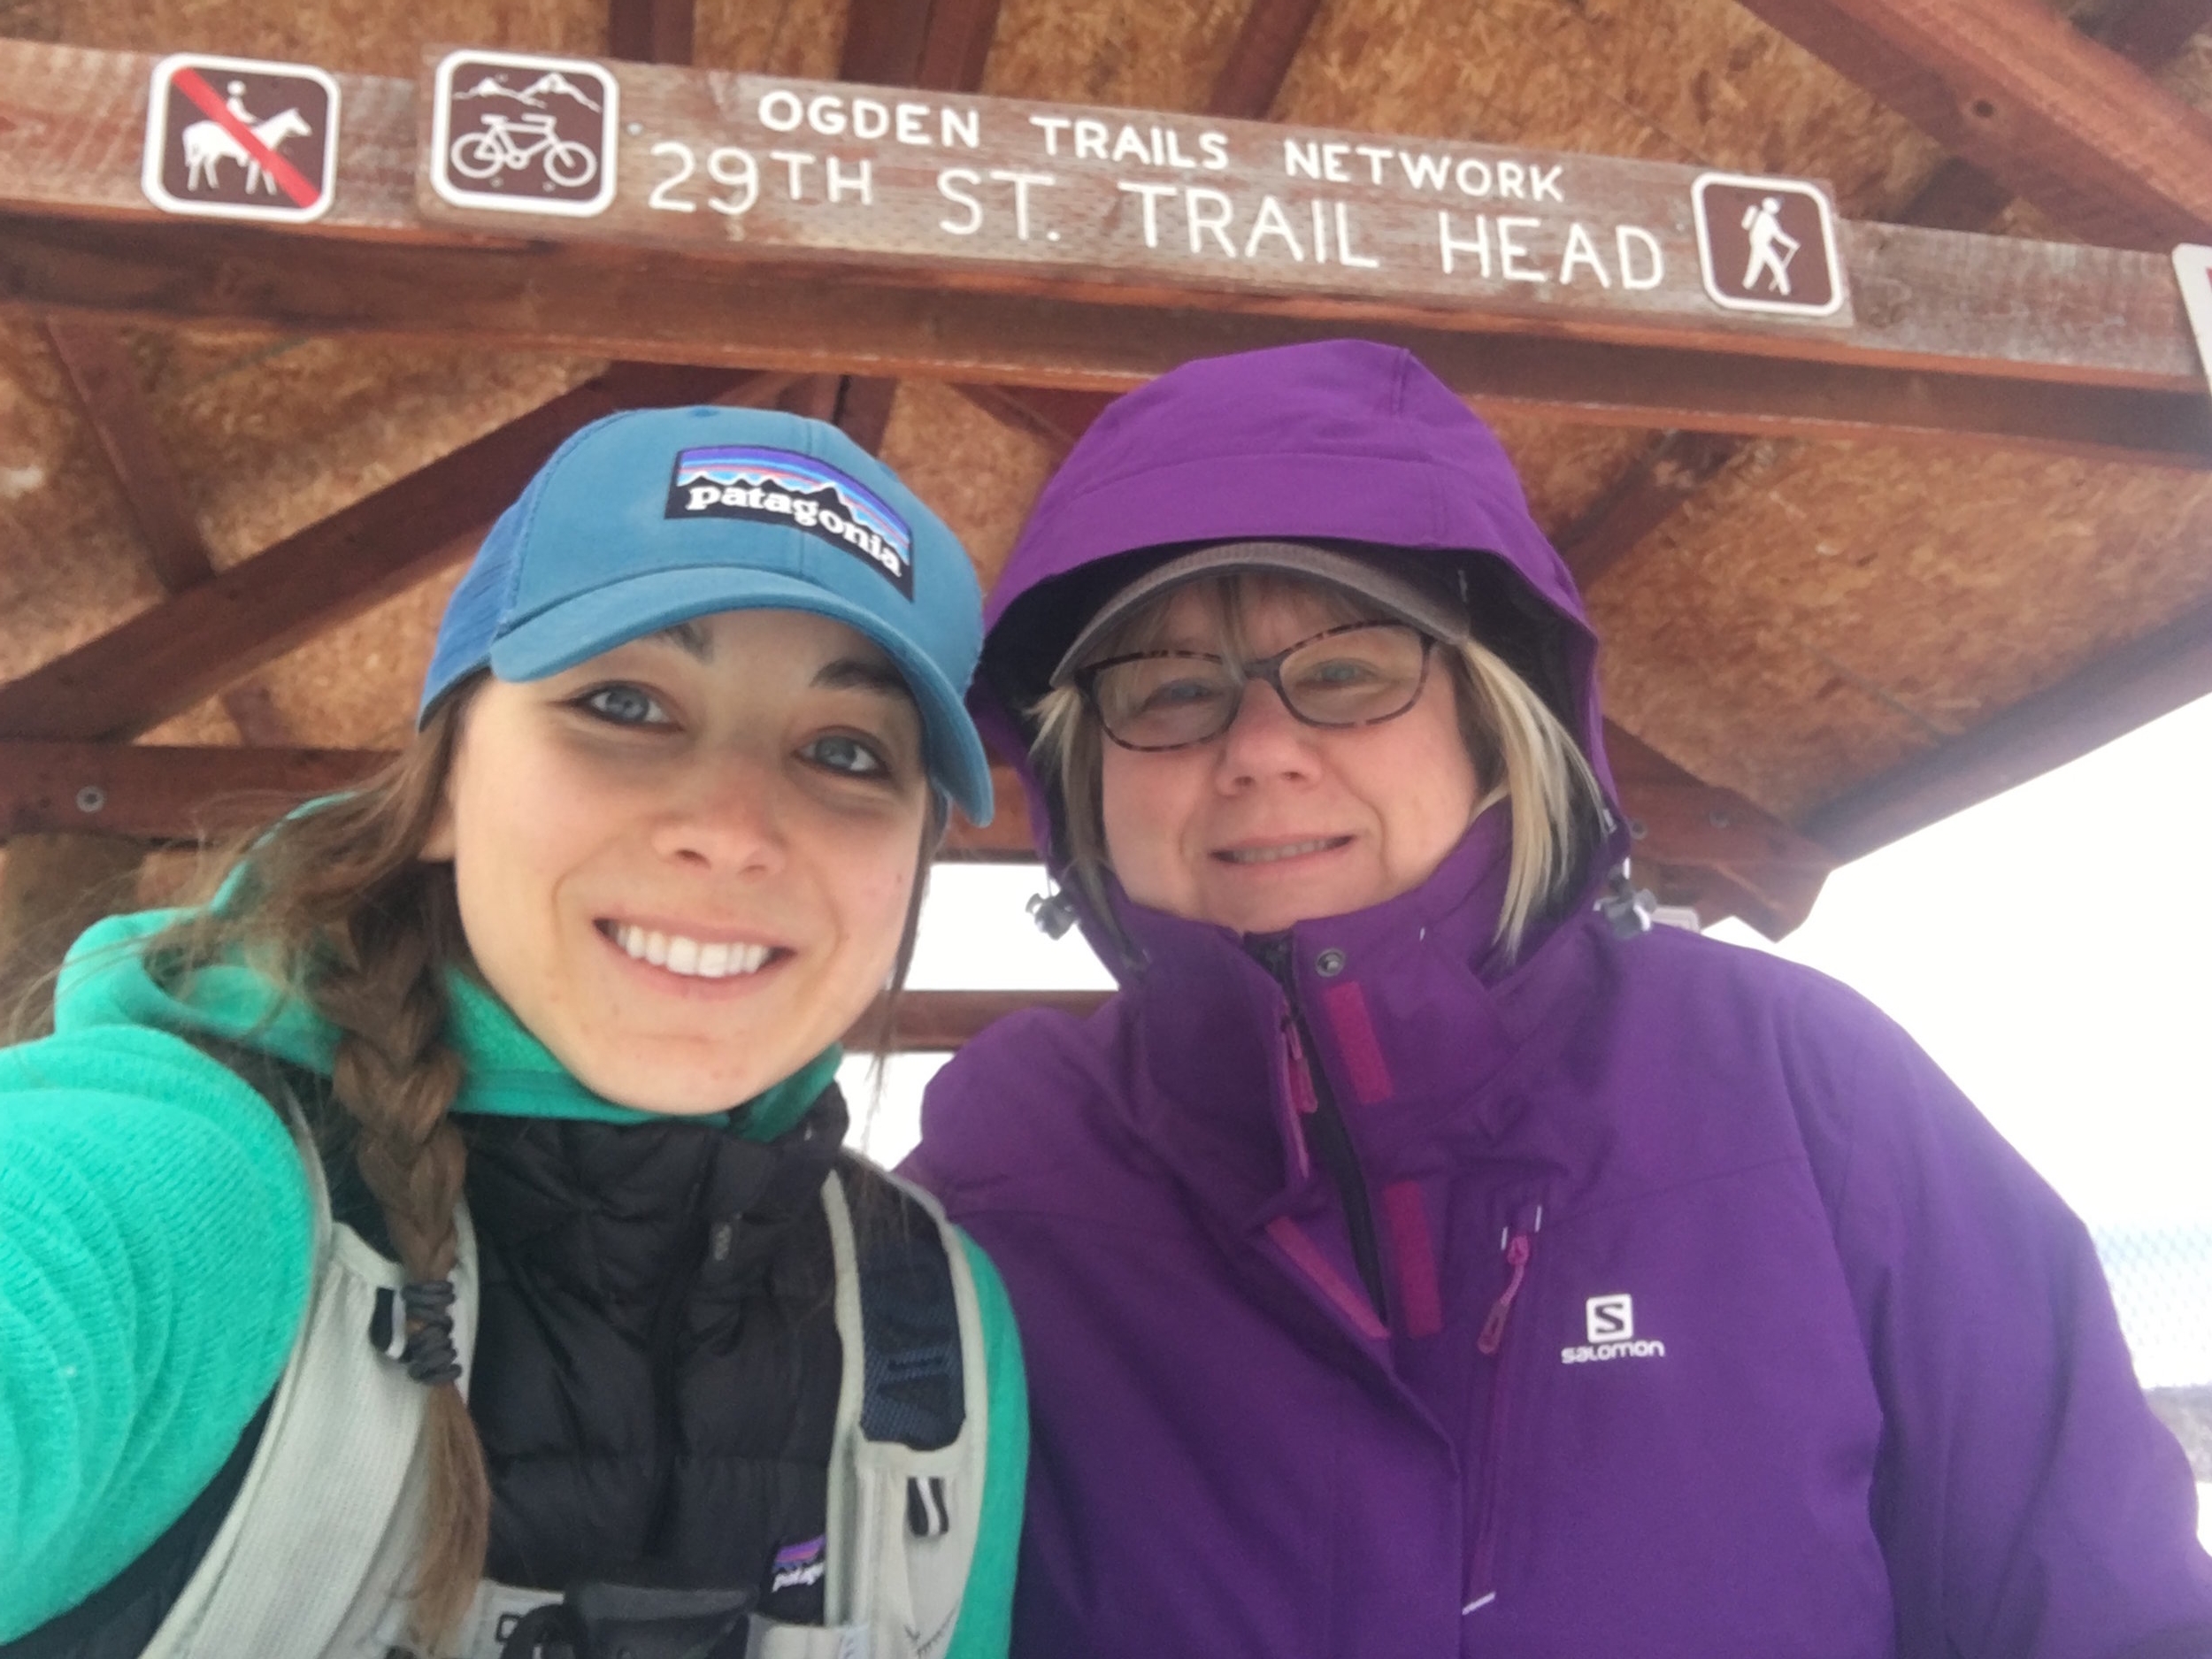
I’ve officially moved from LA to Ogden!

In the three short weeks I’ve been in Ogden, we’ve gotten 6+ feet of snow, i’ve skied seven times (mostly in knee deep powder!) After endless storms, I woke up to a beautiful bluebird day, perfect for hiking! In late Fall, when the last of the autumn colors were just fading, I did this hike to find the Waterfall was dried up. Because of this, I knew I wanted to hike it again in the Winter when the falls would be frozen and beautiful!

The Bonneville Shoreline Trail that runs along the base of Mount Ogden is scenic, leads to beautiful destinations, and is easy to access.


The best part of hiking in Ogden is how easily accessible the trails are. There are main trailheads at the end of every street spanning from 22nd street to 29th street at the base of Mount Ogden.


IMG_5483.JPG


Distance: ~3 miles round-trip
Starting Point: 29th Street Trailhead
Difficulty: Strenuous
Winter Weather Conditions: expect snow/ice covered trails
Gear: micro-spikes (if you have them!), trekking poles, leggings, base layer, hooded fleece, down vest, light gloves, hat, extra shell in my pack


P.S. Before I had the chance to post this, my Mom visited, and we hiked it again!
There was even more fresh pow!

Avocado Brownies

Hannah Fleming

Sounds healthy? Sounds kind of weird? Sounds…delicious? All three!

Avocado is a great base for rich, creamy dishes. It not only adds a moist texture, but is FULL of good fats and nutrients. Paired with some good quality dark chocolate, you won’t even miss the cholesterol and animal products!

Ingredients:

  • 300g dark chocolate
  • 2 tbsp coconut oil
  • 2 Hass avocados
  • ½ cup sweetener (I used agave syrup)
  • 1 tsp vanilla extract
  • 3 eggs / egg replacers**
  • ½ cup unsweetened cocoa powder
  • 1/3 cup flour of choice
    ** I used Neat Egg egg replacer for the firm time, and love it! It’s a blend of ground chickpeas and chia seeds. Chia seeds + water works great as well!


Once you've gathered all of your ingredients, it's time to bake!


Blend avocados until creamy

Blend avocados until creamy

Prep Time: 30 Minutes:

1.     Preheat oven to 400° F

2.     Line or coat a 9 x 13 pan

3.     Blend avocados in a food processor / blender until smooth and set aside

4.     Melt dark chocolate and coconut oil together until smooth

** I used a glass bowl over simmer water

5.     Combine dark chocolate/ coconut oil mixture with the avocado, sweetener and vanilla until smooth

6.     Add egg replacers one at a time, combining thoroughly before adding the next.

7.     Stir in unsweetened cocoa powder and flour of choice until thoroughly combined.

8.     Pour batter into prepared pan and bake for 12-15 minutes

9.     Top with powdered sugar and enjoy!


These turned out rich, creamy and delicious. Bring these to a potluck, and no one would know they're dairy-free, egg-free, and made without any refined sugars! For added sweetness top with your favorite frosting or fresh berries!


Reference recipes: http://www.frugalmomeh.com/2016/04/avocado-brownies.html