Contact Hannah


123 Street Avenue, City Town, 99999

(123) 555-6789

email@address.com


You can set your address, phone number, email and site description in the settings tab.
Link to read me page with more information.

Blog

Filtering by Tag: Utah

Ben Lomond - Ogden, UT

Hannah Fleming

Standing 9,716 feet tall, Ben Lomond looks down over Ogden, UT. With all travel coming to a halt this year, it was finally time to summit mighty Ben. As soon as I made it up once, I was addicted. Below are three different routes.

North Ogden Divide - Skyline Trail
Start: North Ogden Divide Trailhead
Duration: ~15.5 miles
Elevation gain: 3500 feet
Difficulty: moderate - difficult, due to duration and steep sections
What to expect? The first 1.5 miles of switchbacks are rocky and moderate/difficult. The trail becomes smooth dirt until reaching the saddle of Ben Lomond. This is the point where the Skyline trail meets up with Cutler Sprint trail and Ben Lomond trail. From here there is a 1.5-mile final push up to the peak, gaining the last 1,000 feet.
GPS *this is my favorite route

North Fork Park
There are two routes from North Fork Park. For extra fun, make a loop out of these two!

Start 1: Loop B - Corals Parking
Duration: ~14.5 miles
Elevation gain: 3900 feet
Difficulty: moderate - difficult, due to duration and steep sections
What to expect? The trail is mainly smooth, with some rockier sections close to the bottom. The trail is very straight forward until you reach the saddle of Ben Lomond. This is the point where Ben Lomond trail meets up with Cutler Spring trail and Skyline trail. From here there is a 1.5-mile final push up to the peak, gaining the last 1,000 feet.
GPS *note this was early season, we did not make it to the tippy top due to snow

Start 2: Mule Shoe Trailhead parking or Cutler Flats Parking
Duration: ~11.6 miles
Elevation gain: 3900 feet
Difficulty: difficult, due to duration and steep sections
What to expect? The trail is the steepest of the options, and the least trafficked. I’d recommend trekking poles. From the parking lot, you can follow the road towards Cutler Flat, or hop on the trails and head to Cutler Springs trail. At 2.9 miles in, you have the option to continue straight on Cutler Spring trail, or you can take a sharp left to connect up to Ben Lomond Trail. Cutler Springs trail is slightly shorter but much steeper. At the saddle, Ben Lomond trail, Cutler Spring trail, and Skyline trail all meet. From here there is a 1.5-mile final push up to the peak, gaining the last 1,000 feet.
GPS *bonus - this is also a great ski touring route in the winter

Ben Lomond + Willard Peak
If you’re feeling up to it, continue another two miles past Ben Lomond to Willard Peak! The trail is flowy and beautiful.

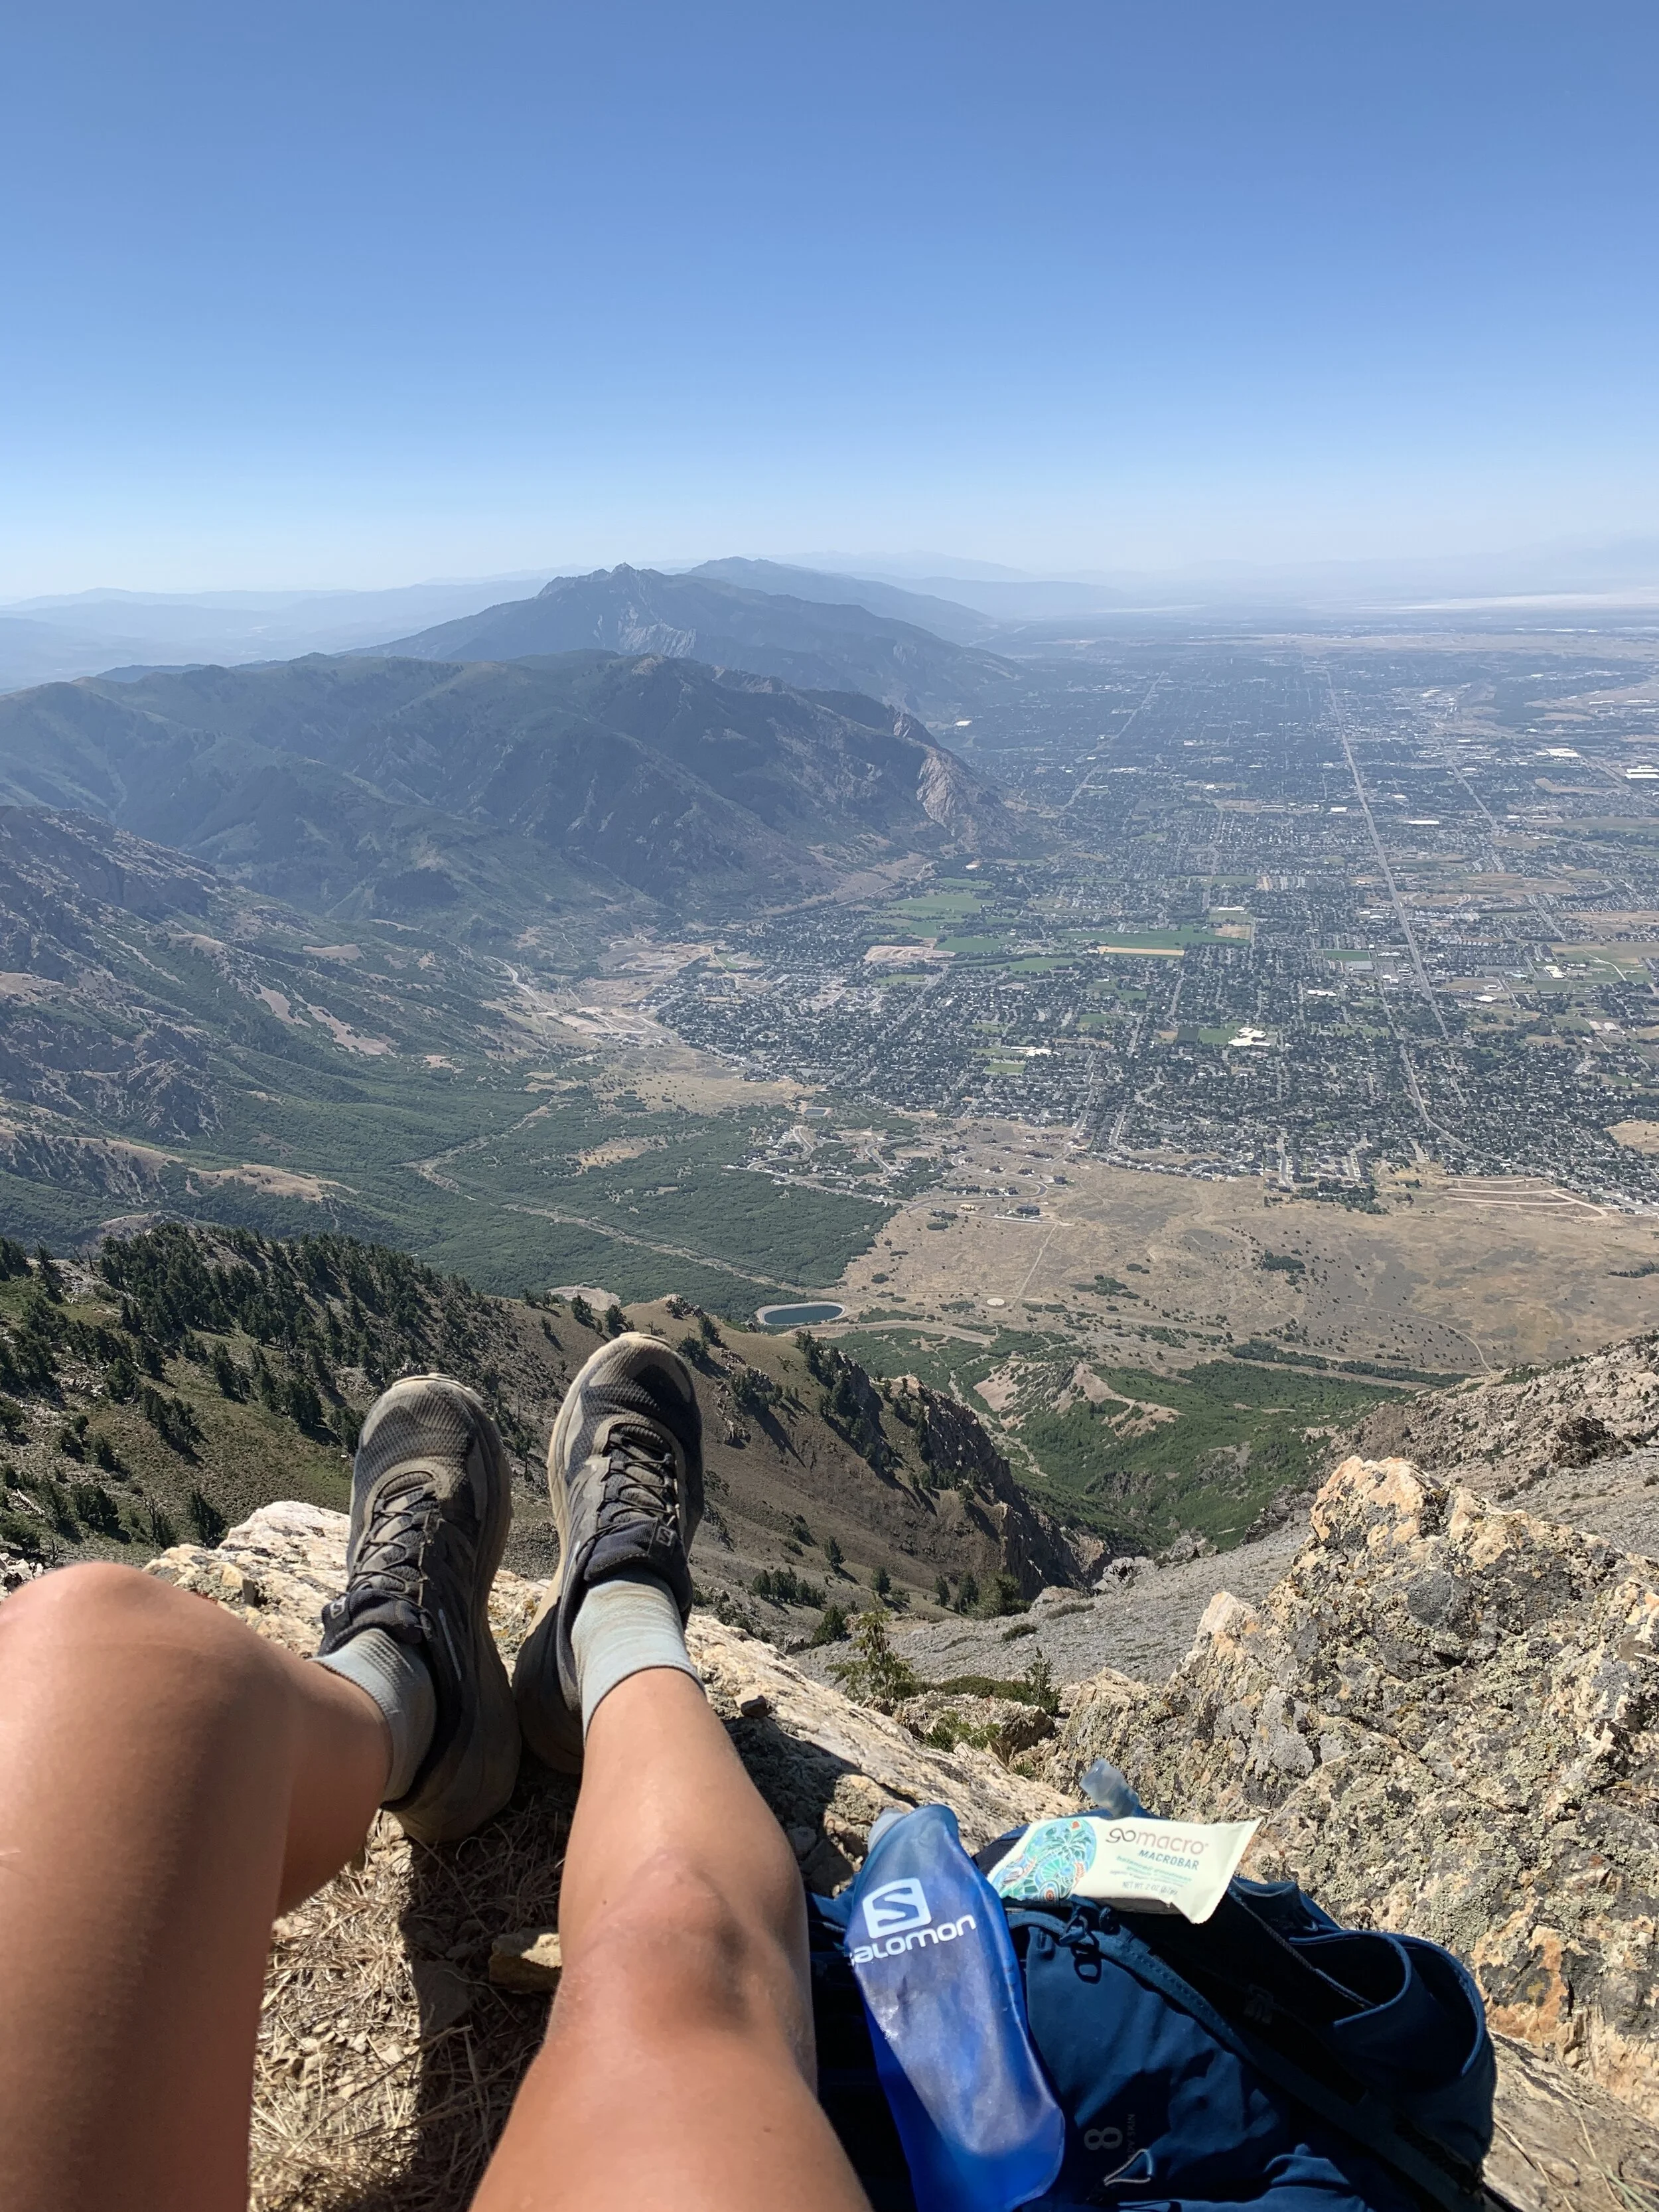
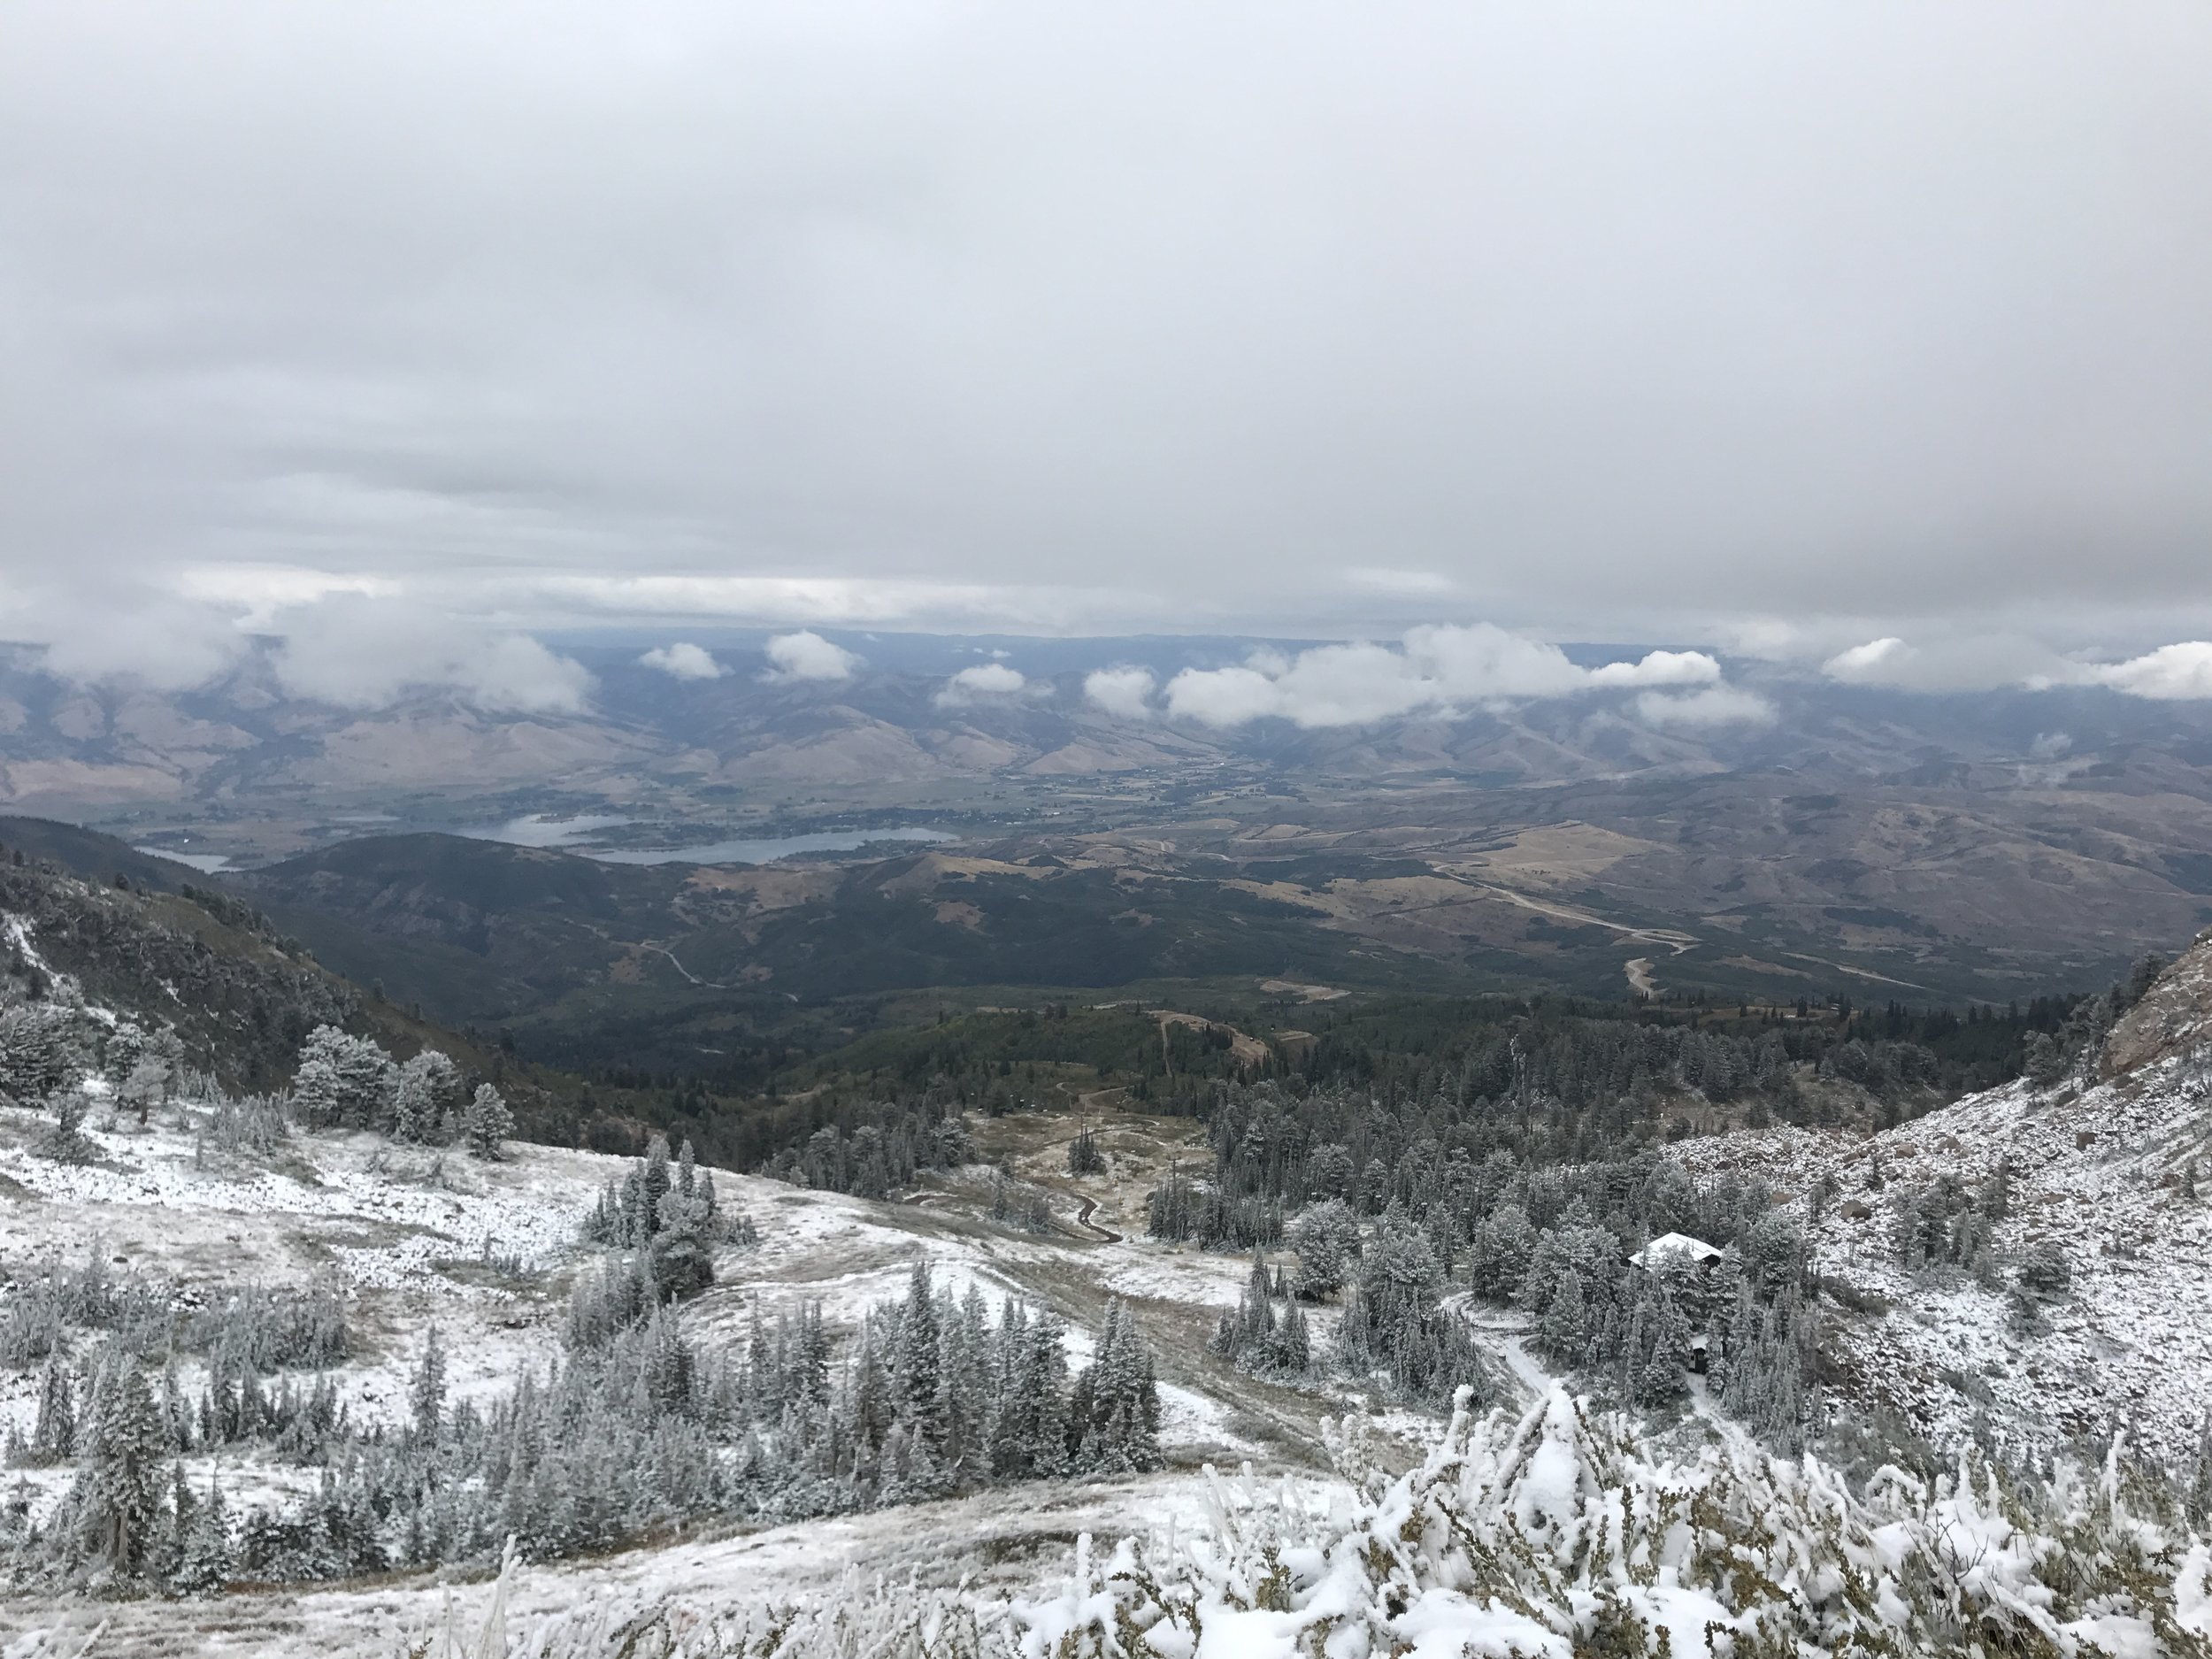
Ben Lomond looking down to Ogden, UT

Ben Lomond looking down to Ogden, UT

Ben Lomond to Willard Peak

Ben Lomond to Willard Peak

Southern Utah National Parks - Arches, Canyonlands and Capitol Reef

Hannah Fleming

Logistics

IMG_6421-1.JPG

As most trips do, our trip started at the airport. With my car packed to the brim with camping gear, food, Rinse Kit portable shower, and enough extra layers to make sure no one was cold, I headed to the Salt Lake City airport to pick up my mom and brother for four days of exploring Southern Utah’s National Parks.

From the airport, we began south, stopping at a hotel in Spanish Fork to get a few hours of sleep before continuing on to Arches National Park in the morning.  


Day 1 (Friday): Arches National Park

Despite waking up early to make our way to the Park and to find a camp spot (we assumed we’d end up on BLM land – hence the Rinse Kit), we ended up at Archview RV Park & Campground. This campground felt luxurious. In addition to having Wi-Fi near the main camp store, the newly constructed bathrooms had marble counter tops and a stone-tiled shower floor. Camp heaven.

It was noon by the time we set up camp and were finally on our way into Arches National Park! 

IMG_5807.JPG

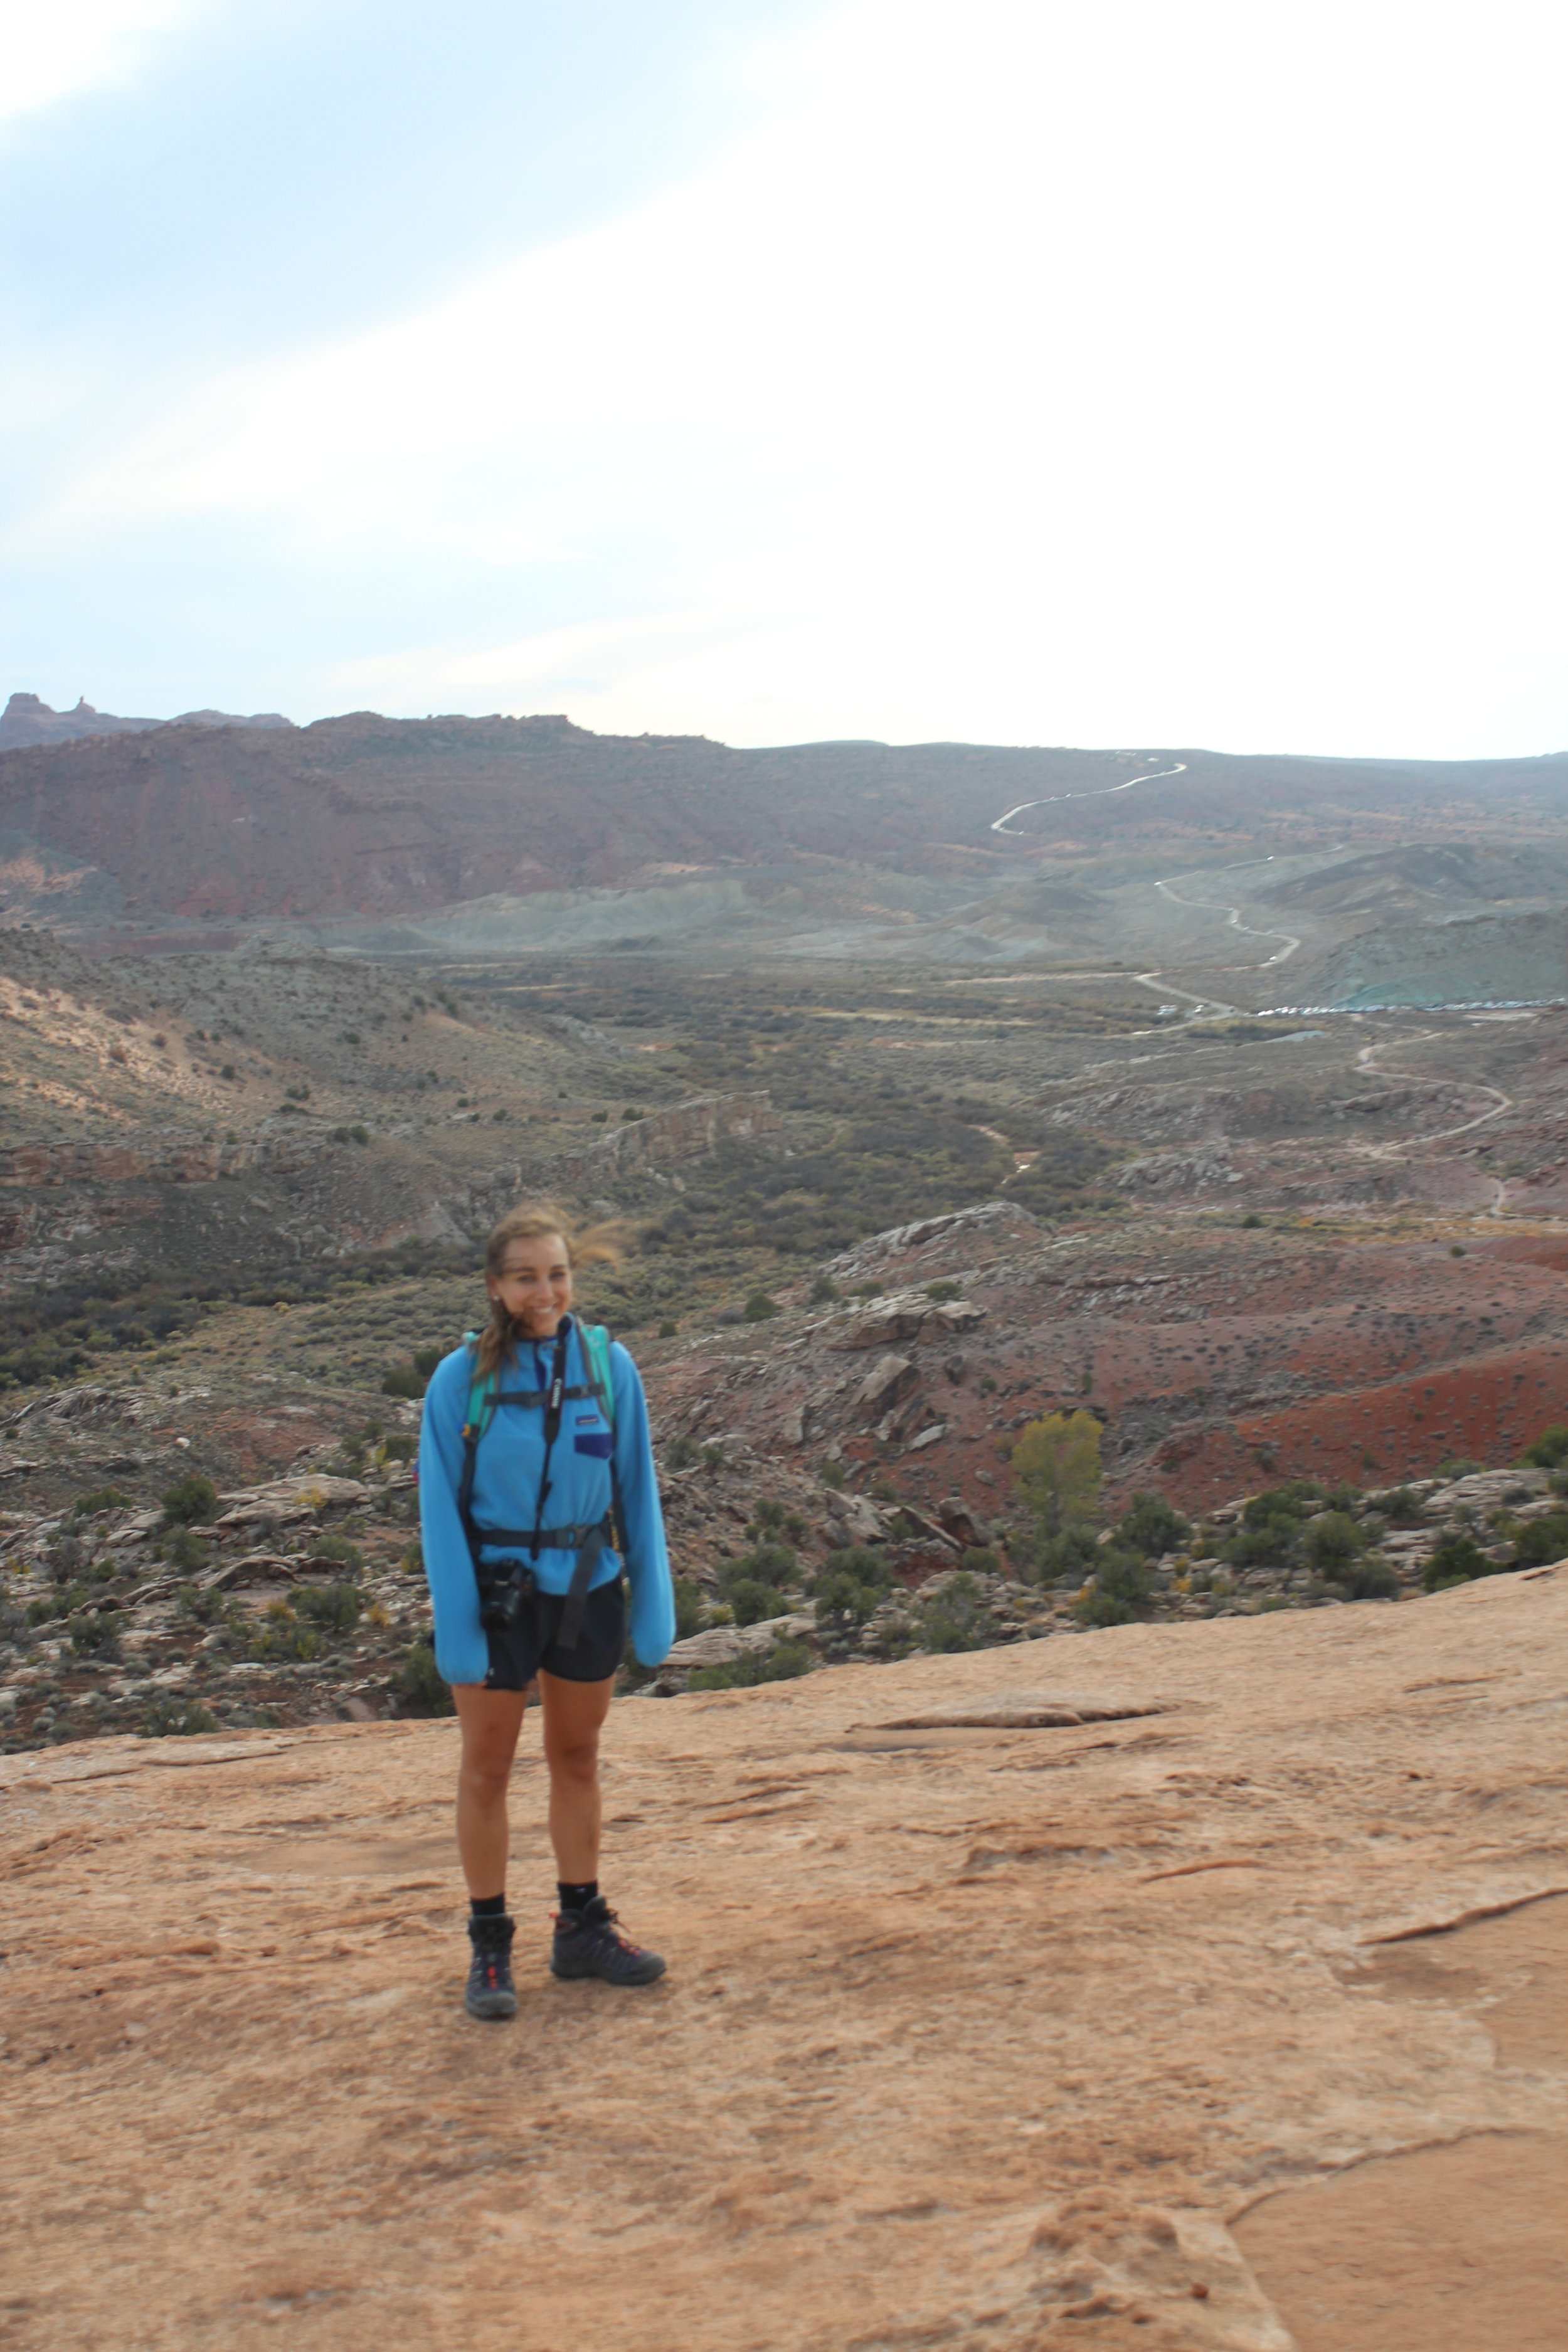
Following our mandatory stop at the visitor center to get our National Park Passports stamped, we made our way to the iconic Delicate Arch (the arch found on Utah’s license plate) at the far end of the park. You can expect a beautiful, windy, and likely crowded hike as you follow the 2.5 mile trail out to Delicate Arch. Even with the crowds, you can get an awesome shot under the Arch with a little patience.

Without much daylight left, we made our way back towards to park entrance, stopping at Panorama Point, Balanced Rock, Double Arch, and North and South Windows. With trails under .5 mile each, this was a great way to end the day and make the most of our time in the park.

With a major Mountain Bike race in town, restaurants were crowded, and we ended up at good ol’ McDonalds (while not the best, salad + fries satisfies the plant based diet).

IMG_5817.JPG
IMG_5839.JPG

Day 2 (Saturday): Arches National Park and Needles Overlook

IMG_5848.JPG

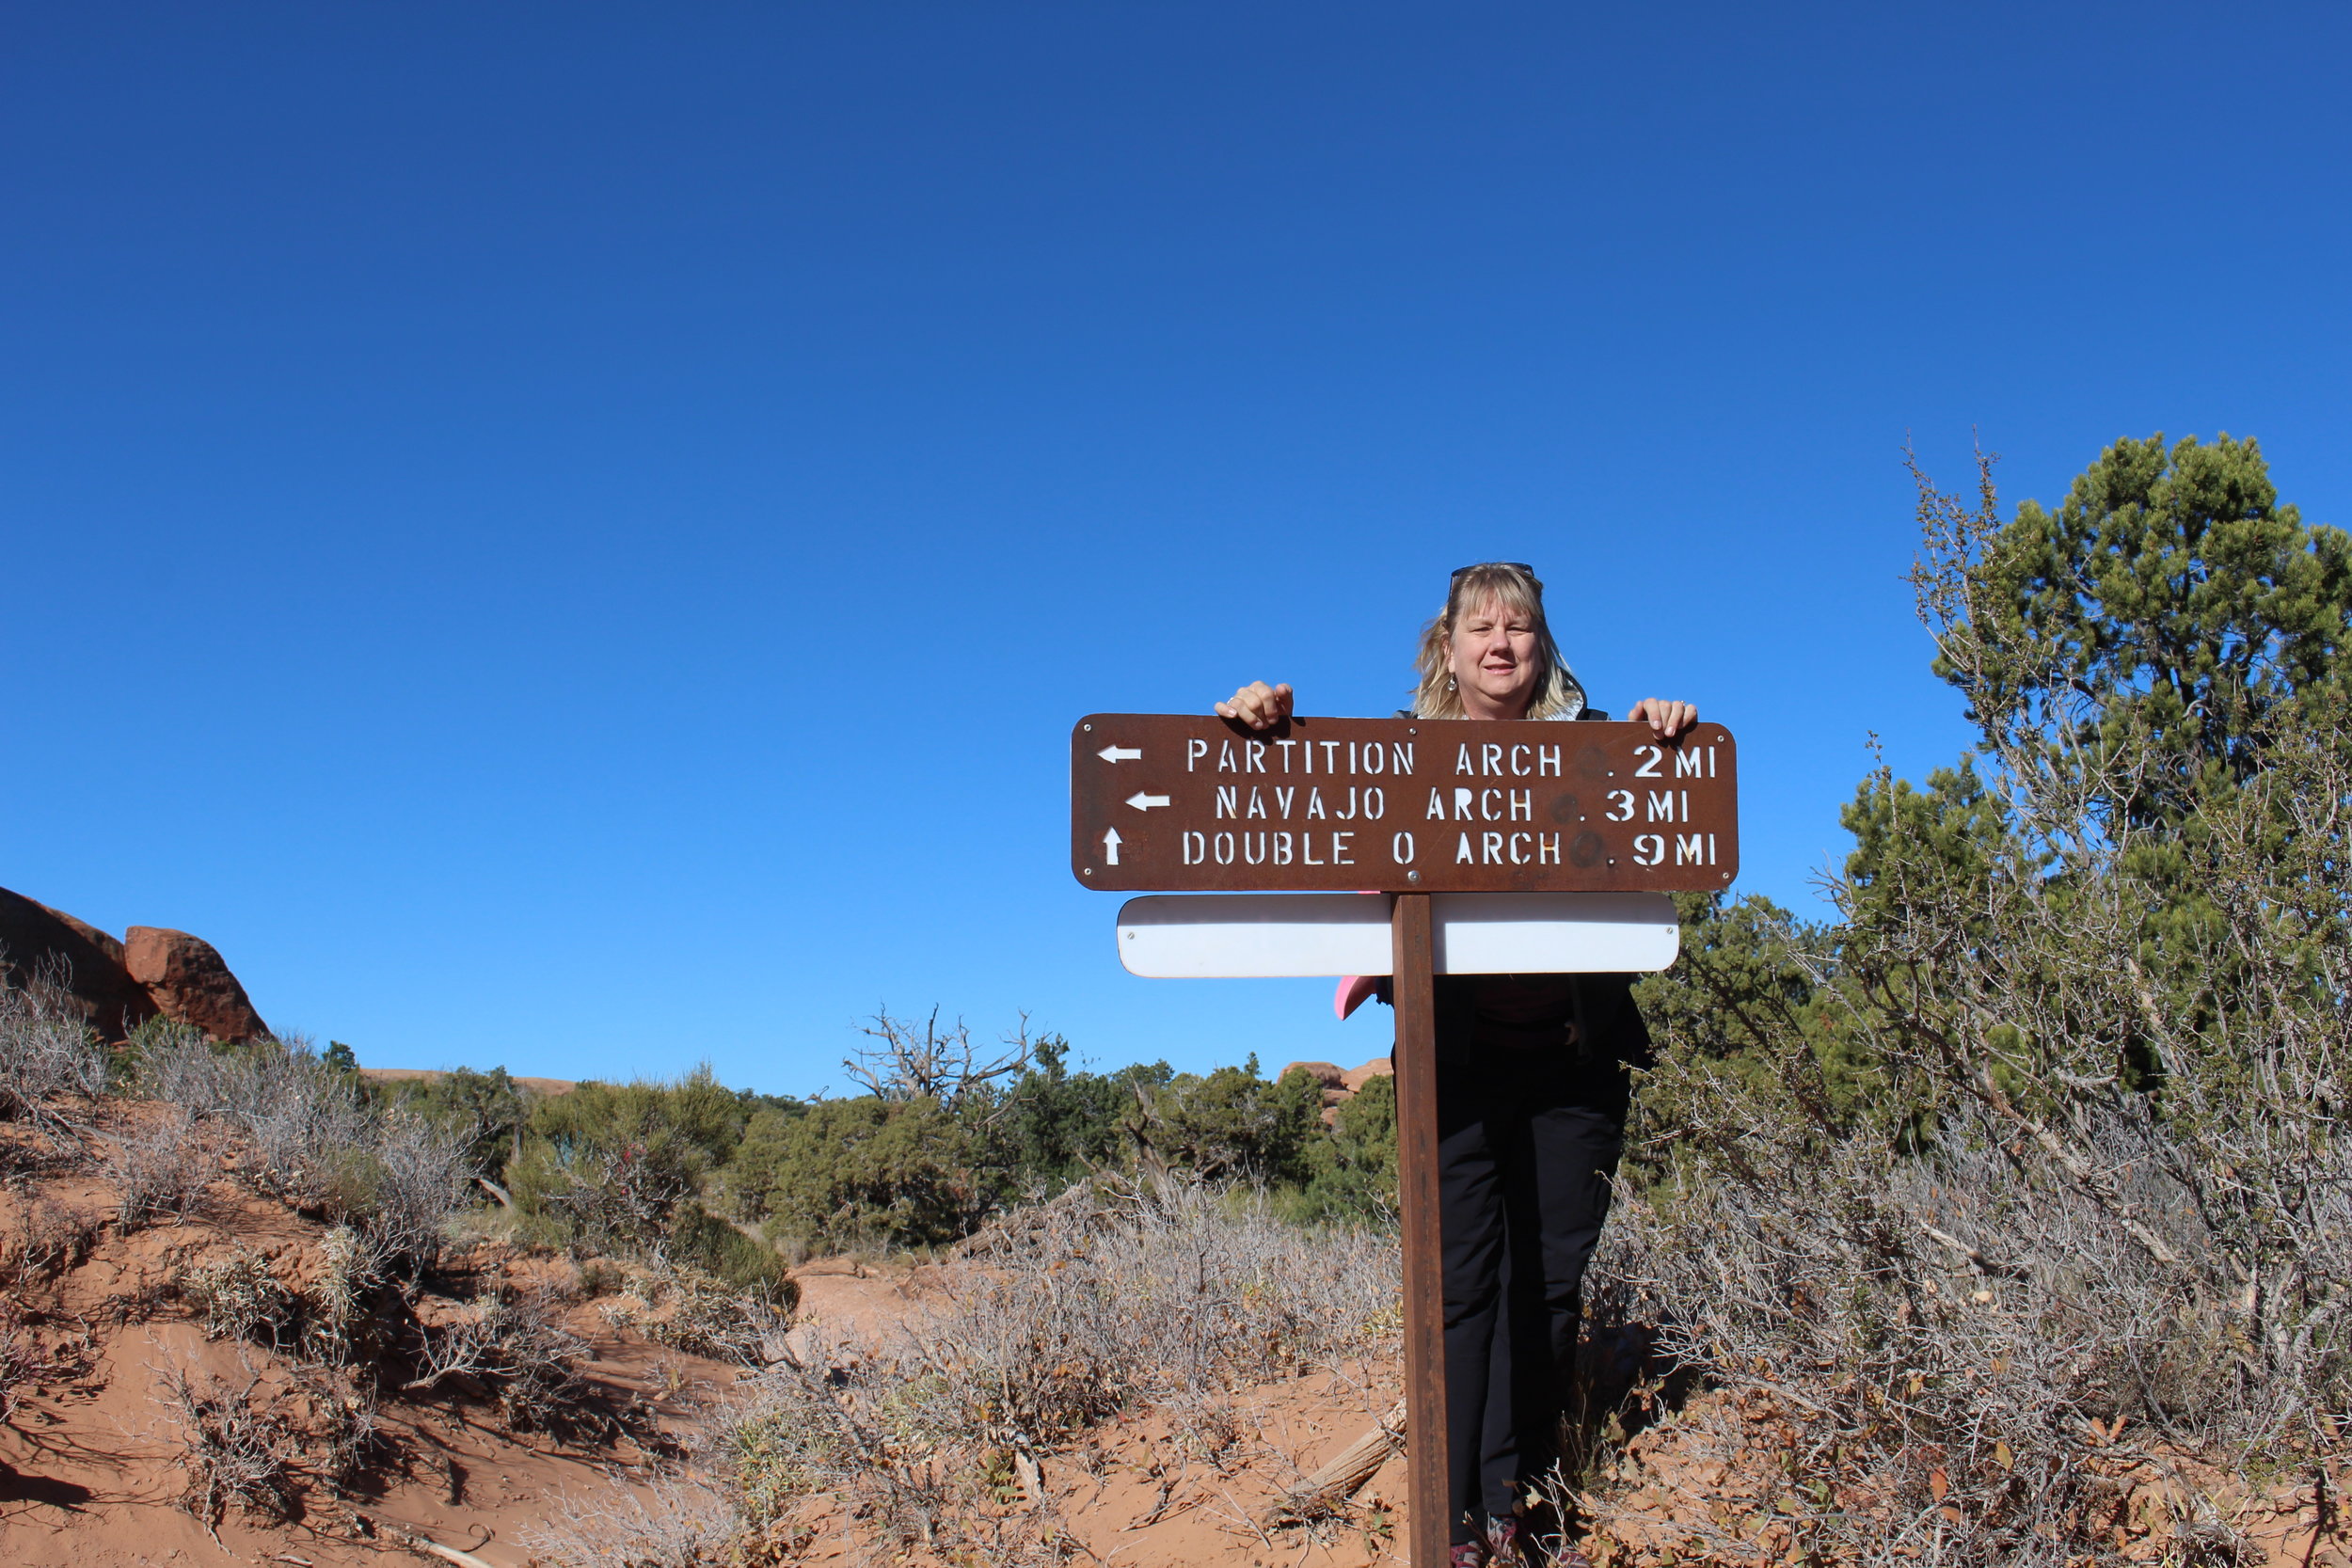
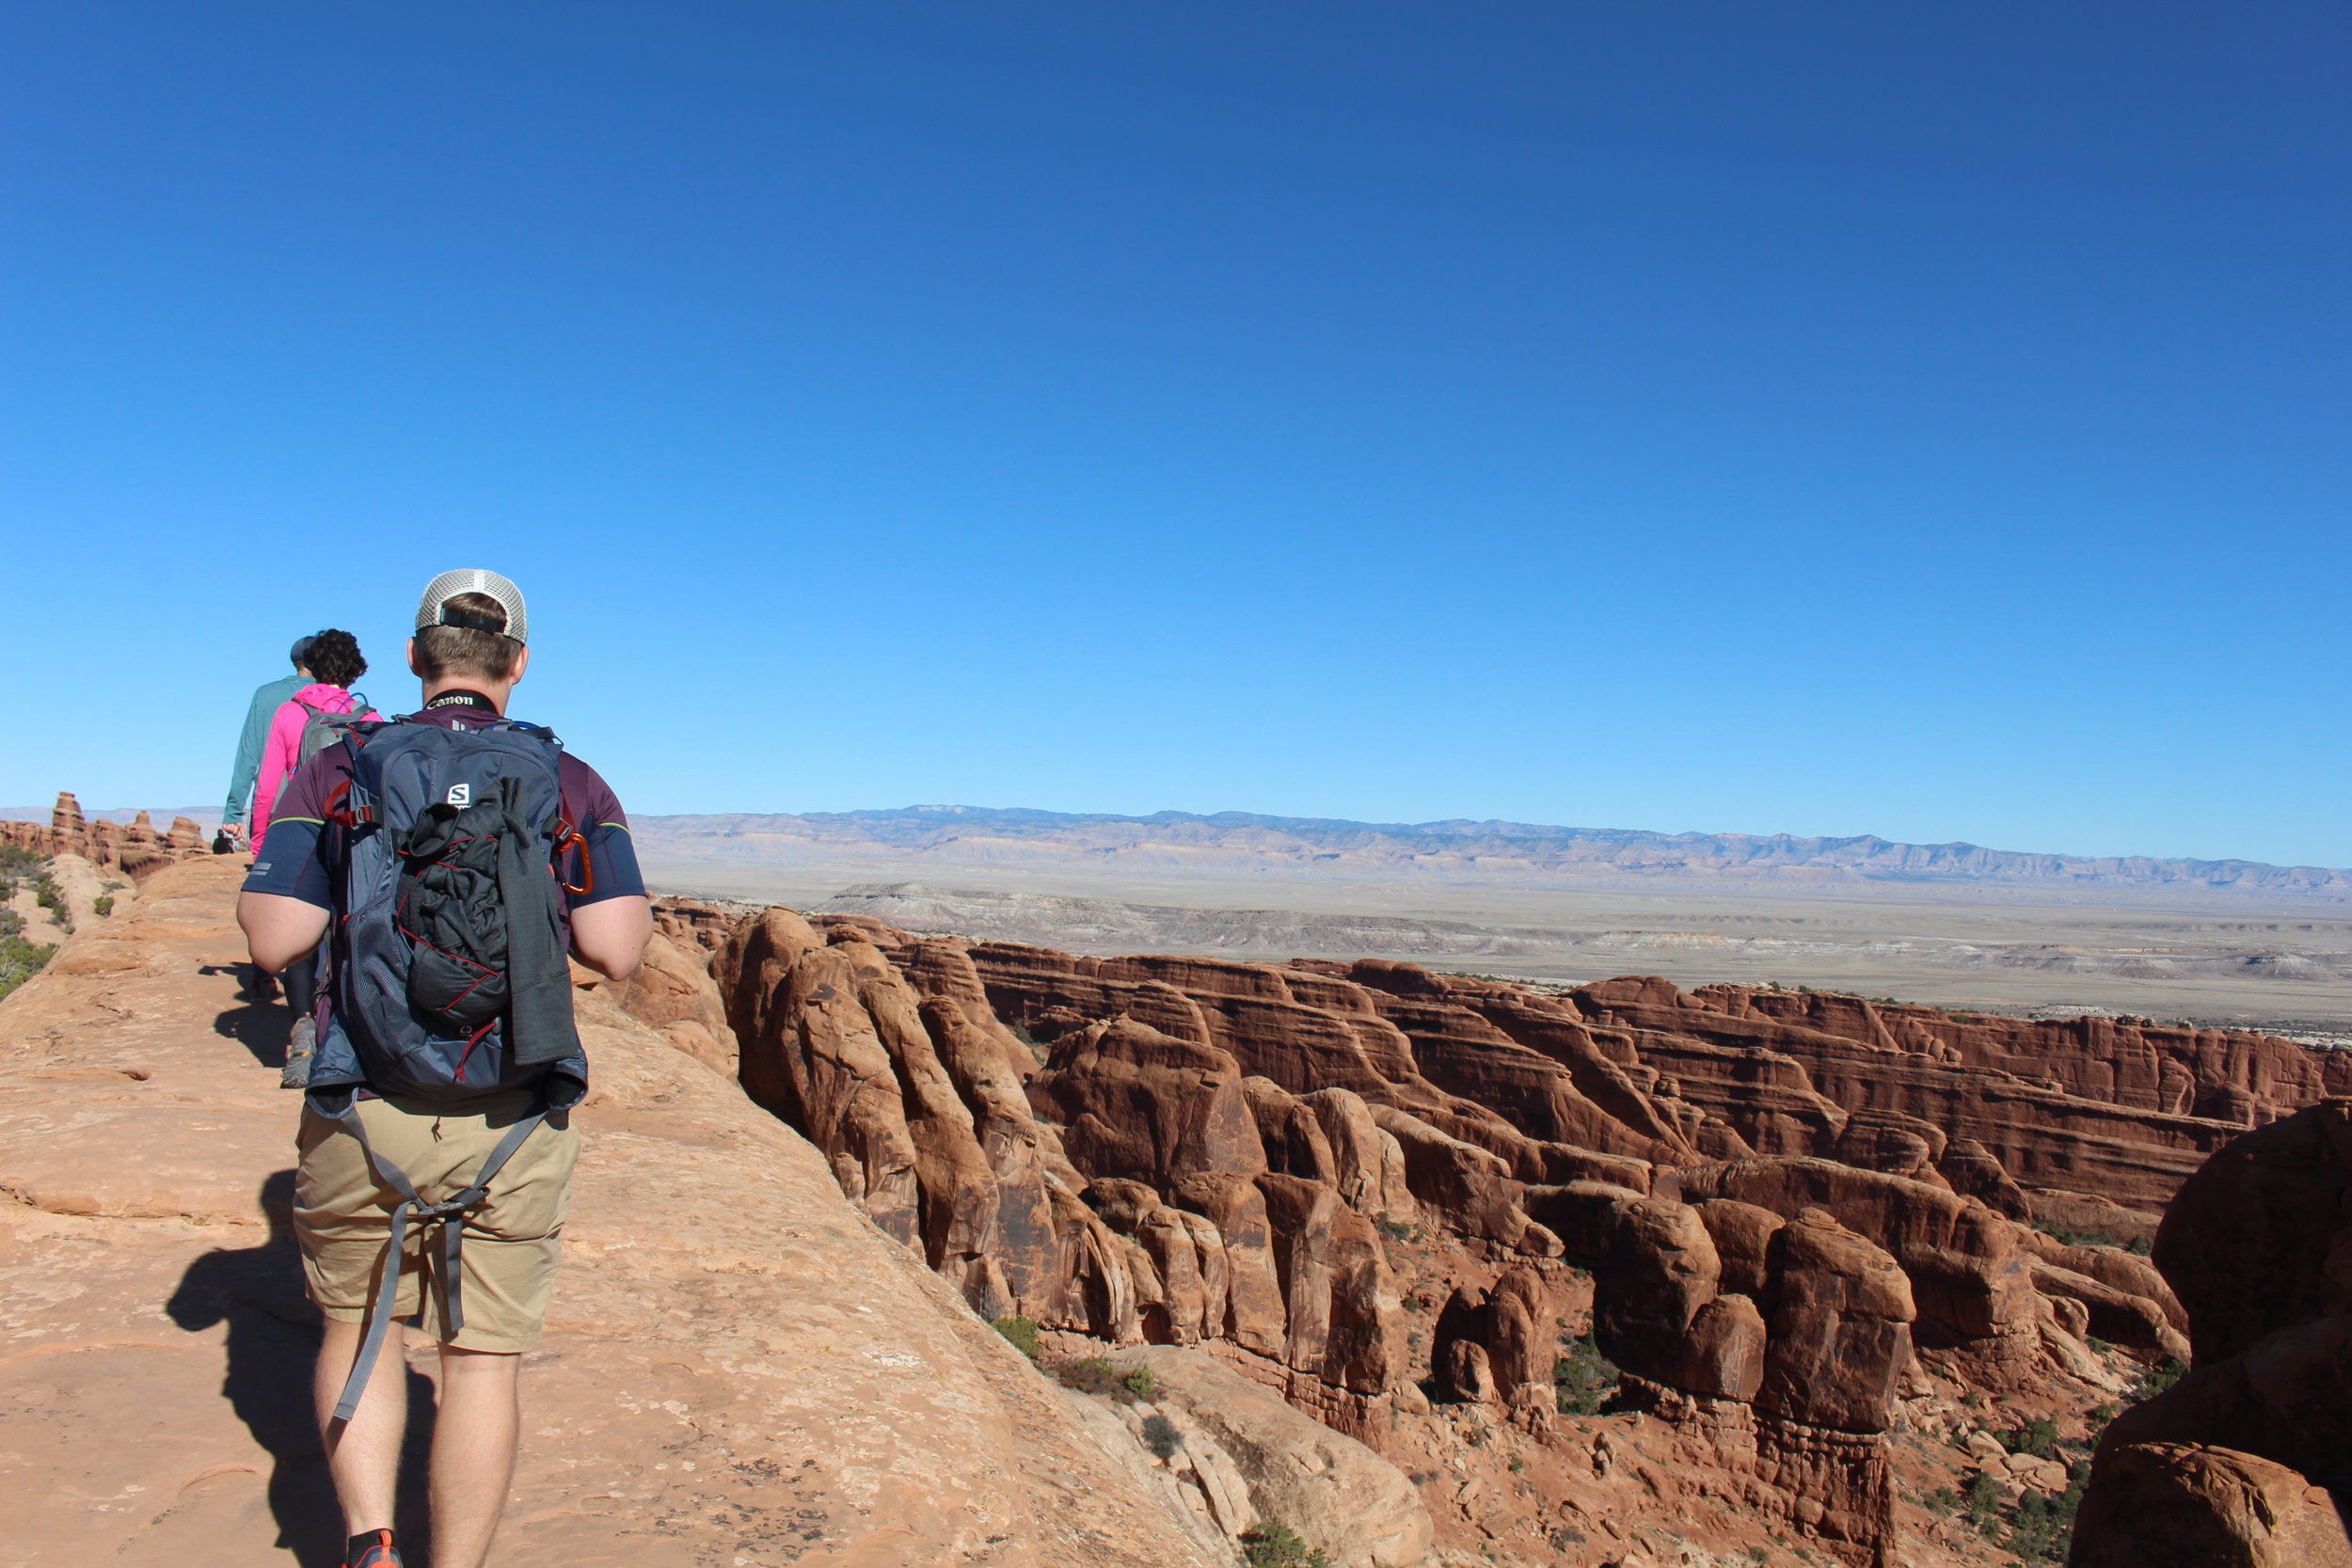
With a quick oatmeal breakfast, we left camp early to beat the crowd into the park and made our way to Devil’s Garden. The full 7.2-mile loop takes you past 7 arches, ending at Dark Angel tower. We opted for a 4-mile loop to Double O arch, stopping at Landscape Arch, Navajo Arch and Partition Arch along the way. From the parking lot, Landscape is the first arch you make it to. From here the trail becomes significantly more difficult, taking you over steep, sloping rocks, close to drop offs. Make sure to wear shoes with good grip, and leave the trekking poles in the car. You will want to have your hands free for this one! Also keep an eye out for cairns (pronounced Karens) along the way marking the trail.

Landscape Arch

Landscape Arch

On the way to Double O Arch

On the way to Double O Arch

P.C. B. Fleming

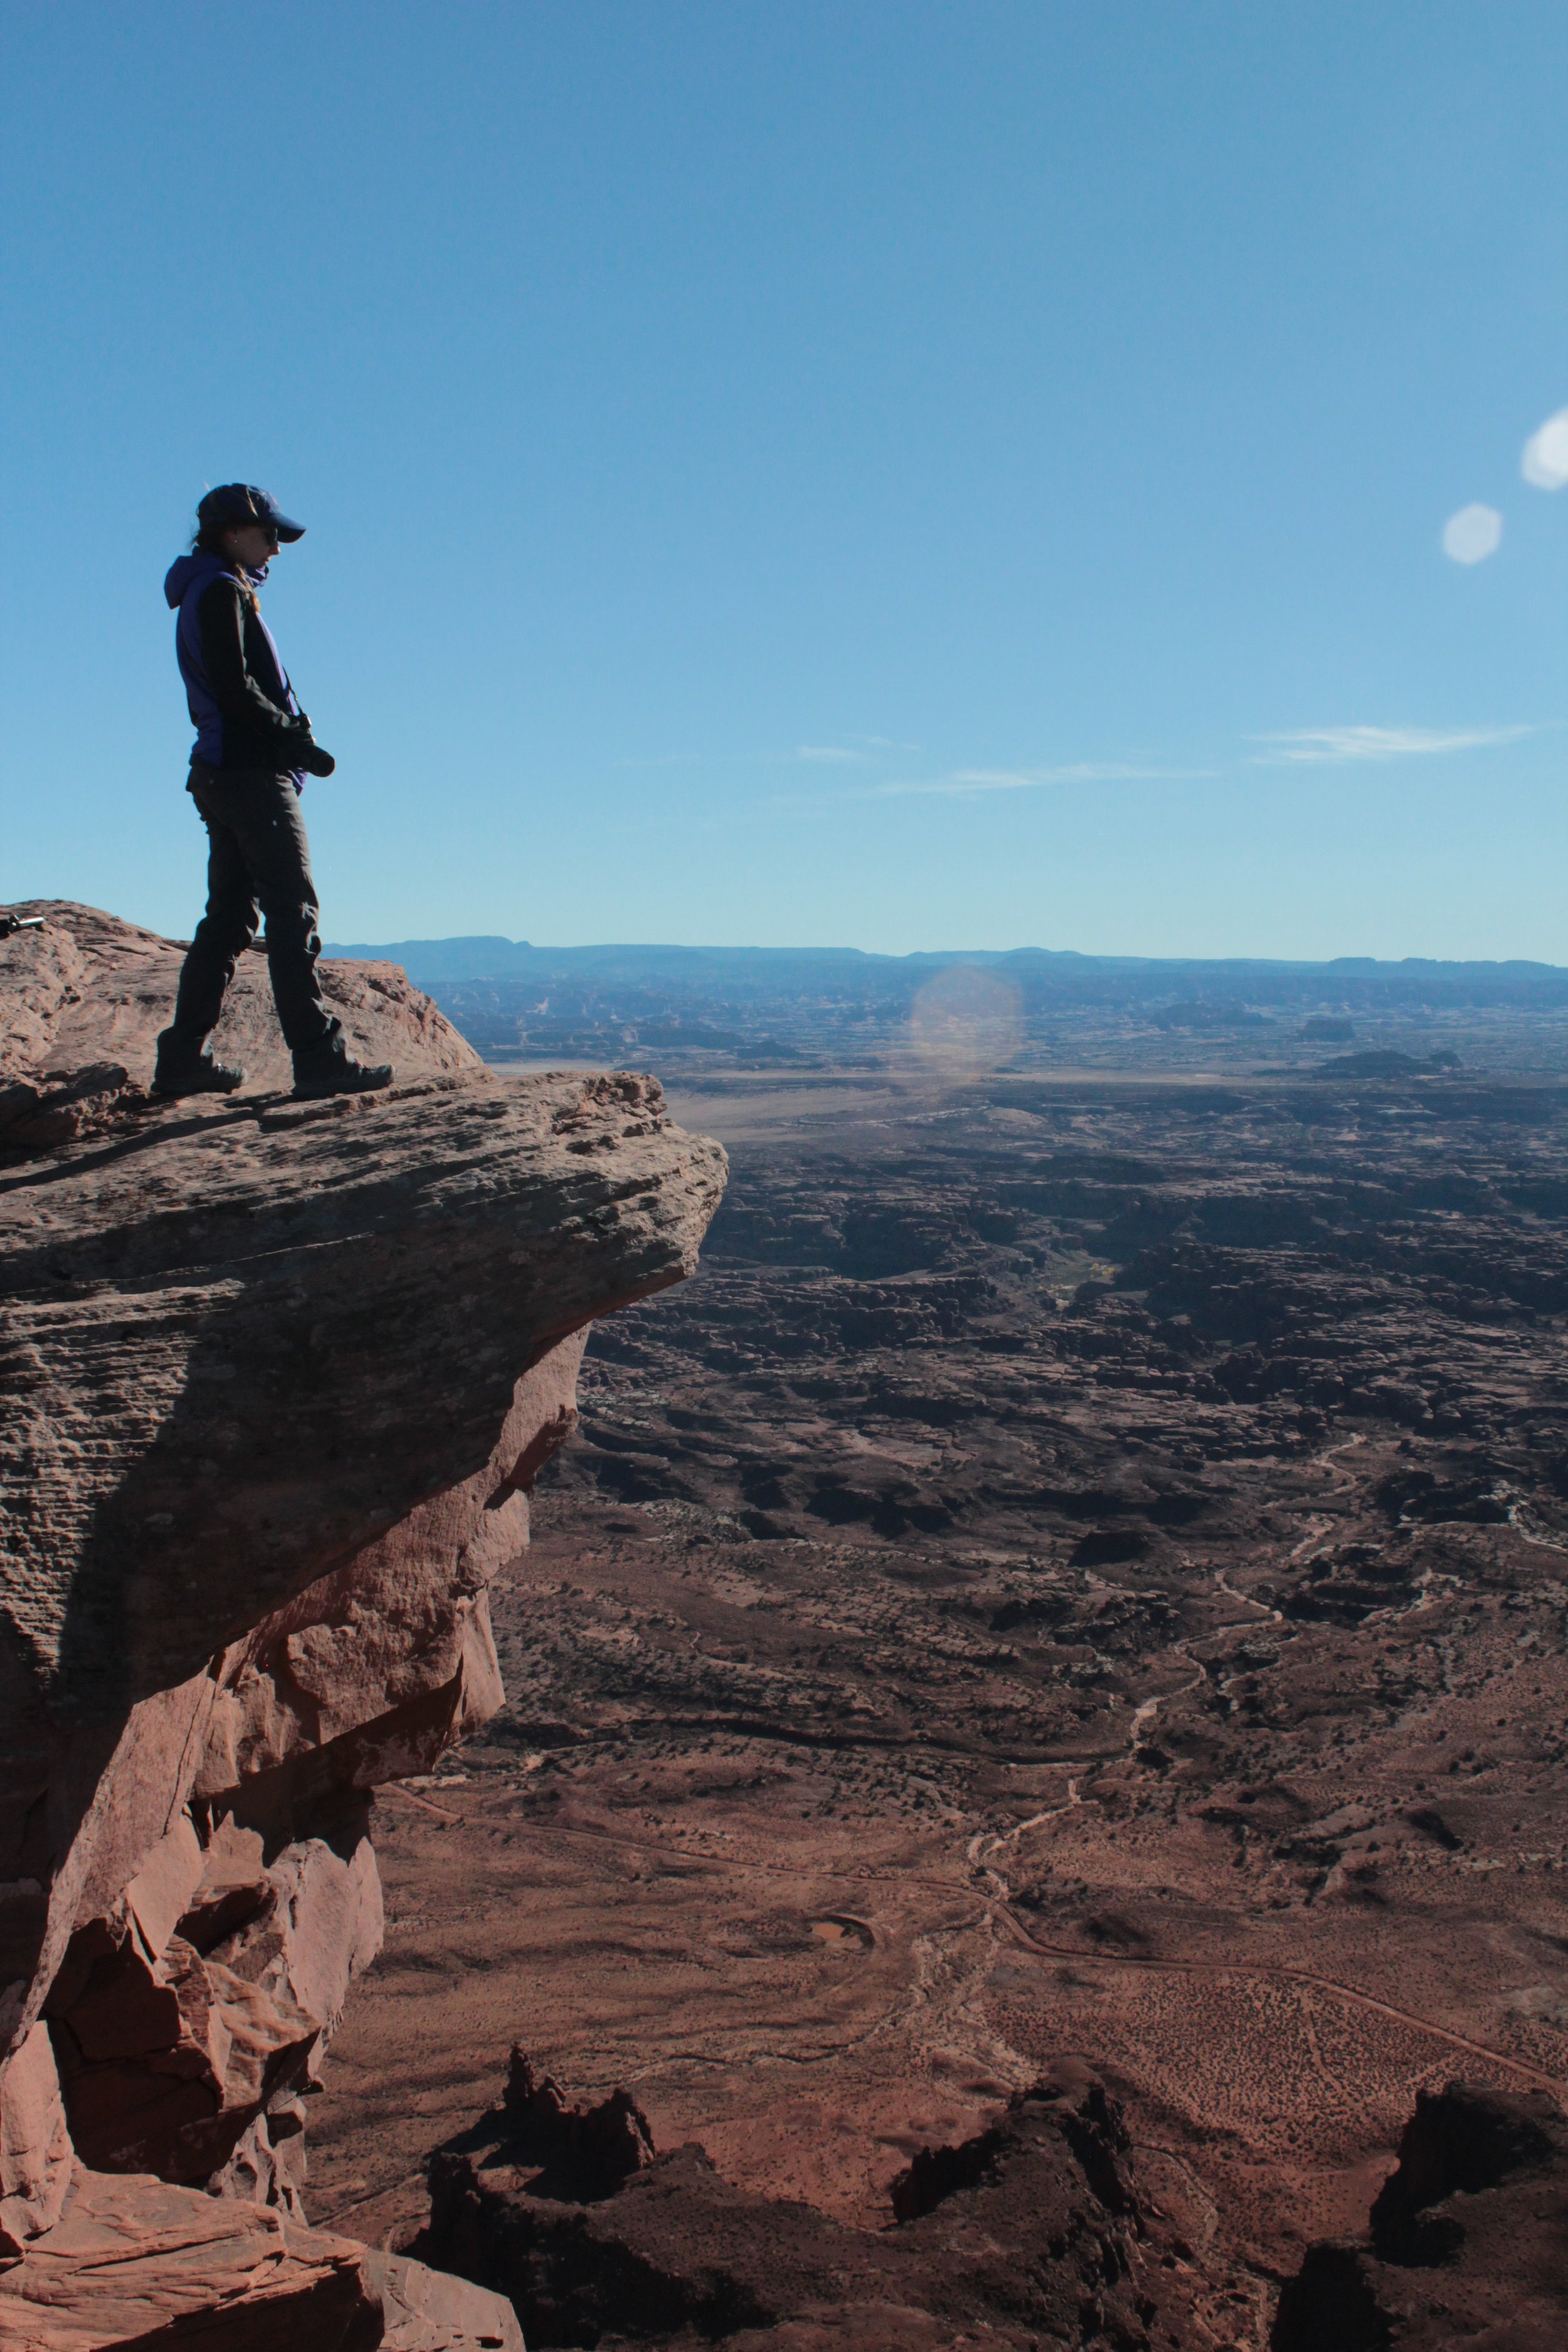
From Devil’s Garden, we made our way back to the Visitor’s Center for a picnic lunch before starting the 1.5 hour drive to Needles Overlook. This may have been the best decision of the trip. We knew we wouldn’t be able to make it to both the Northern and Southern areas of Canyonlands National Park the next day, but still wanted to experience the Needles… and were blown away with what we found at this overlook. Due to its isolated location halfway between Moab and the Southern entrance of Canyonlands, you’ll have the overlook to yourself. We spent over an hour following the trail around the rim of the canyon, wondering why more people weren’t here!

Day 2 came to a close at El Charro Loco in Moab, because no camp trip is complete without Mexican.

P.C. B Fleming
IMG_5916.JPG

Day 3 (Sunday): Canyonlands National Park and Capitol Reef National Park

Leaving our campsite behind, we headed out for our last full day of the trip at Canyonlands National Park.

First stop, Grand View Overlook. The overlook is the southernmost part of the Island in the Sky, sitting at 6080 feet. A quick 2-mile round trip hike, this you’ll be rewarded with views the Colorado river carving it’s way through what appears to be bottomless canyons.

Providing a lending hand. (P.C. B. Fleming)

Providing a lending hand. (P.C. B. Fleming)

Next stop, Mesa Arch. As one of the most popular destinations in the park, anticipate a busy trail. Once you arrive at the arch, there is a smaller trail to the right that will lead you to an open area where you can sit and enjoy the views.

Green River Overlook was our final stop before heading out of the park and heading to Capitol Reef National Park!

Our goal was to make it to Capitol Reef for an epic sunset at Goosenecks Overlook. After checking in at the Visitor’s Center, we had time for the 2-round trip hike to Hickman Bridge. Hickman Bridge is a 133-foot natural bridge tucked away in the canyon. Ending the hike during golden hour along the Fremont River, the fall foliage was glowing. We snapped lots of photos, had a quick snack, and set off for our last stop of the day – Goosenecks Overlook.

We quickly grabbed our cameras and headed up the trail…a little too quickly. 50 feet up the trail we realized the car keys were perfectly safe on the driver seat, locked in the car. With some help from some new friends, we managed to use the antenna to unlock the car by sliding it between the door and frame of the car. LESSON LEARNED: BRING MULTIPLE CAR KEYS.

When it was all said and done, we missed the sunset, and made our way to our hotel, Capitol Reef Inn & Café for a great meal after a long day.

IMG_6004.JPG
P.C. B. Fleming

Day 4 (Monday): Capitol Reef National Park

After the previous night’s missed sunset, we set the alarm early, and made it to the same trailhead for sunrise. It turns out Sunset trail is also a beautiful trail for sunrise. We watched as the sun rose above the mountains, and filled the canyon with light before heading to the Gifford Homestead for a cinnamon roll and arguably the best apple butter I’ve ever had.

Following Gifford Homestead we stopped at the Petroglyph panel before leaving.

IMG_6048.JPG
IMG_6040.JPG
IMG_5855.JPG

Gear Recommendations for the Desert:

·      Sunscreen

·      Daypack with hydration bladder – hydration is KEY

·      Mid-rise boots for sandy/dusty trails

·      Sunglasses and hat

·      Allergy medicine – I find my allergies are always worse in the desert

·      Headlamp

IMG_6015.JPG

Takeaways

  • Moab is BUSY - bring food for lunch and dinner
  • Staying in hotels is sometimes easier when out of town guests are coming in
  • Utah is beautiful
  • It's okay to explore national parks without huge hikes
  • Bring an extra key!

Mt. Ogden - Snowbasin Resort - Huntsville, UT

Hannah Fleming

Looking down at Pineview Reservoir

Looking down at Pineview Reservoir

If Snowbasin is your local ski resort, or you’re an Ogden resident, chances are you can point out Mt. Ogden by the tall satellite towers atop the 9,572 ft. peak. As one of the tallest peaks in the Northern Wasatch, Mt. Ogden is a great day hike, providing beautiful views (when you’re not socked in with clouds), and a good amount of elevation gain!

**I hiked this in September after our first snowfall of the year. Typically it is clear and beautiful, and not covered in snow in September!**

Getting There

Mt. Ogden can be reached via trails from Ogden , or via Snowbasin. From Snowbasin you have two options:

  1. Hike up to the service road until you reach the trailhead 
  2. Bypass the service road hike and take Needles Gondola to the top. The Gondola is free for season pass holders or $14 for a day pass.

The Trail

(Hike up) At the top of Needles Gondola, make a left and start down the road in front of the Needles Lodge. Jump on the first trail you come across on the right. Follow the trail until you reach Needles Circque Trail to the Ridge. The trail quickly steepens at this point as you make your way back and forth up a series of switchbacks. You’ll drop down on the backside of the mountain, giving you views of Ogden and the Great Salt Lake. At this point you’ll also start to see trails coming up from Beus, Taylor, and Waterfall Canyons.

Halfway up the steep service road, make a right onto the trail

Halfway up the steep service road, make a right onto the trail

IMG_5421.jpg

Follow the trail for another ¾ mile until you reach the steep service road. Head up the service road until you reach a small trail sign. Make a right, and hike the final portion of the trail to the helicopter landing pad at the top of Mt. Ogden!

(Hike Down) Instead of following the same trail down, we made a left onto the well defined service road, and dropped down in front of Becker Lift.This brought us across the front of the mountain, with beautiful views of the valley. After descending 1,000 from the summit of Mt. Ogden, you'll make your way under Needles Lodge, and head back up the mountain, ending the hike with a 500 ft climb back up to the lodge. Make sure to reward yourself with some hot tea and french fries inside the lodge before taking the Gondola (or hiking) back down!

Total Distance: 4 miles
Elevation Gain: 1,275 Ft.
Hike Time: 1:40 minutes

IMG_4696.JPG

Takeaways

  • Go back on a clear and sunny day
  • Lots of layers - it's windy and cold along the ridge
  • Poles are not necessary, but helpful on the switchbacks
IMG_4738.JPG
IMG_4728.JPG

Amethyst Lake, Unita National Forest, Utah

Hannah Fleming


GPTempDownload (2).jpg

The only thing more rewarding than hiking to the summit of a mountain, is hiking to an alpine lake. Lucky for me, there’s plenty of options close by!

Once the snow finally began to melt, it was time to venture East into the Uintas National Forest. Amethyst Lake  is located on the Western Side of the Uintas National Forest, on the back side of Ostler peak.

Hiking in early spring, the trails are muddy from snow melt. Snow covered half the trail, forcing us to turn around 3 miles in.

Hiking in early spring, the trails are muddy from snow melt. Snow covered half the trail, forcing us to turn around 3 miles in.

Getting There:
Depending on where you’re coming from in the greater SLC area, you will come South down the Mirror Lake Highway (150) from Evanston Wyoming, or North from Kamas to the Christmas Meadows Campground. There will be a turn off with a sign directing you to "Christmas Meadows Campground". Make sure to stop and pick up a hiking permit at the ranger station, follow the sign to the self-serve permit station ($5 - cash only), or display your National Parks Pass if you have one (this is accepted in lieu of a permit).

Once you arrive at Christmas Meadows Campground, follow the road past the campgrounds, all the way to the end until you reach a parking lot.


The Trail

GPTempDownload (5).jpg

The trail is gradual for the first 3 miles as you wander along the Stillwater Fork and riverside meadows. Keep your eyes out, you may see wildlife through here. You’ll make a left at a fork with a clearly labeled wooden sign for Amethyst Lake. This is where the trail kicks up, and quickly start to gain elevation.

The remainder of the trail is moderate-strenuous with elevation gain, and more technical terrain. The trail wanders over streams, alongside Waterfalls, and through beautiful meadows.

Before reaching the final destination of Amethyst Lake, you will reach Ostler Lake (Around 6.5 miles in). Ostler Lake is clear, beautiful, and serves as a great place to set up camp.

Ostler Lake

Ostler Lake

If you’re looking to venture past Ostler and make it to Amethyst, cross the river before you make it to Ostler Lake, and head up the trail along the left side of the Lake for another 1.1 miles.

Amethyst Lake

Amethyst Lake

Ice cold summit 'croix.

Ice cold summit 'croix.

Day Trip v. Backpacking Overnight?

Buffs = mosquito protection

Buffs = mosquito protection

After doing this trail on two different day trips (intending for one to actually be an overnight trip*), I would still recommend just making a day trip of this hike.

*After hauling all of our camp gear up the trail, enjoying some time at the Lake, and setting up camp, we realized how awful the mosquitos are. I’m talking hundreds of mosquitos swarming you, forcing you to stay in your tent because bug spray without deet does not work, can’t enjoy yourself, AWFUL. We made the game time decision to pack our stuff up, head back down, and drove back to Ogden.

Next Time?

  • Bring Deet

  • Set up camp at Christmas Meadows Campground

  • Day hike up to the Lake

  • Bring a hammock and book to set up by the Lake

Hike overview:

  • Difficulty: Moderate-Strenuous

  • Distance: ~13 miles

  • Elevation gain: 2,050 ft.

  • Time: 6 hours (with 55L overnight packs carrying camping gear)
     

Additional Resources


Comment below with any hike suggestions for the greater SLC area!

IMG_5572.jpg

Waterfall Canyon Trail | Ogden, Utah

Hannah Fleming

I’ve officially moved from LA to Ogden!

In the three short weeks I’ve been in Ogden, we’ve gotten 6+ feet of snow, i’ve skied seven times (mostly in knee deep powder!) After endless storms, I woke up to a beautiful bluebird day, perfect for hiking! In late Fall, when the last of the autumn colors were just fading, I did this hike to find the Waterfall was dried up. Because of this, I knew I wanted to hike it again in the Winter when the falls would be frozen and beautiful!

The Bonneville Shoreline Trail that runs along the base of Mount Ogden is scenic, leads to beautiful destinations, and is easy to access.


The best part of hiking in Ogden is how easily accessible the trails are. There are main trailheads at the end of every street spanning from 22nd street to 29th street at the base of Mount Ogden.


IMG_5483.JPG


Distance: ~3 miles round-trip
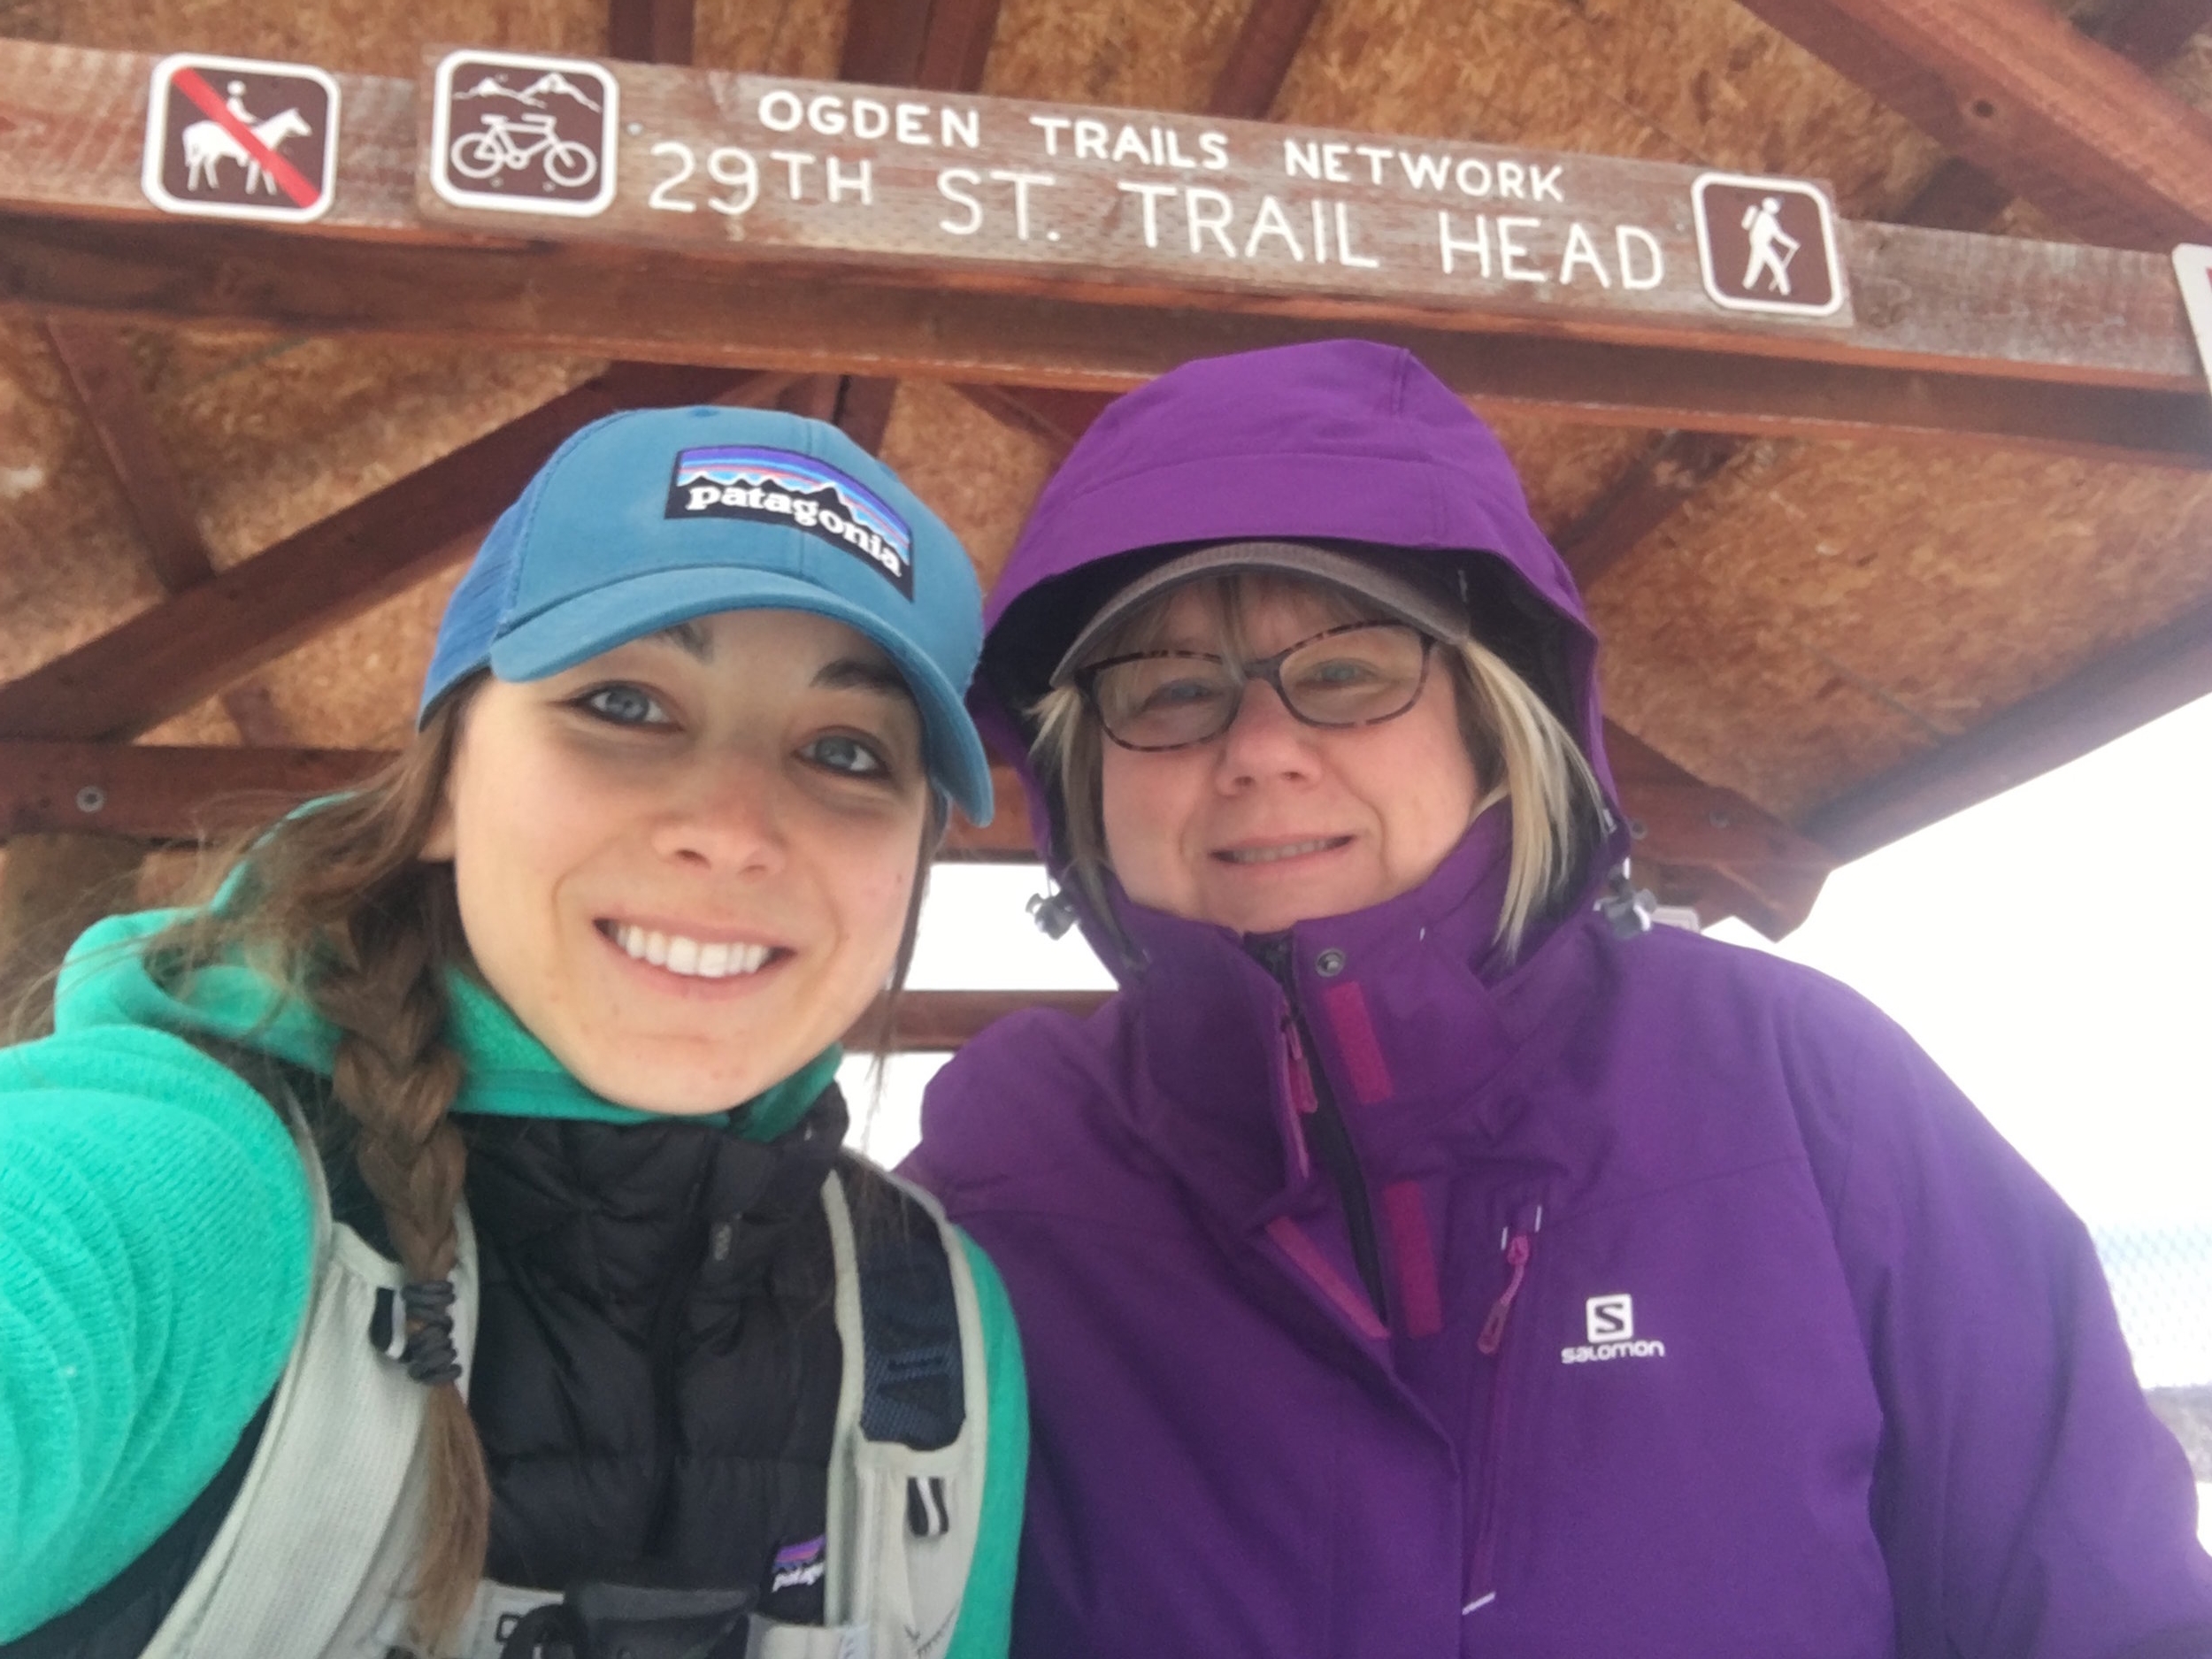
Starting Point: 29th Street Trailhead
Difficulty: Strenuous
Winter Weather Conditions: expect snow/ice covered trails
Gear: micro-spikes (if you have them!), trekking poles, leggings, base layer, hooded fleece, down vest, light gloves, hat, extra shell in my pack


P.S. Before I had the chance to post this, my Mom visited, and we hiked it again!
There was even more fresh pow!