Yosemite National Park, California – Spring 2017
Hannah Fleming
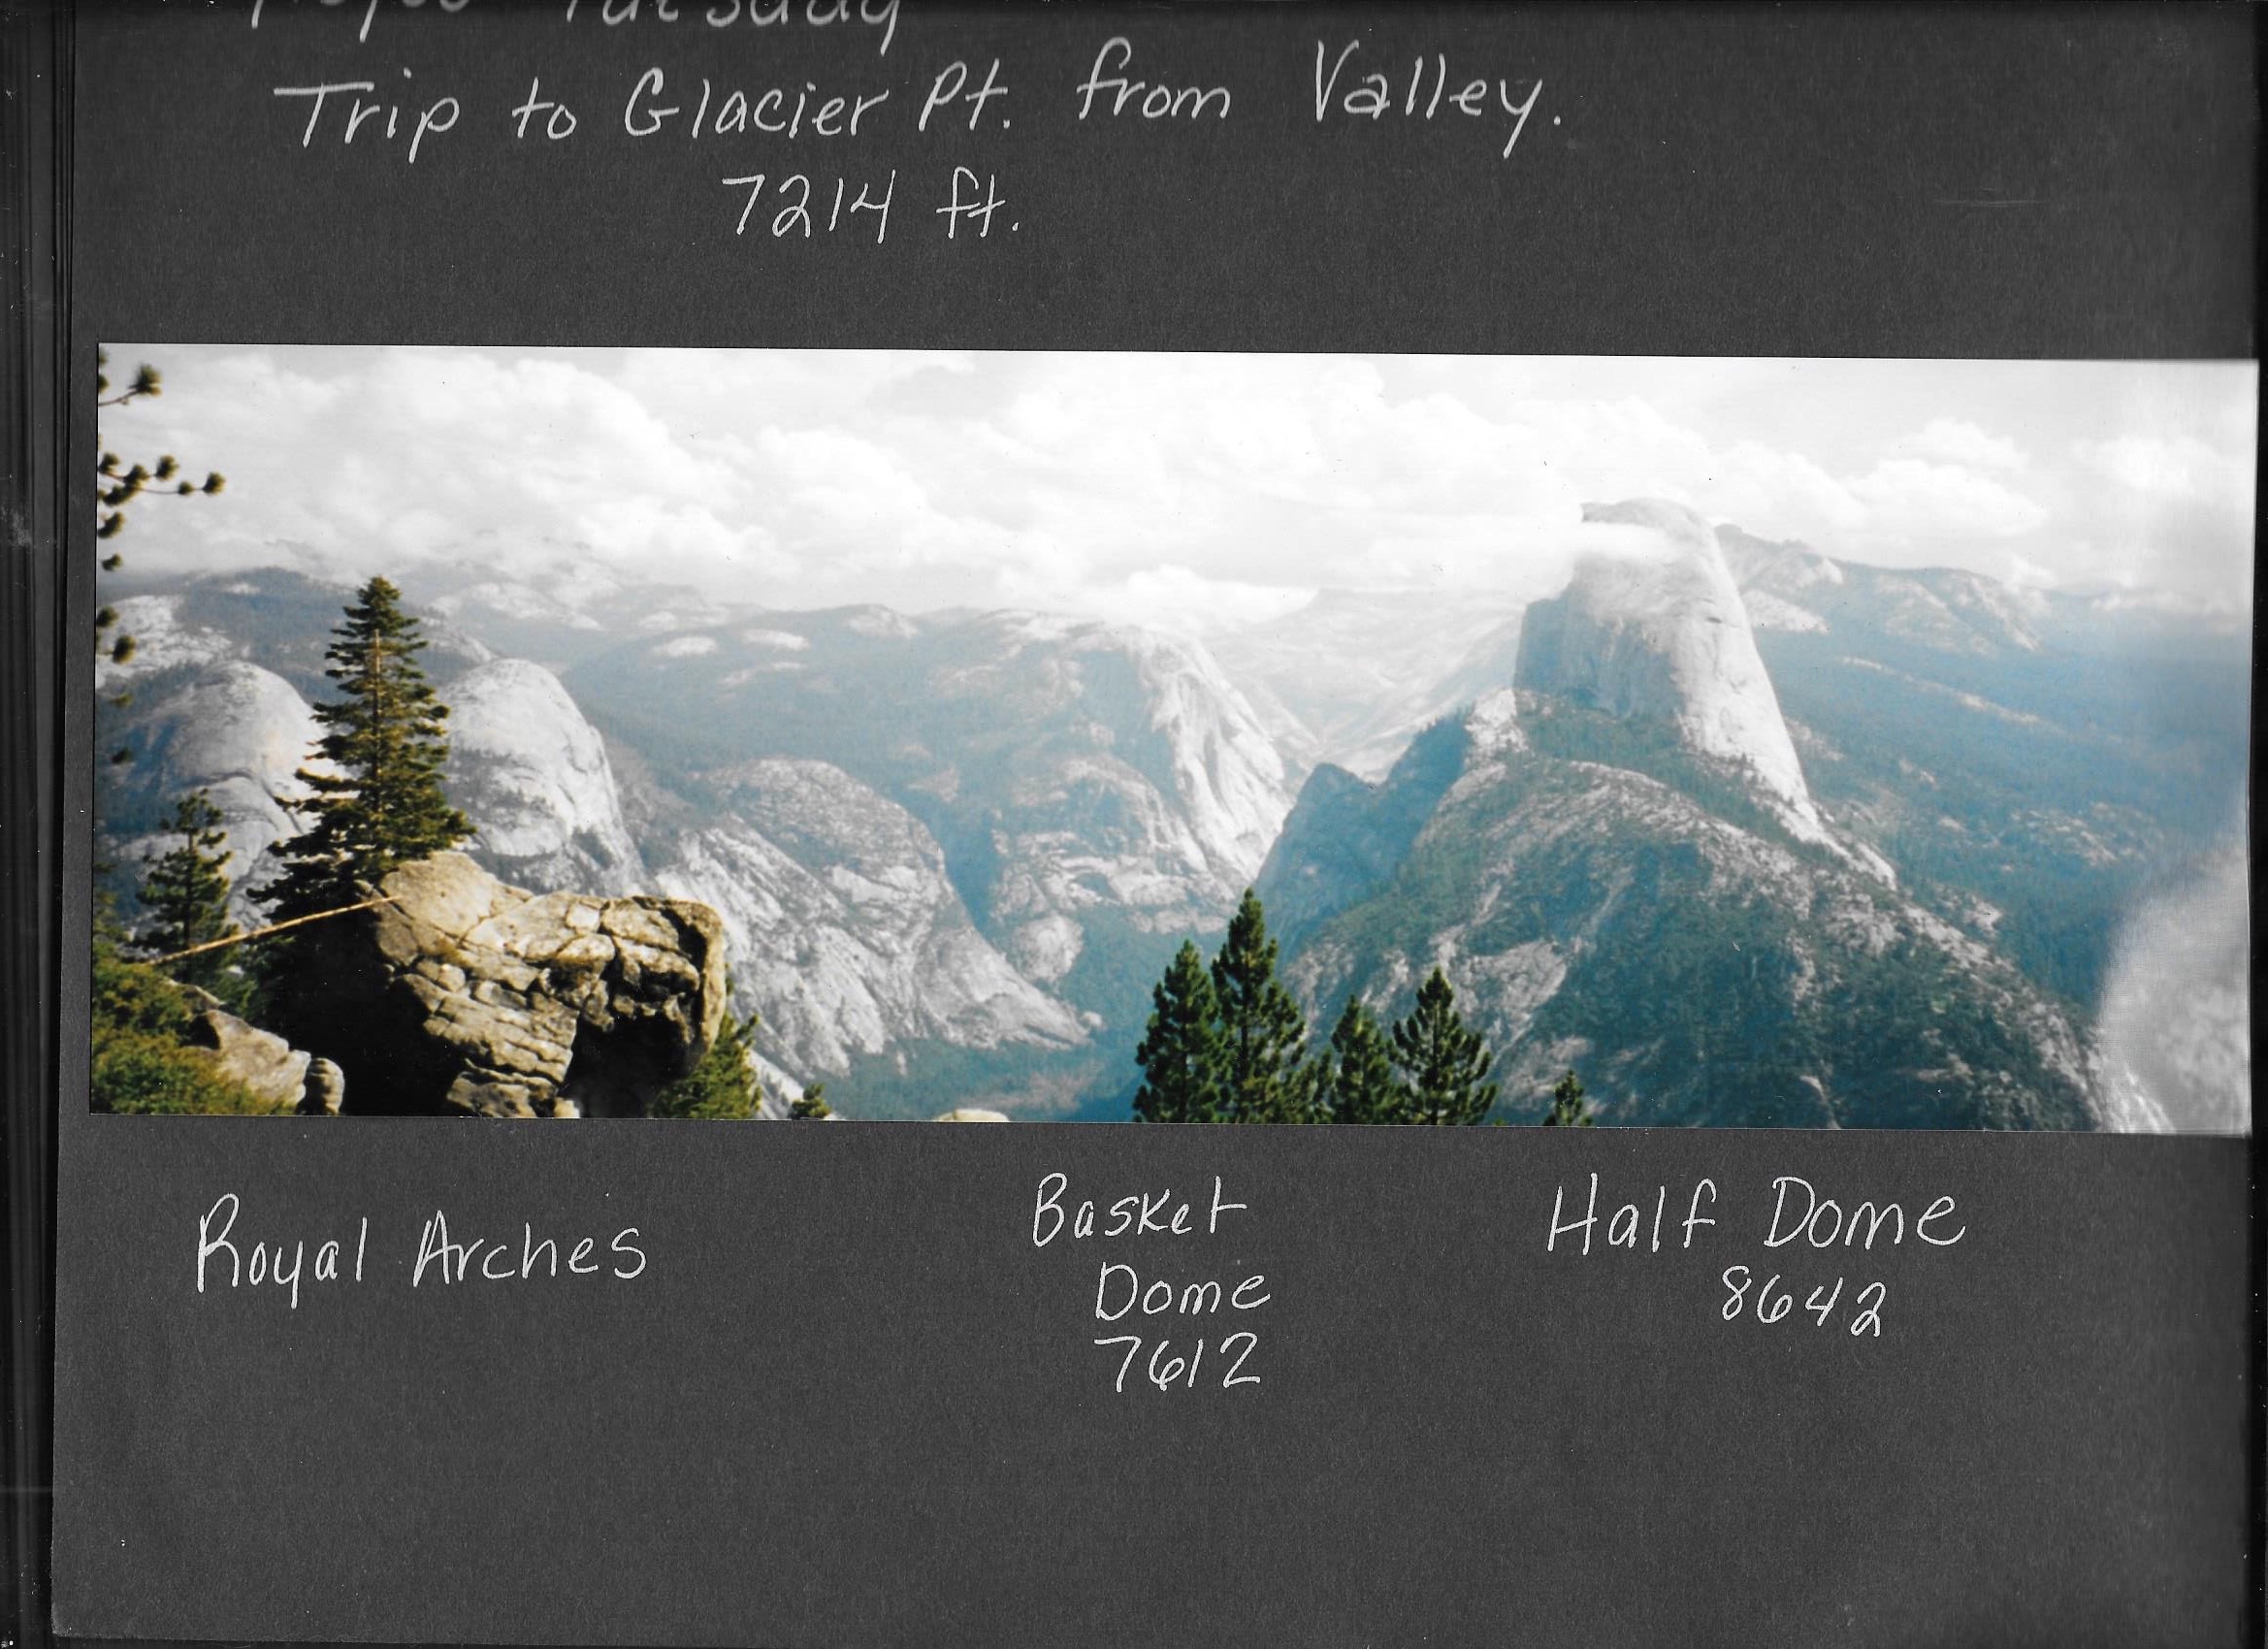
The first time I went to Yosemite it was 1999, and I was 6.
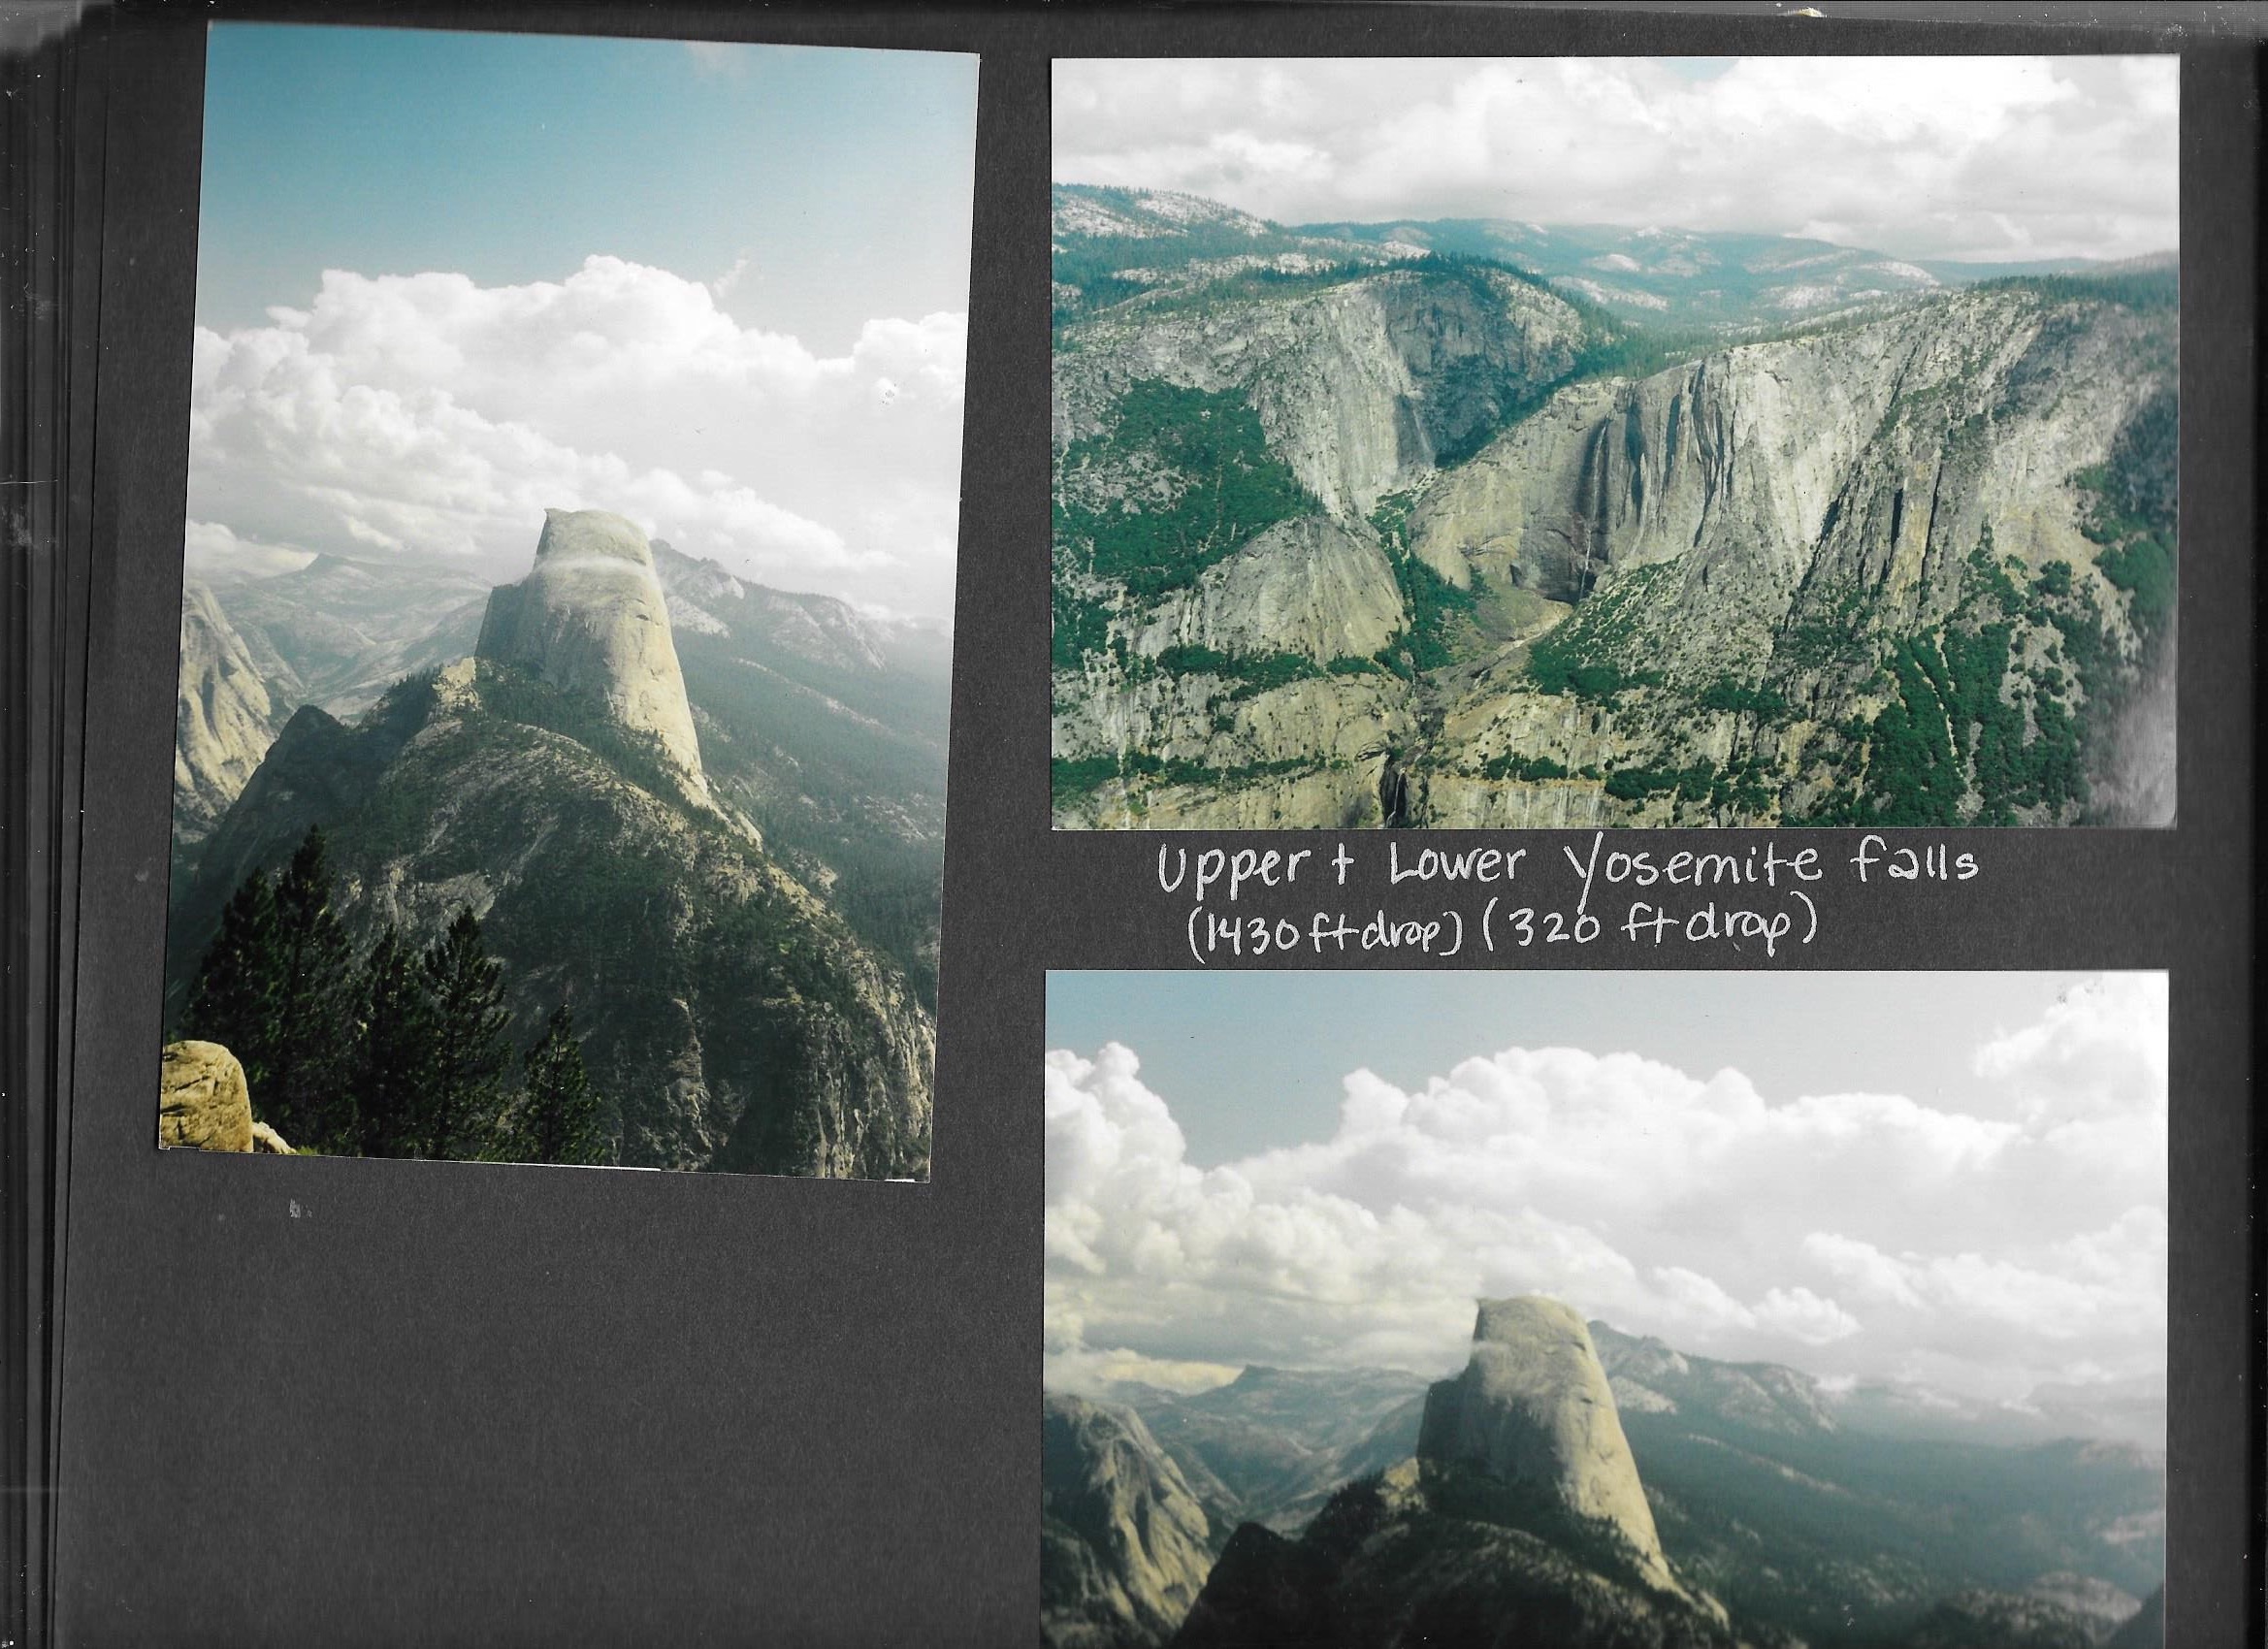
I remember the tall trees, the shuttles bussing us around the park, being scared of bears breaking into the car, drinking out of the soda springs at Tuolomne meadow, and… the waterfalls.
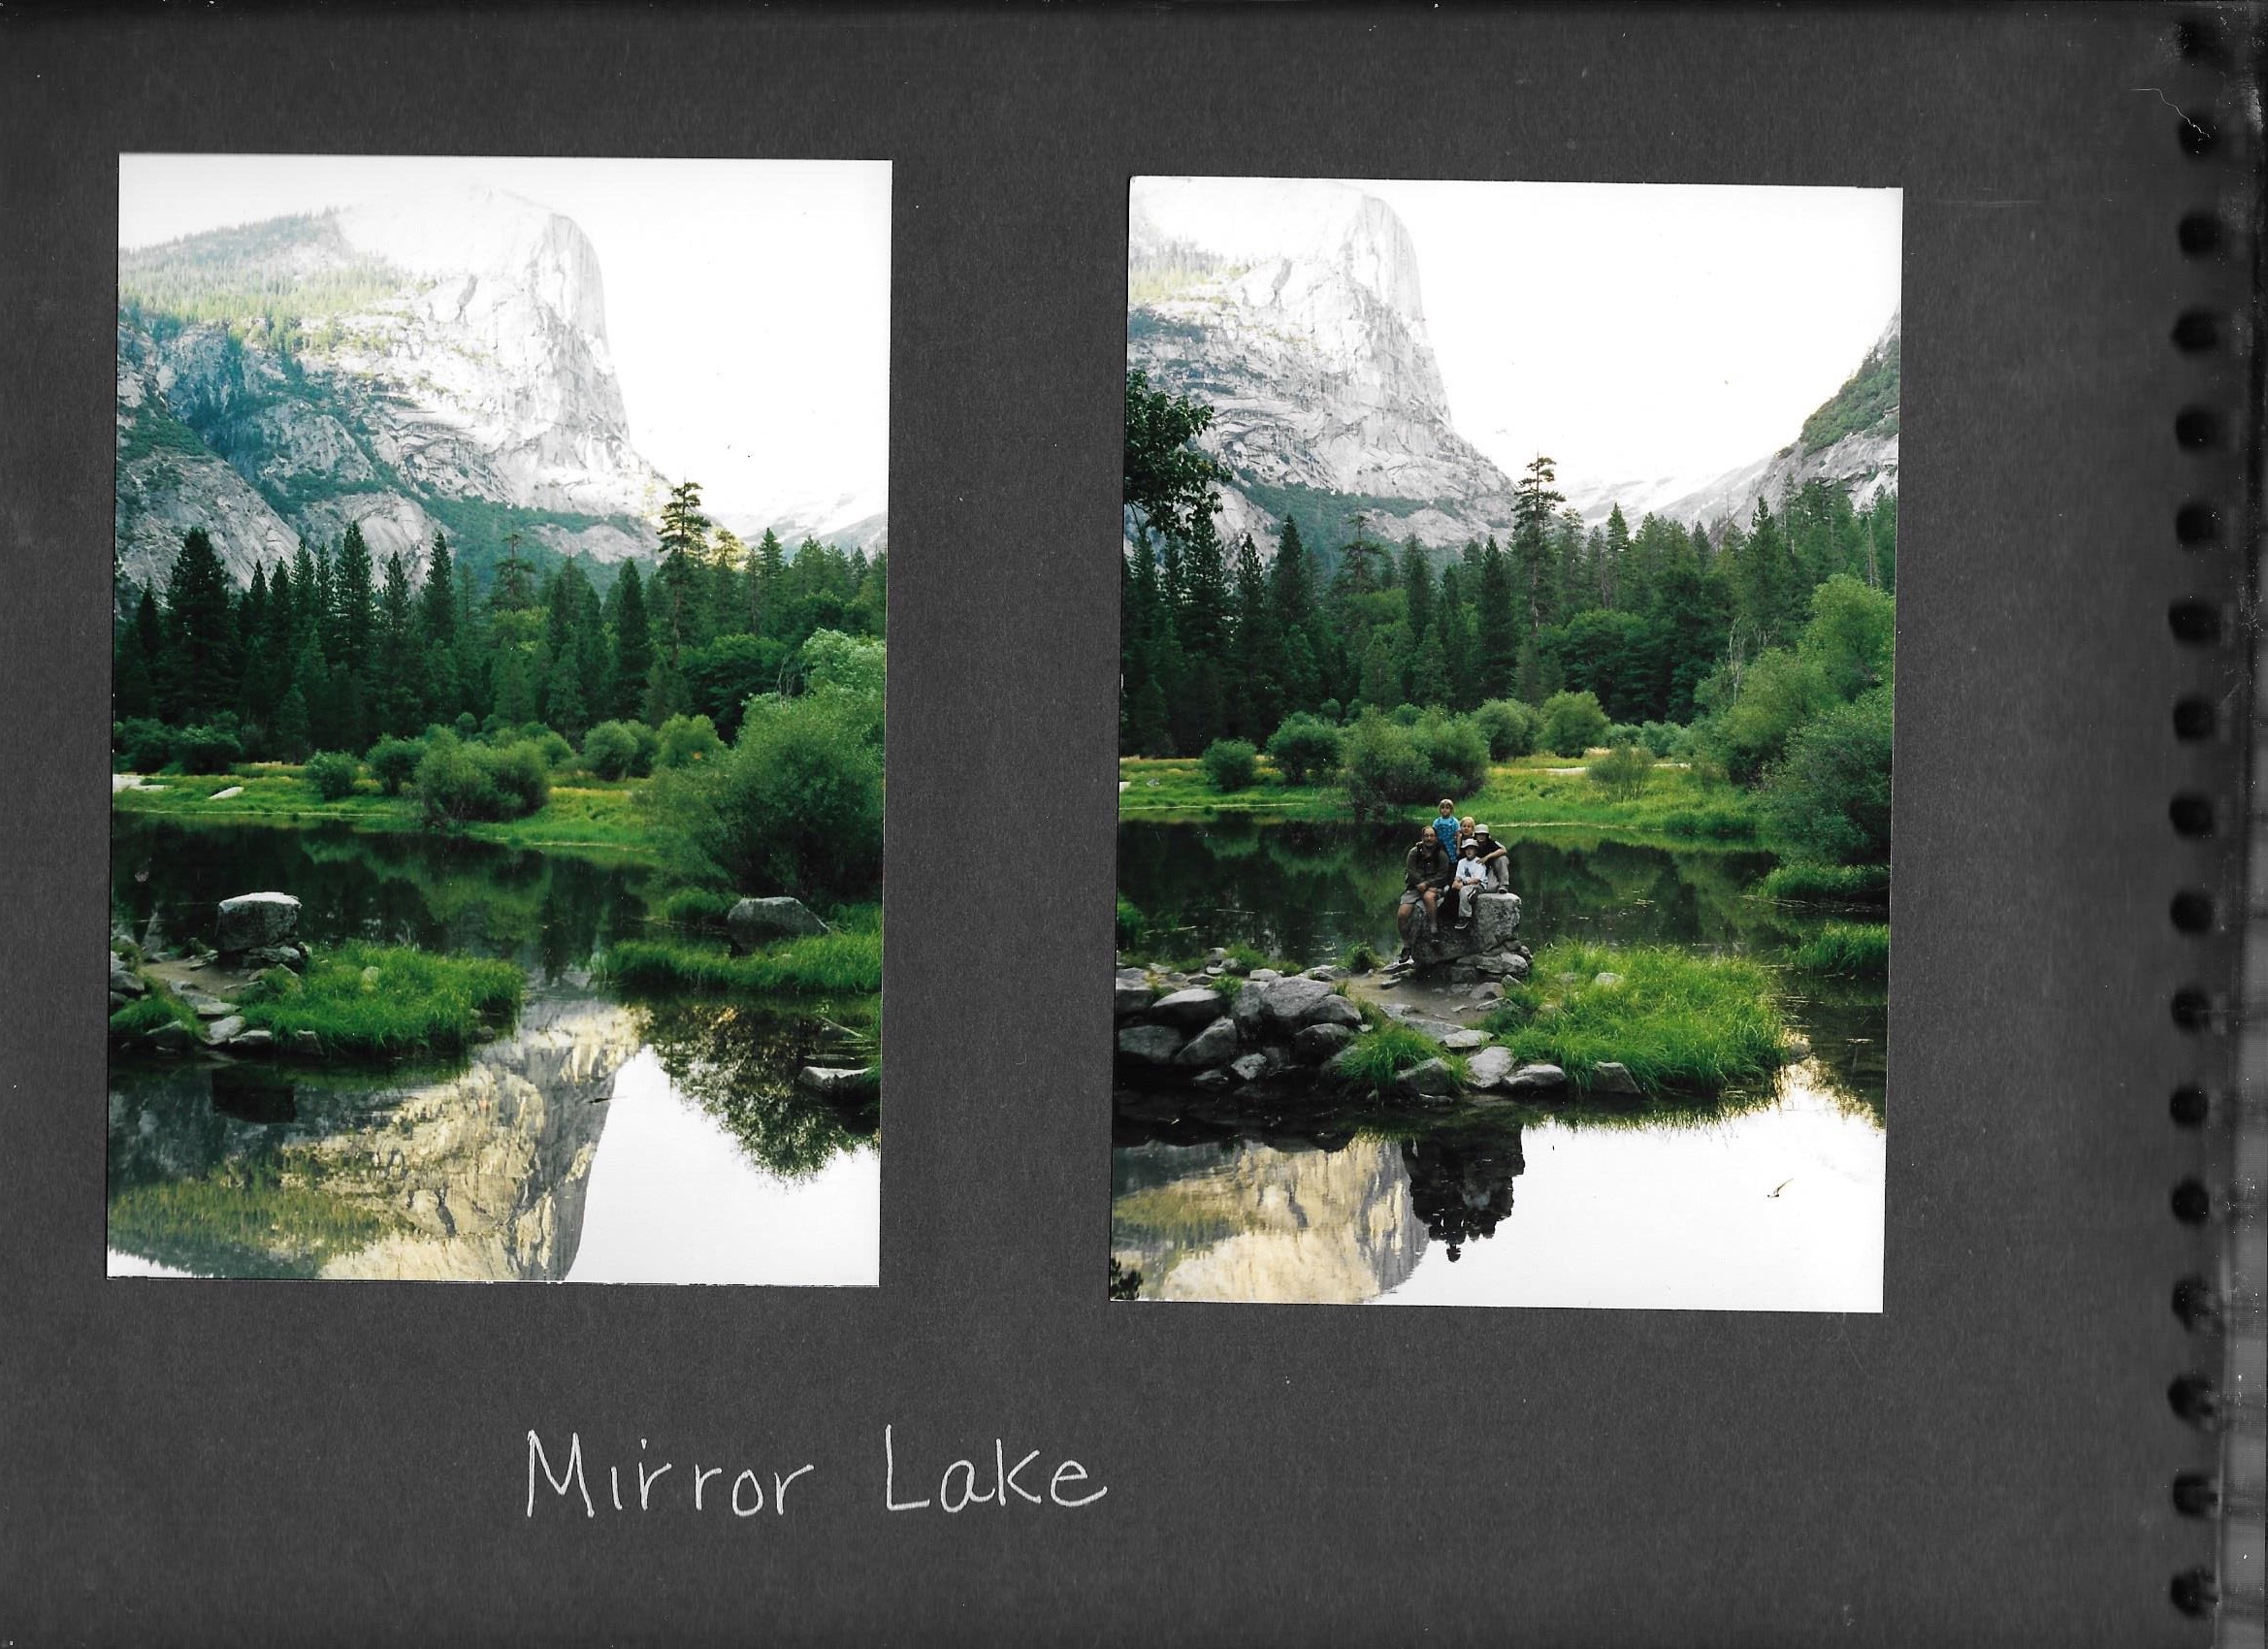
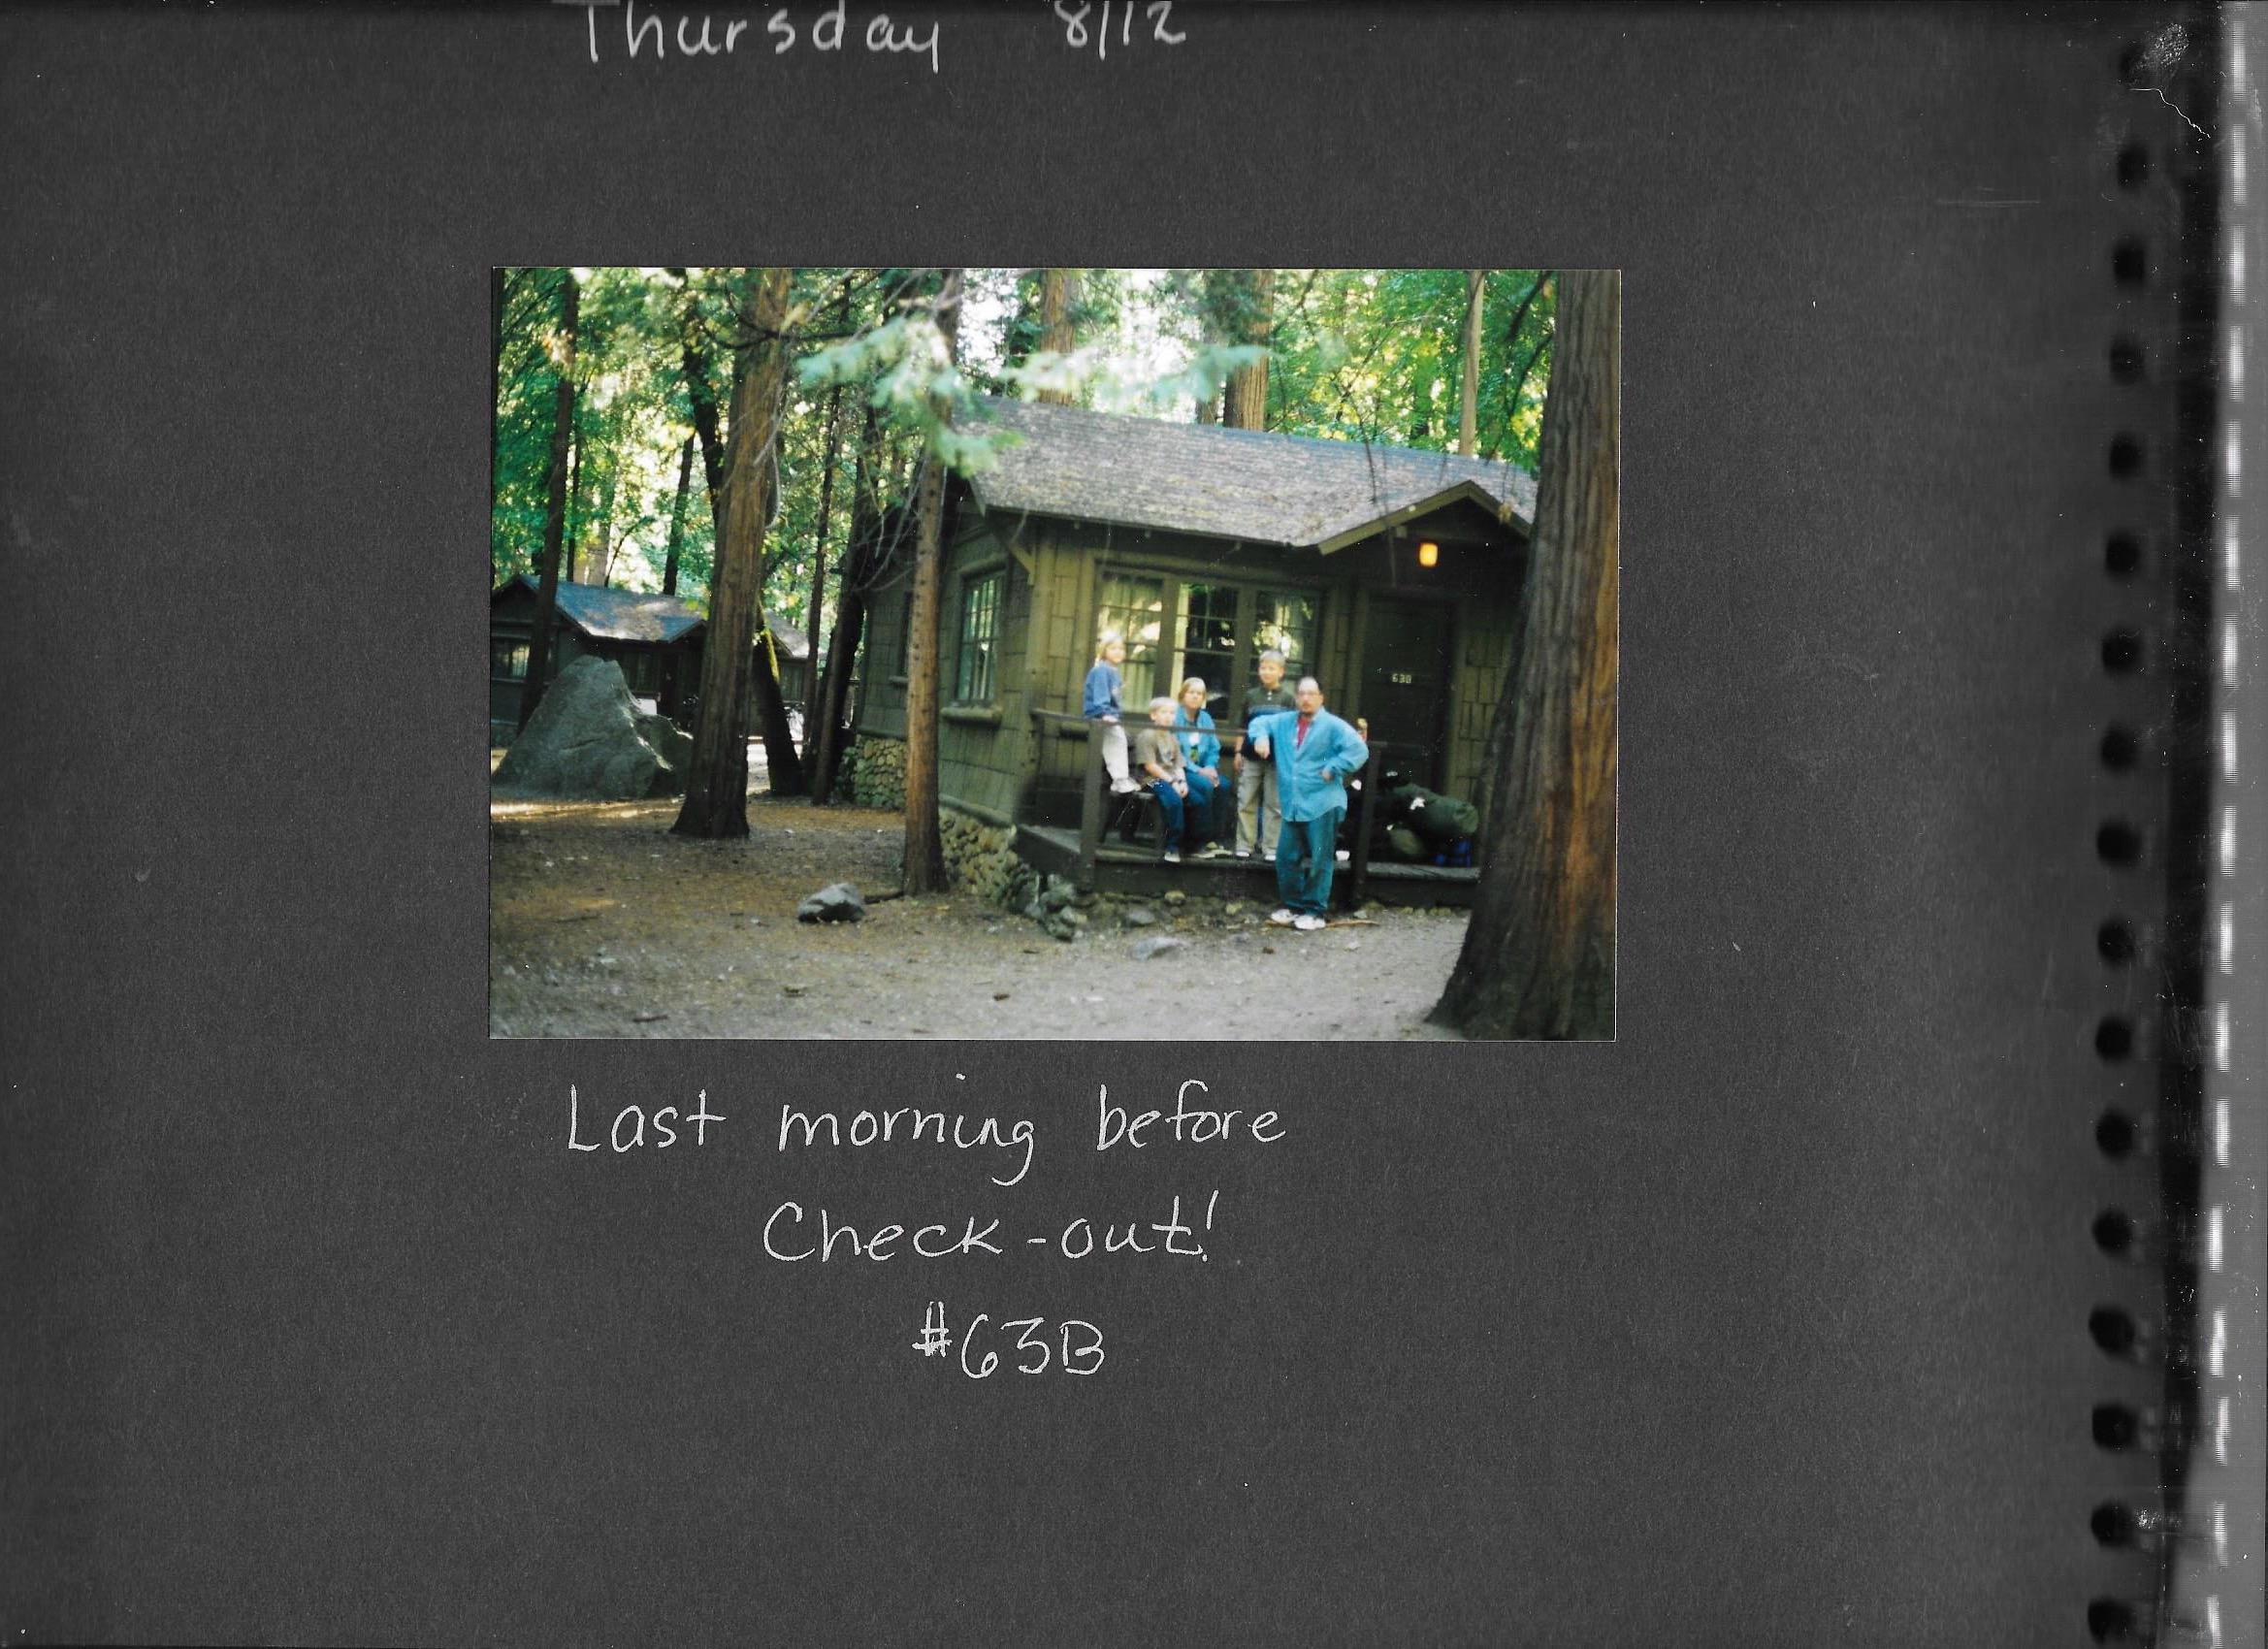
It's amazing looking through these photos, pulled from my Mom's scrapbook, all taken before digital cameras.
Fast forward 17 years to September 2016. Ben, my Mom and I were back in Curry Village celebrating Ben's birthday.
We had a great time hiking and enjoying the beautiful landscape, but, something was missing. Dark black lines ran down the granite walls where the waterfalls I so vividly remembered flow in the Spring and Summer. Almost as soon as we got back from that trip, we began planning our next trip.
I. Getting There
With friends coming in from out of state, logistics were important. Because Ben lives in Orange County, we chose the OC as our meeting point. We flew into various airports in the area, piled all of our gear into the rented minivan, and drove up to Yosemite. (If you can, flying into San Francisco is a better/closer option.) We also had a google document tracking everyone’s flights, expenses, packing lists, etc.
II. The Campsite
If you’re interested in reserving a spot, it’s crucial to plan ahead. Campground reservations open five months in advance, and fill up fast! It’s like trying to get tickets to your favorite band the minute tickets are released!
Our group stayed at the Upper Pines Campground. There were multiple bathrooms, sinks for foods waste, and water fountains. This location worked well as we were close to Curry Village (unfortunately renamed Half Dome Village in 2016), and a few of the trailheads.
If all sites are filled, another great option are the canvas tents we stayed at on our last trip.
III. Itinerary
We’ve found that the best way to make the most of any trip, is to plan out the big hikes we’re doing every day, and have a few options for the evening. We could not have planned them better. Doing the hikes in this order worked out perfectly! It's also important to do you some research and plan ahead according to the time of year you're visiting. HWY 120 into the park closes during the Winter, and was still closed when we were there in March. Check all of the conditions here.
Fun fact: I used to hate crossing streams on the trails. Now, I love it!
Day 1 (half day)
After stopping at Tunnel View and Bridalveil Falls* on our way into the park, we set up camp and set off for Four Mile Trail. When the full trail is open, this hike takes you from the Valley Floor to Glacier Point. After 2.5 miles, the clouds began to shift, a storm rolled in, and it began to snow. As we made it back to trailhead, the clouds rolled out of the valley, and we were left with a gorgeous evening. From the Four Mile Trail trailhead, we headed across the meadows to Yosemite Falls, and wandered around the Valley Floor Loop for a bit before heading back to camp.
Total Mileage: ~ 6
Total Time: ~2 hours
View from 4 Mile Trail
Wandering along the Valley Floor
Day 2: Yosemite Falls
We woke to the sound of the gushing waterfalls, cooked up our go-to breakfast of oatmeal and coffee, piled into our minivan, and made our way to the Yosemite Falls trailhead by 9. The hike is strenuous, so plan on spending the majority of the day on the trail.
Total Mileage: ~ 8
Total Time: ~6 hours
Before a Golden Hour hike at Mirror Lake we made a quick stop at the campsite for fuel (aka more Clif Bars, trail mix, dried fruit, and Chex Mix), before making our way to Mirror Lake for Golden Hour.
Hannah 1, Hannah 2 (me), and Alex at the top of Upper Yosemite Falls
View from Mirror Lake
Day 3: Vernal and Nevada Falls
On our last full day at the park, we chose another longer, strenuous hike to the top of Nevada Falls. Along the way, the trail passes the Vernal Fall Footbridge, up to to the top of Vernal Falls.
There are a few different trail options to go all the way to the top of Nevada Falls*:
- Mist Trail to Vernal Falls then continuing on to the top of Nevada Falls
- John Muir trail down the Clarke Point Cut Off to the top of Vernal falls then continuing on the Mist Trail
- John Muir Trail all the way to the top of Nevada Falls
We opted to take the JMT to the point at which it was closed - Clark Point. We then cut down to the Mist Trail, up to the top of Nevada Falls, and back all the way down the Mist Trail. This route was less busy/dryer on the way up. https://www.nps.gov/yose/planyourvisit/conditions.htm
*Depending on what time of year you go, part of the trail(s) are closed. Make sure to check in before your trip with the Park Rangers, or online!
Total Miles: ~8
Total Time: ~6 hours
We ended the day with a hot shower, and pizza from Curry Village. For those plant powered folks, they will make you an awesome dairy-free, veggie pizza!
Day 4: Sunrise at Tunnel View
05:00 AM- We woke to the sound of our iPhone alarms telling us it was time to get up, pack up the our two tents, and make our way to the park exit. There was just one more stop on our itinerary – Tunnel View.
In front of Lower Yosemite Falls. Photo: B. Fleming
IV. Gear
In addition to what is listed over on my my new gear page, other important items we brought were:
- 6 person tent rented from REI
- 2 Pocket Rockets
- Rain Gear
- Warm Gear
V. Meals
Breakfast/lunch/snacks: pretty standard for camping - lots of oatmeal, PB&J, fruit, trail mix, tortillas, Clif Bars and more PB. (I think I FINALLY over-did it on the Clif Bars. I'm back to homemade bars now!)
Dinner #1 - Hannah made an awesome Vegan curry!
Dinner #2 - Curry sweet potatoes (cut up sweet potatoes + curry powder + heat) and tons of warmed up canned veggies. This was our first time using canned veggies, and it worked great!
Dinner #3 - Ate out at Curry Village. There are ton's of choices. I went for a salad, and vegan pizza!
Hanging out in El Cap meadows


